Supplies & Resources
- Printable Folders for Writing Paper
- 110lb Cardstock
- Scor-Tape
- Craft Strength Glue Sticks
- Bone Folder and Paper Creasing Tool Kit
- Non-slip Quilting Ruler
- Xacto Knife
- Rotary Cutter
- Distress Mini Ink Kit
How to Assemble a Printable Folder
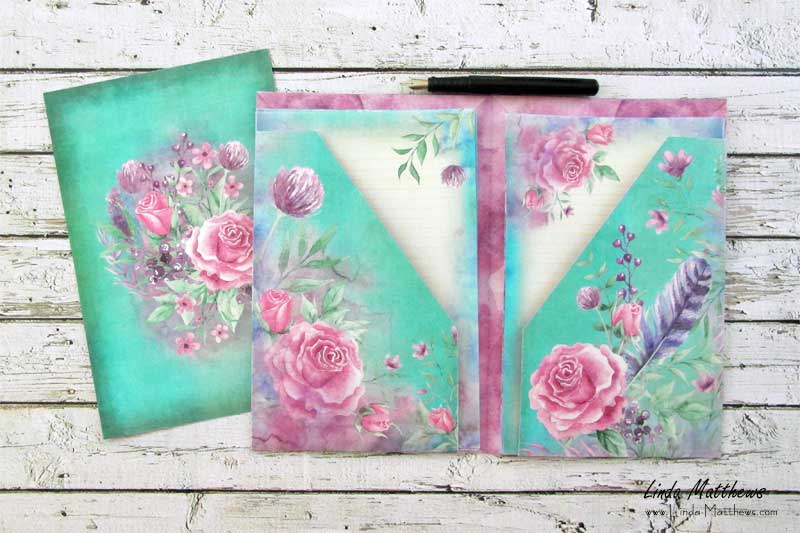
The Printable Folder includes the main cover assembled in four pieces, plus a backing page.
To begin, print the folder pieces onto good quality cardstock with the folder design on one side and the backing design on the other side.
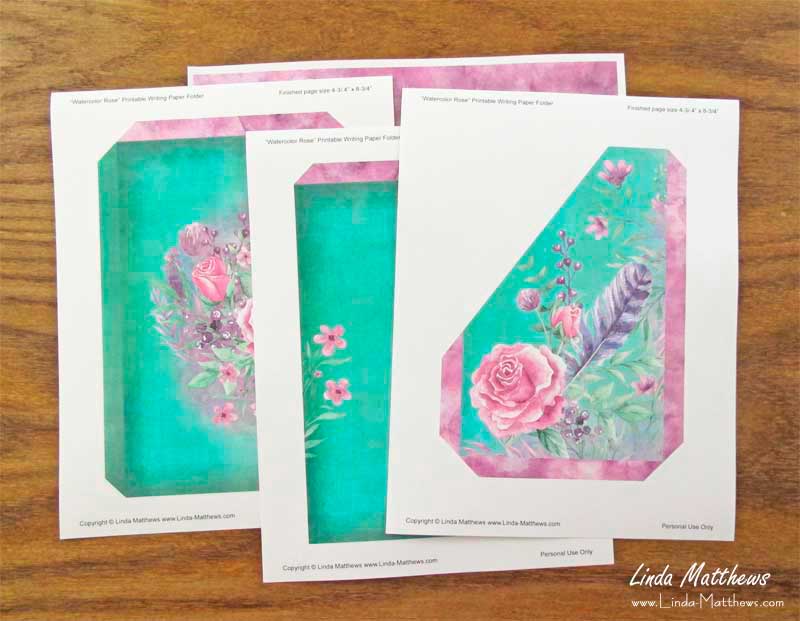
Cut out the pieces using scissors, or a ruler and rotary cutter or x-acto knife.

On all pieces, use a creasing tool to make 1/2″ creases along all the tabs.

Use a bone folder to press the folded pieces toward the inside.

Apply a piece of 1/2″ scor-tape to the inside of top tabs on the front and back pieces. Note: scor-tape is extra strong double-sided clear sticky tape that is perfect for all crafts. Alternatively you could use extra strength craft glue. Note, the top tab adds extra strength to the folder so it doesn’t tear through constant use.

Remove the tape backing, fold the tab over and press firmly.


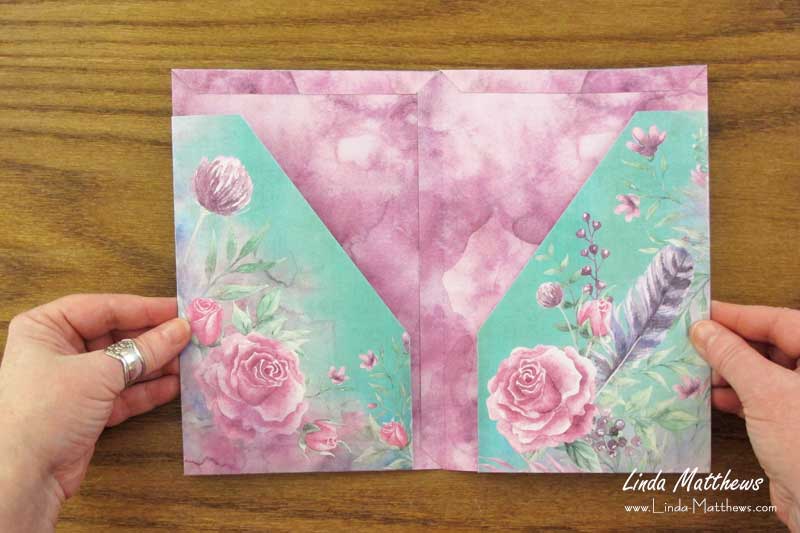
Apply a piece of scor-tape to the inside of the short tabs on the side of each pocket.
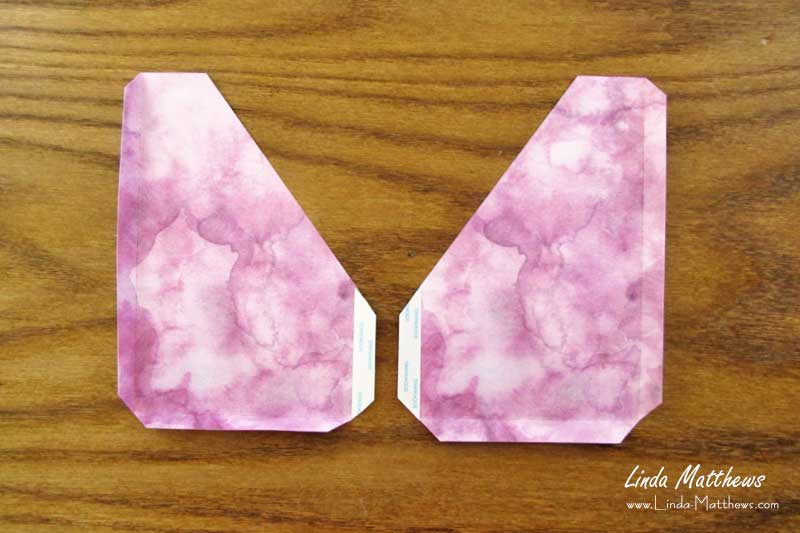
Remove the tape backing, fold the tab over and press firmly.

Apply pieces of scor-tape to the outside of the remaining tabs on the pockets.

Remove the tape backing from the side tab on the pocket, carefully align the long edge of the folder back along the creased edge of the tab, and press in place.


Fold the bottom tab on the pocket toward the inside and remove the tape backing. Fold the pocket over to the inside, carefully align the bottom edge of the pocket with the bottom edge of the folder back, and press in place.
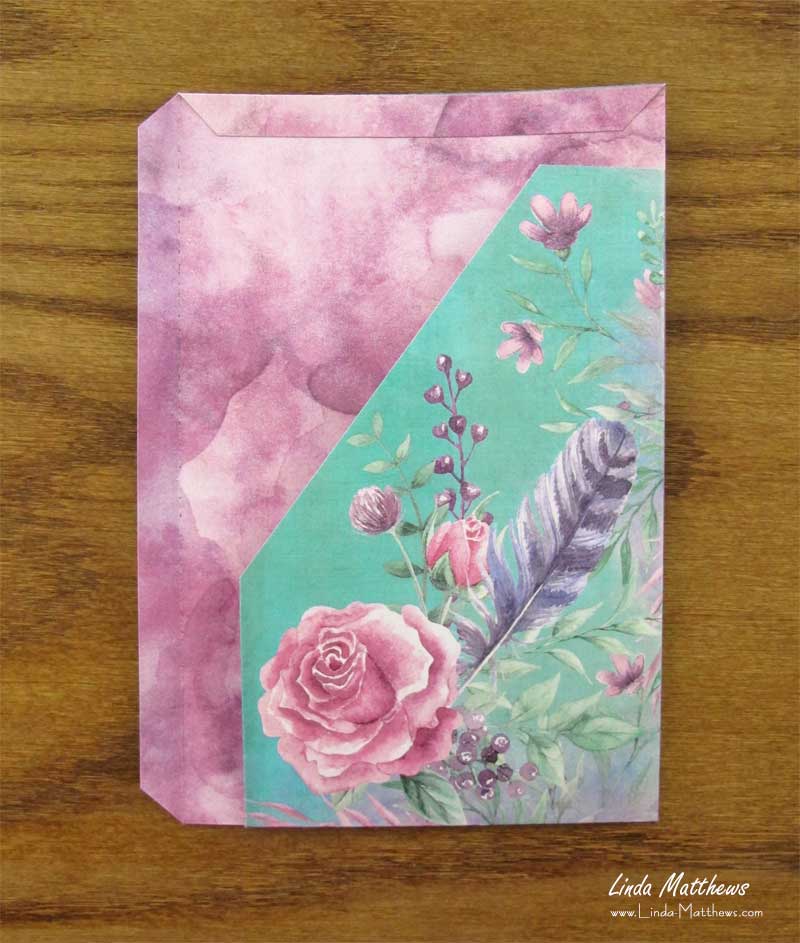
Do the same for the front cover.
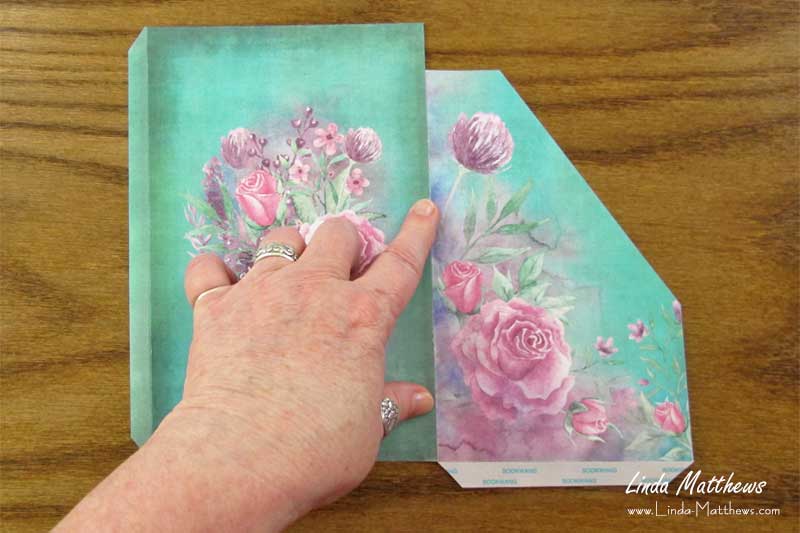

Apply a piece of scor-tape to the outside of the center tab on the back folder piece. Apply a piece of scor-tape to the inside of the center tab on the front folder piece.

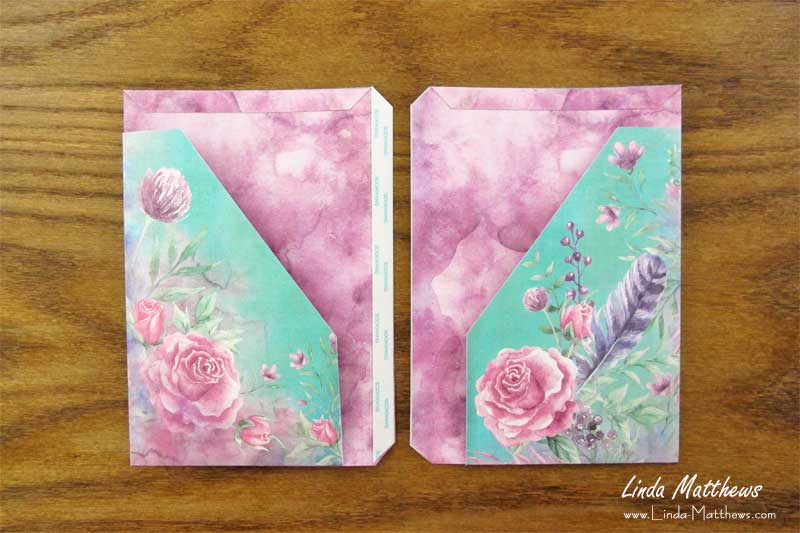
Remove the tape backing from the back tab. On the front piece, fold the tab back, align the center folds (the folds that separate the back and front from the tabs), and press to secure.
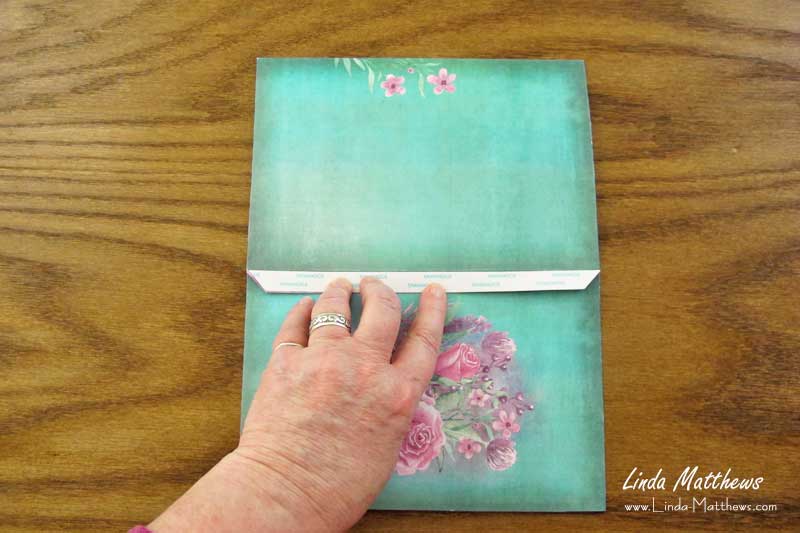
Remove the tape backing from the front tab.

Fold the tab over and press to secure.
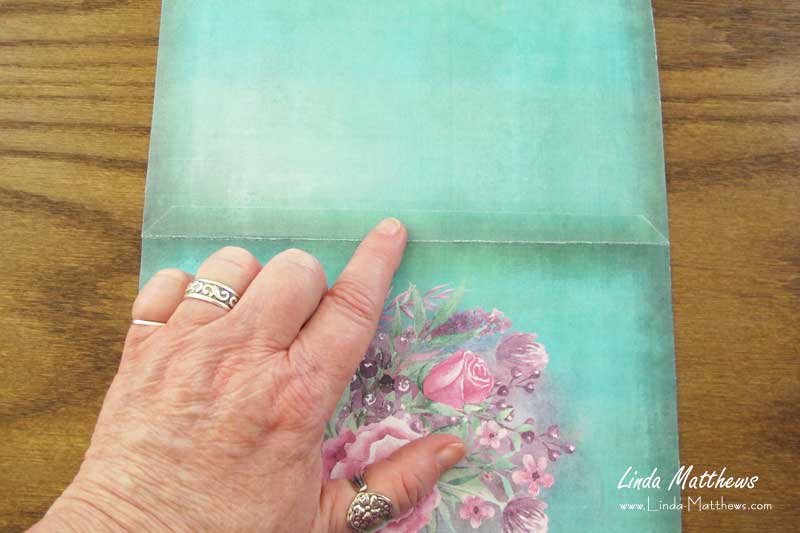
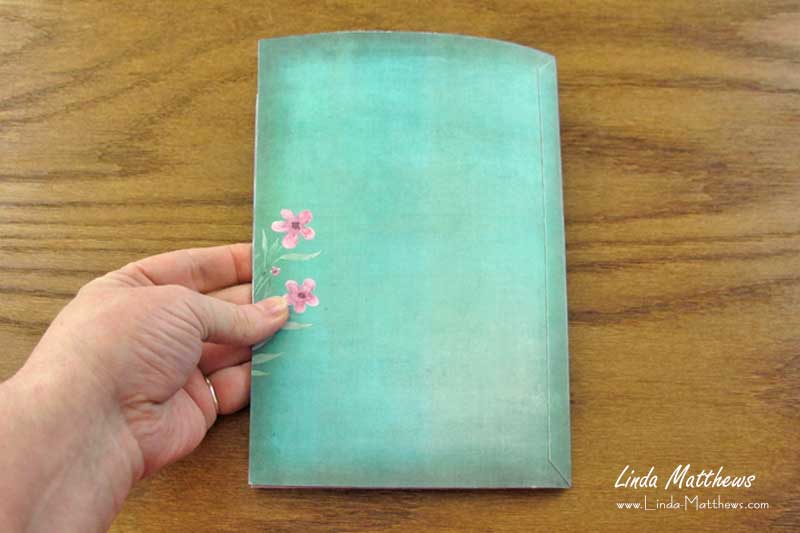
Close the folder and run a bone folder along the center fold to flatten.

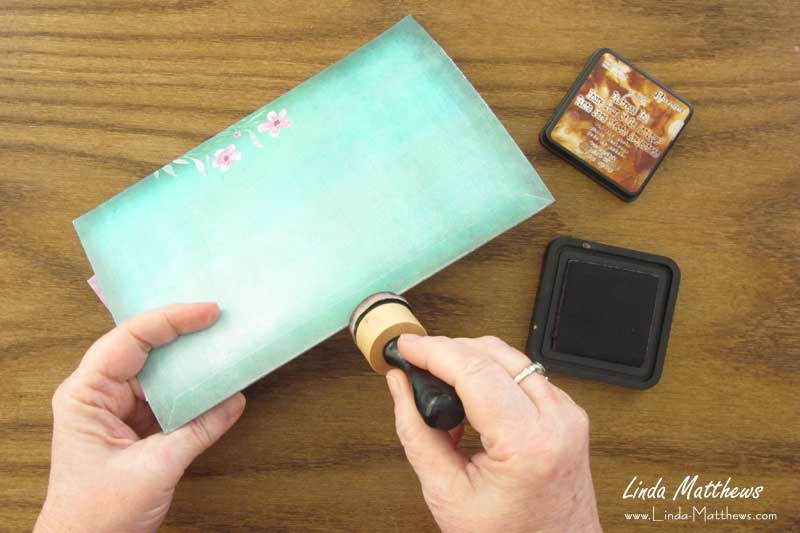
If there are any white bits showing along the folds and creases, run an ink stamp pad along the marks to cover them up. Note: Only do this if your prints are water-resistant otherwise you risk smudging the design. Prints are water-resistant if you printed using a laser printer, or an inkjet printer that uses water-resistant inks. If you’re not sure what type of inks your printer uses, check your user manual.
