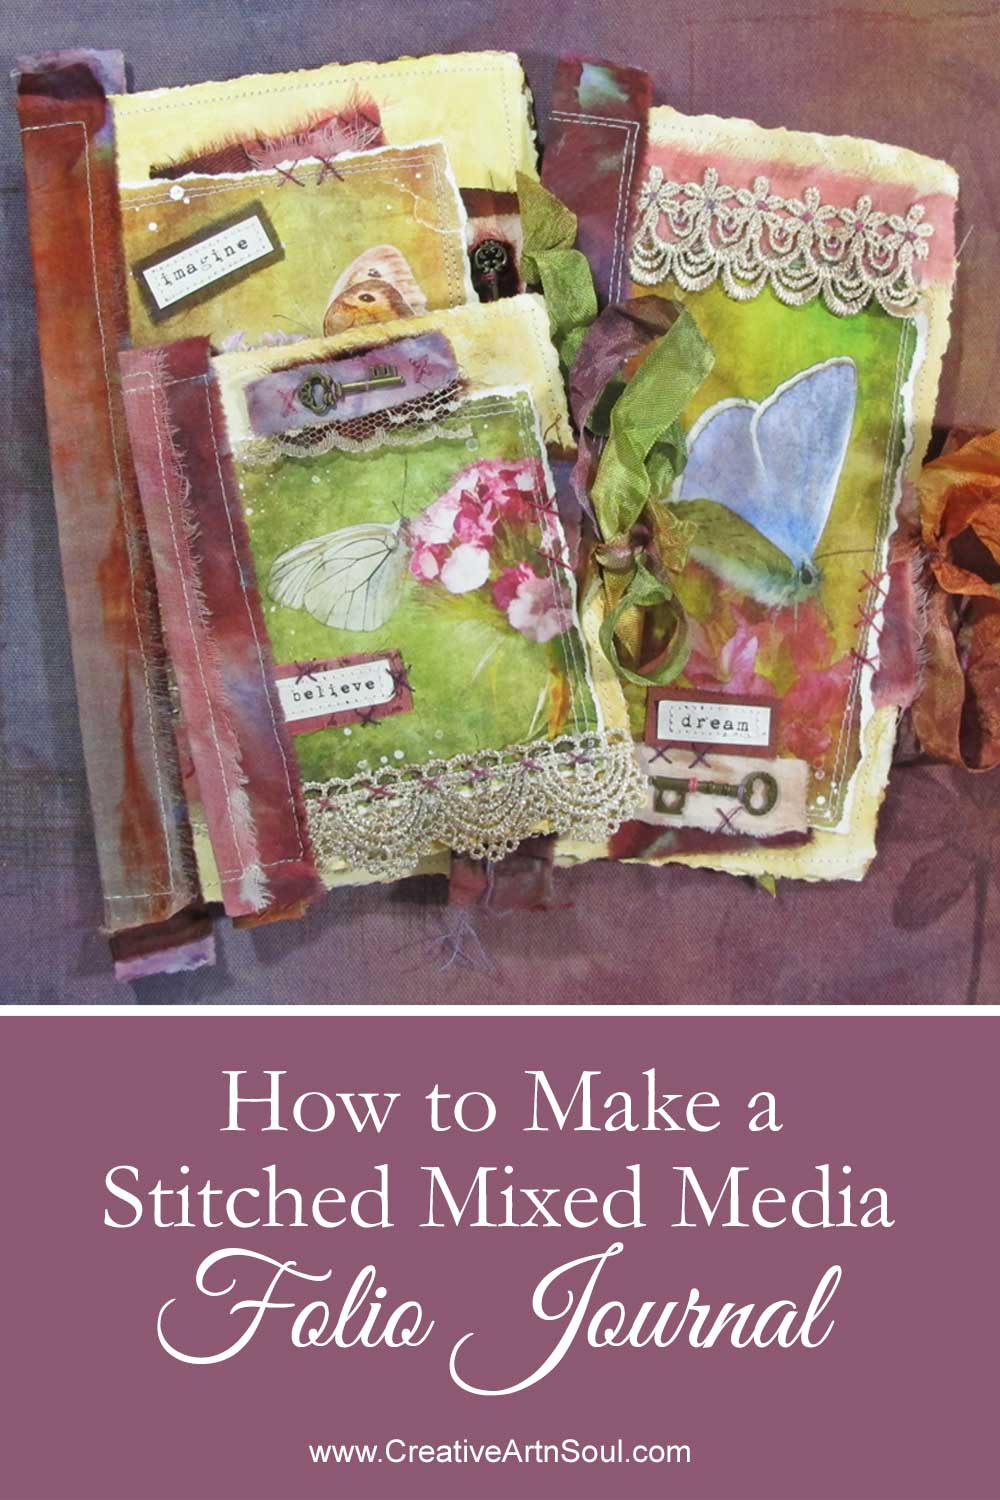
Make a stitched mixed media folio journal that is perfect to make as a gift for someone you care about – or just for yourself!
These stitched mixed media folio journals are fun and creative to make. They are made using only one sheet of folded paper, which is also known as a folio, so they go together quite quickly.
If you don’t like the thought of making a stitched journal with lots of pages which can take quite a bit of time, these folio journals are the perfect alternative.
With the holiday season just around the corner, this folio journal would make an ideal gift card that is sure to be appreciated. Or you can make one just for yourself.
These folio journals can be personalized for any occasion using inspiring images, words and quotations all woven together with stitched fabric and paper collages. Make a series of them using different themes, or use them as a way to express your thoughts in an artful way.
How to Make a Stitched Mixed Media Folio Journal
Supplies
- Photograph or image printed onto matte photo paper
- Mixed media paper or handmade paper
- Words or quotation printed onto paper
- acrylic paint or Craft paint
- Fabric, ribbon and lace scraps
- Hand embroidery thread and needle
- Small buttons, charms and other embellishments
- Paper ephemera
- Craft glue
Paint the paper pages for your folio journal
Cut a piece of cardstock or thick paper to size, fold in half, then cut or tear the edges. I like to use mixed media paper or khadi paper which is thick and has a beautiful texture.

Paint each side of the paper with acrylic paint or craft paint and allow to dry. For my journals I’ve painted the whole sheet of paper with a light coat of gesso and then added some neutral, earthy colors around the edges.
Painting with gesso helps to make the paper more rigid, and adding some color makes it look more interesting. You can use any colors you like, and you don’t need to paint the whole piece of paper, you can simply add bits of color around the edges like I’ve done.
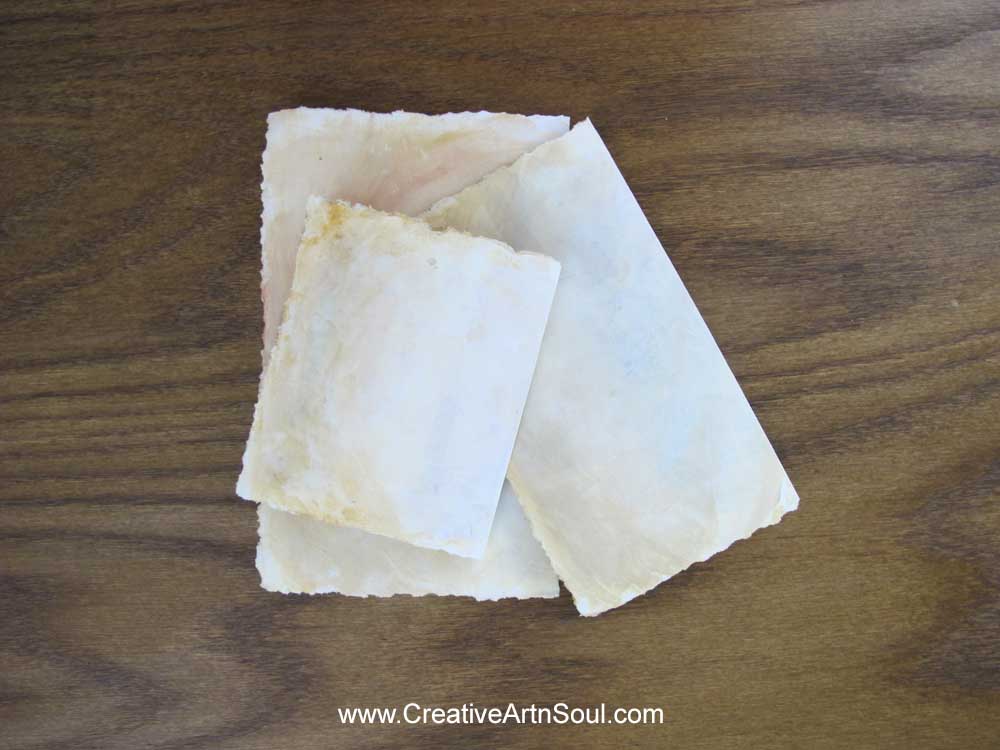
Don’t want to mess around with paints? Use printables!
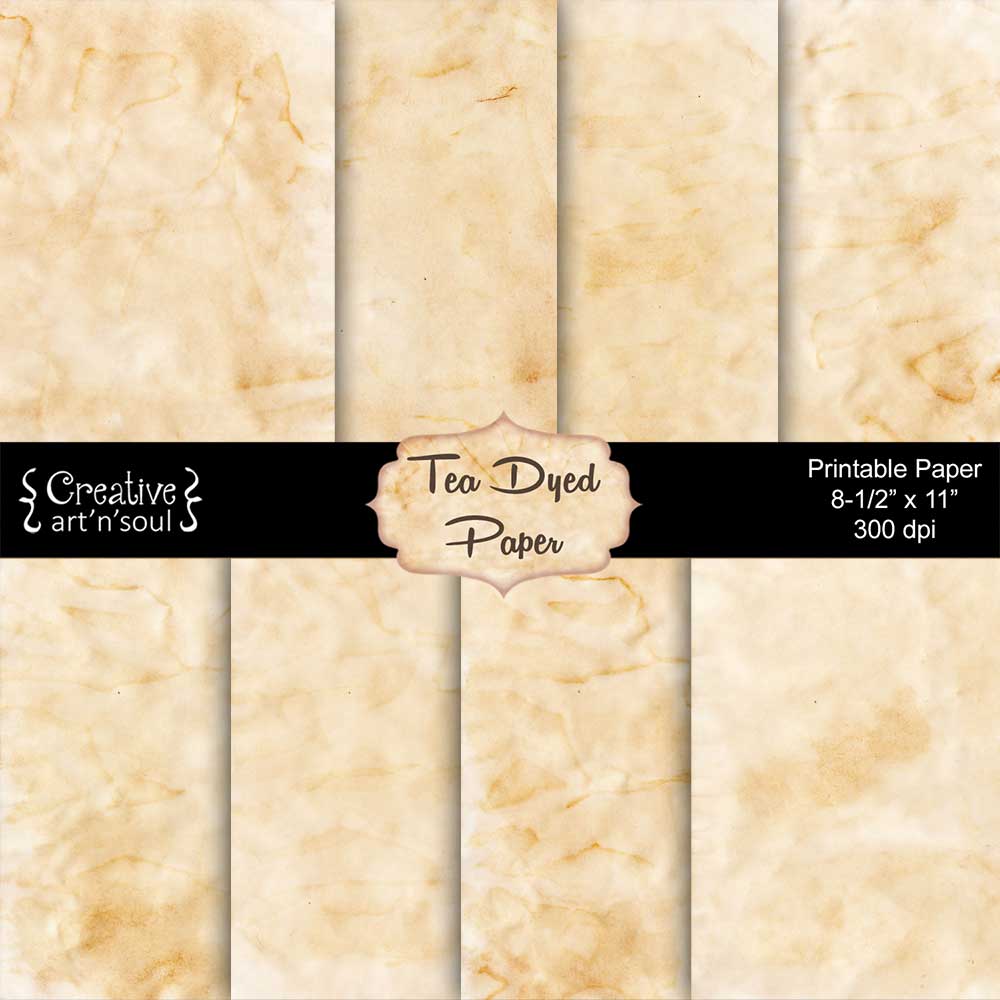
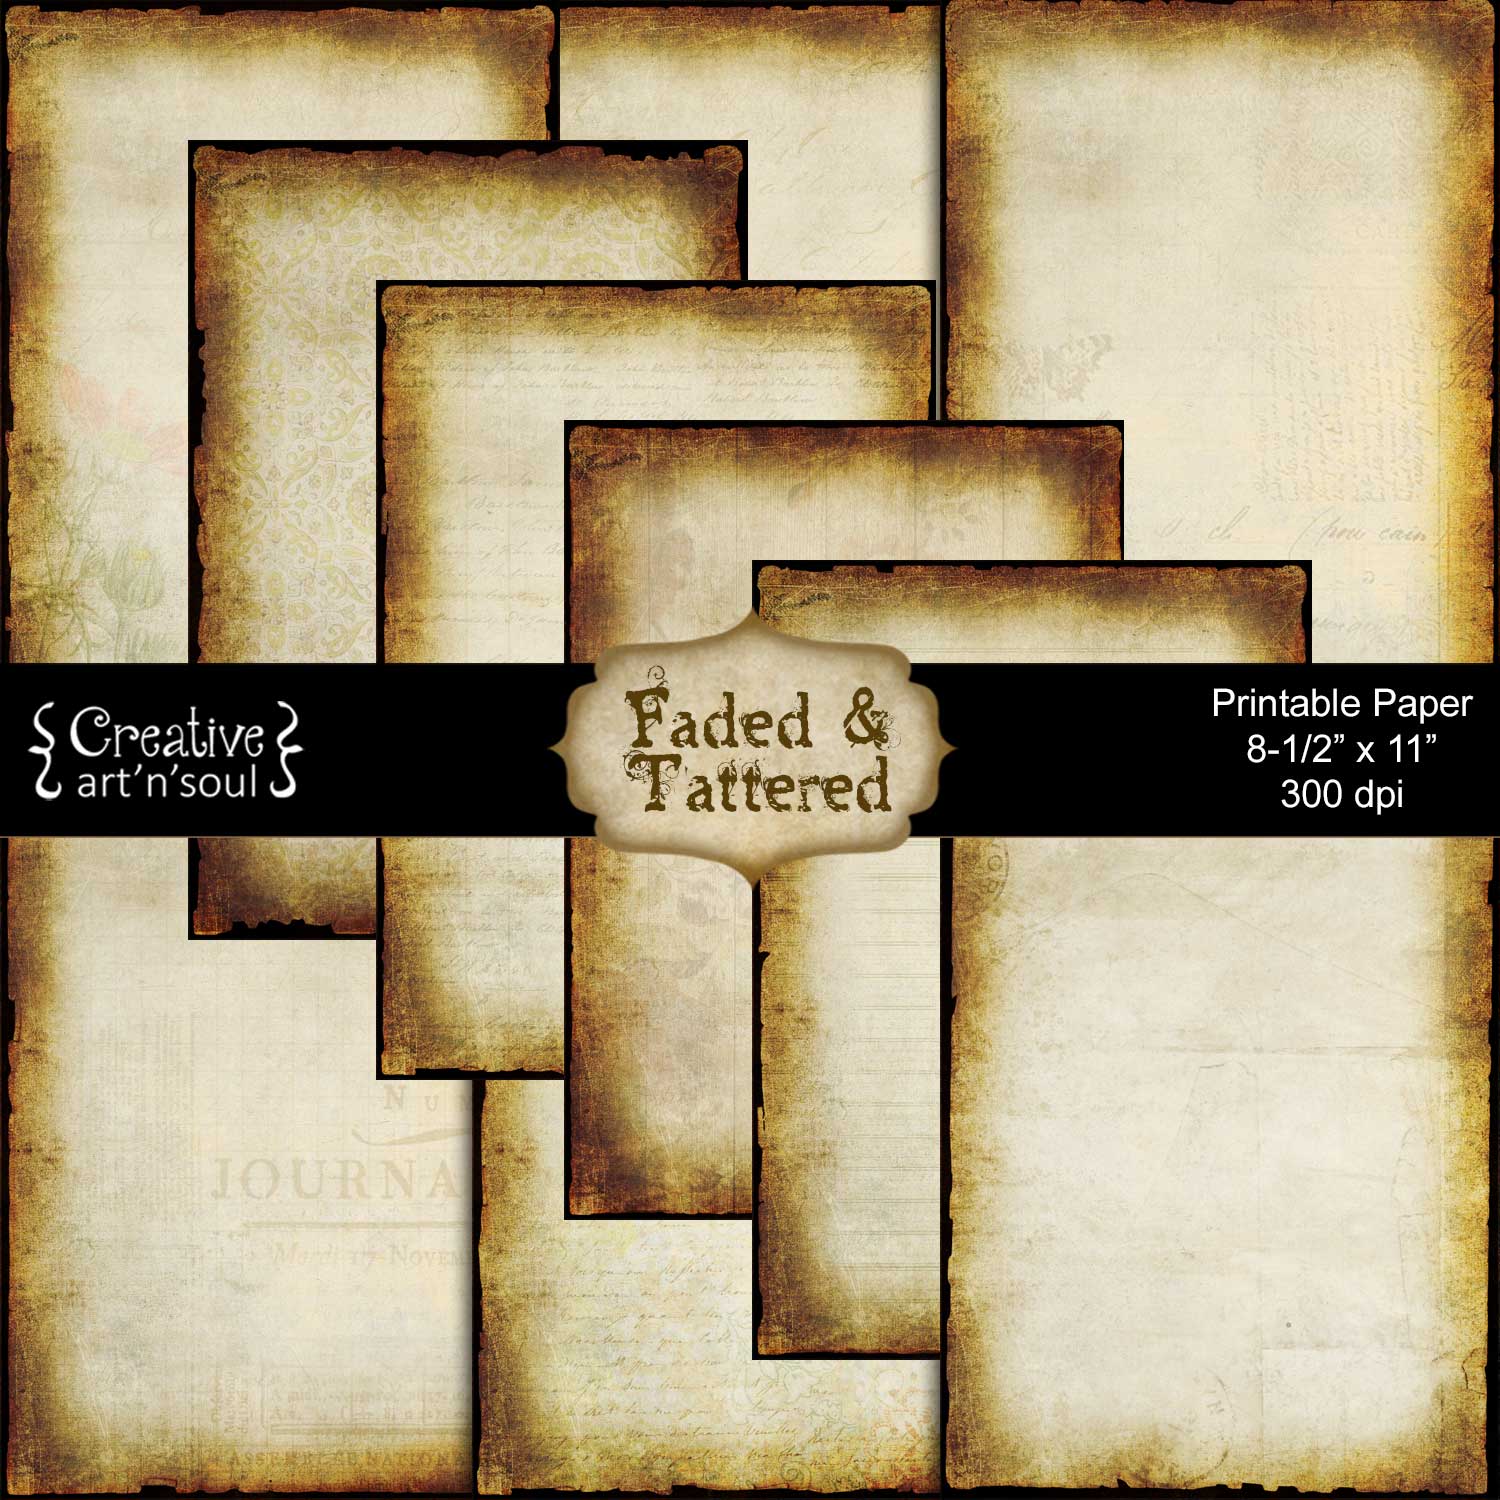
Alternatively instead of painting the journal pages, you could use printable junk journal pages that already have some subtle color or visual texture such as these printable tea dyed papers, these printable faded and tattered journal pages, or even these these printable vintage damask journal pages.
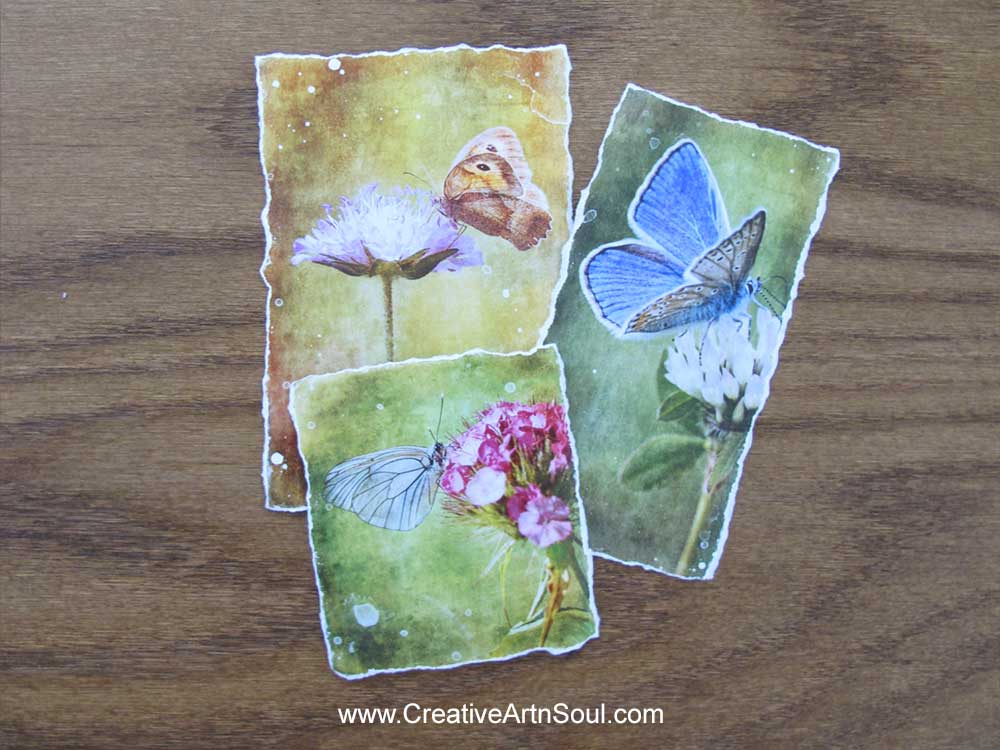
Print the images
Select an image or photo for the front of your folio journal, print it onto matte photo paper, or even print it onto fabric, and then cut or tear around the edges. I like to design my own PhotoArt images in Photoshop however you could use any image or photo.
Plan the page designs
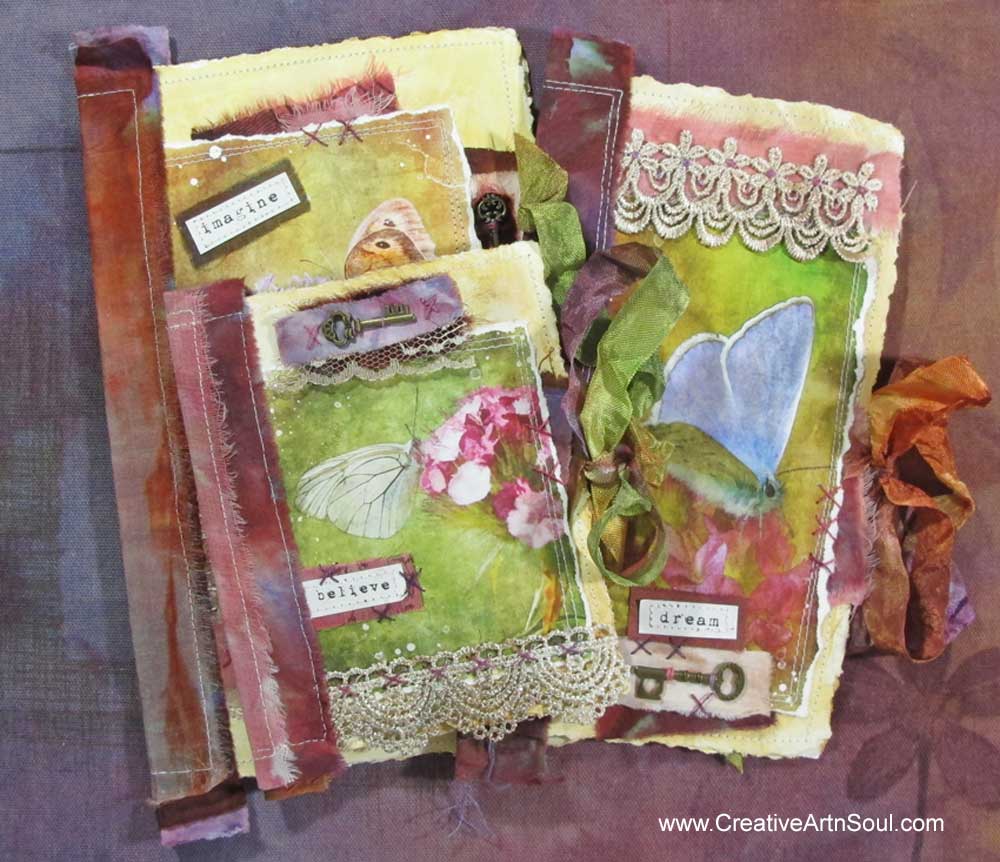
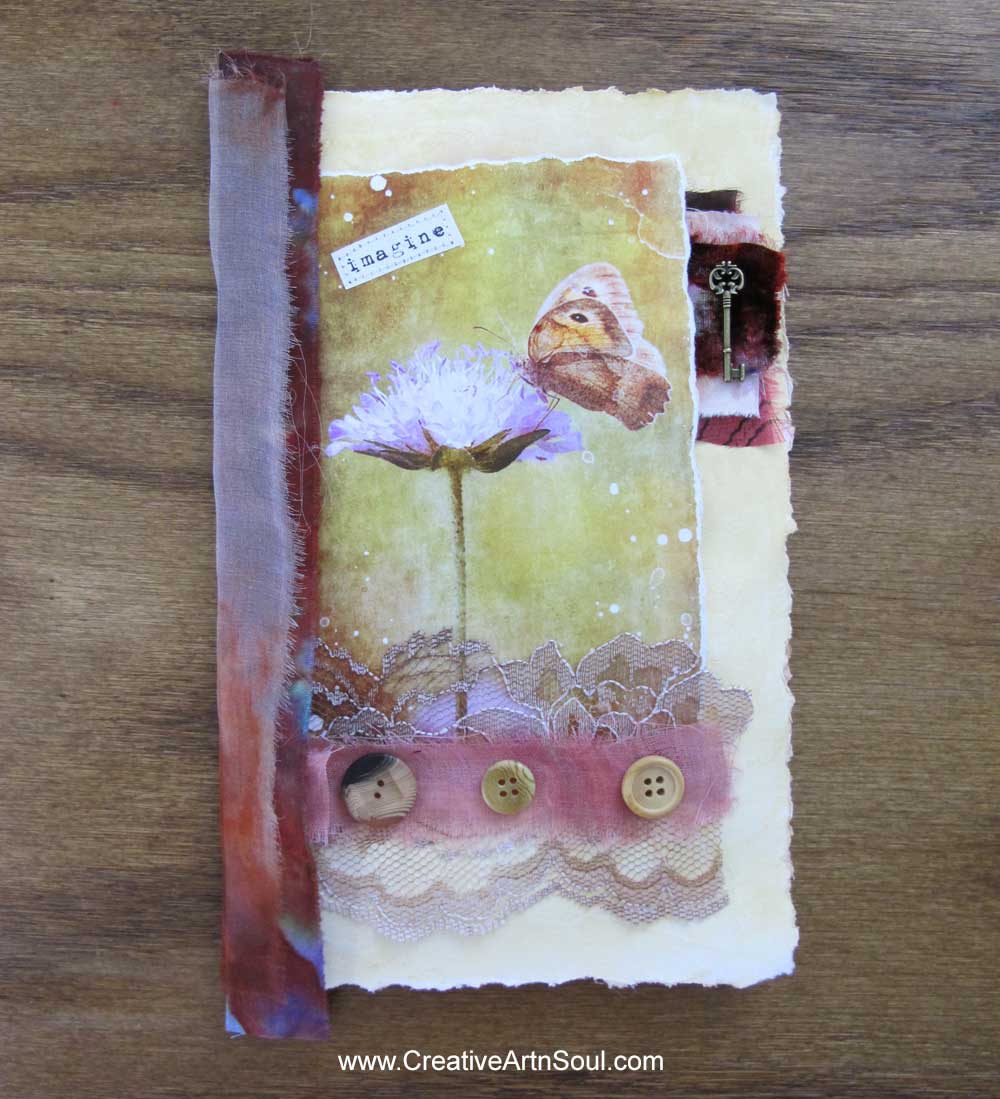
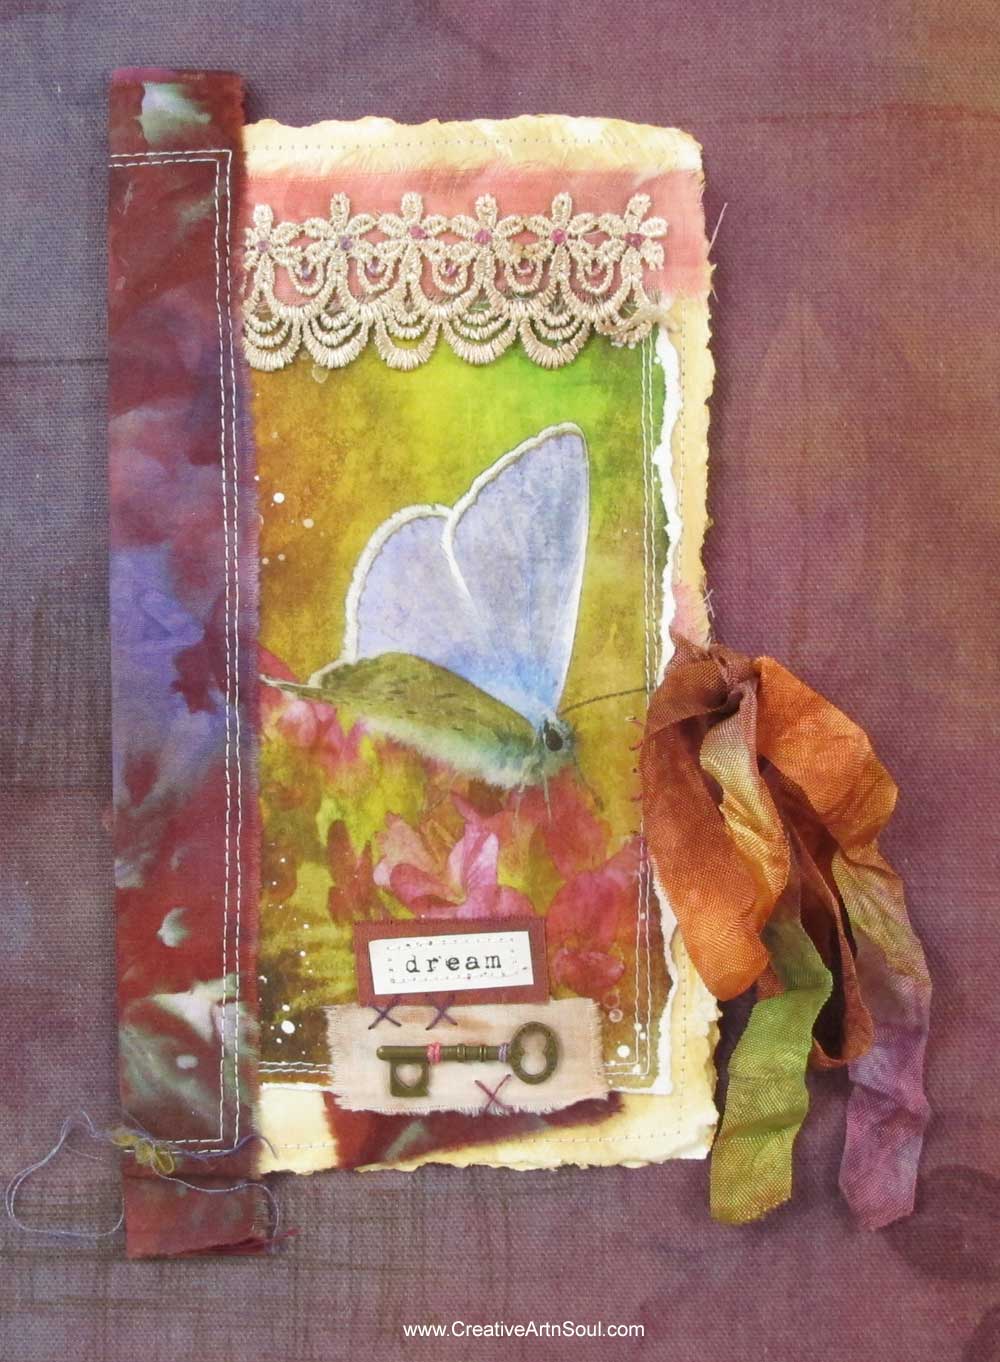
Plan the collage designs for your folio journal pages by laying out fabric, lace and paper scraps, as well as any embellishments you might want to use. I’ve added a strip of fabric down the center on the outside and inside of the card to resemble a spine section however you could omit this embellishment if you prefer the journal to look more like a handmade card.
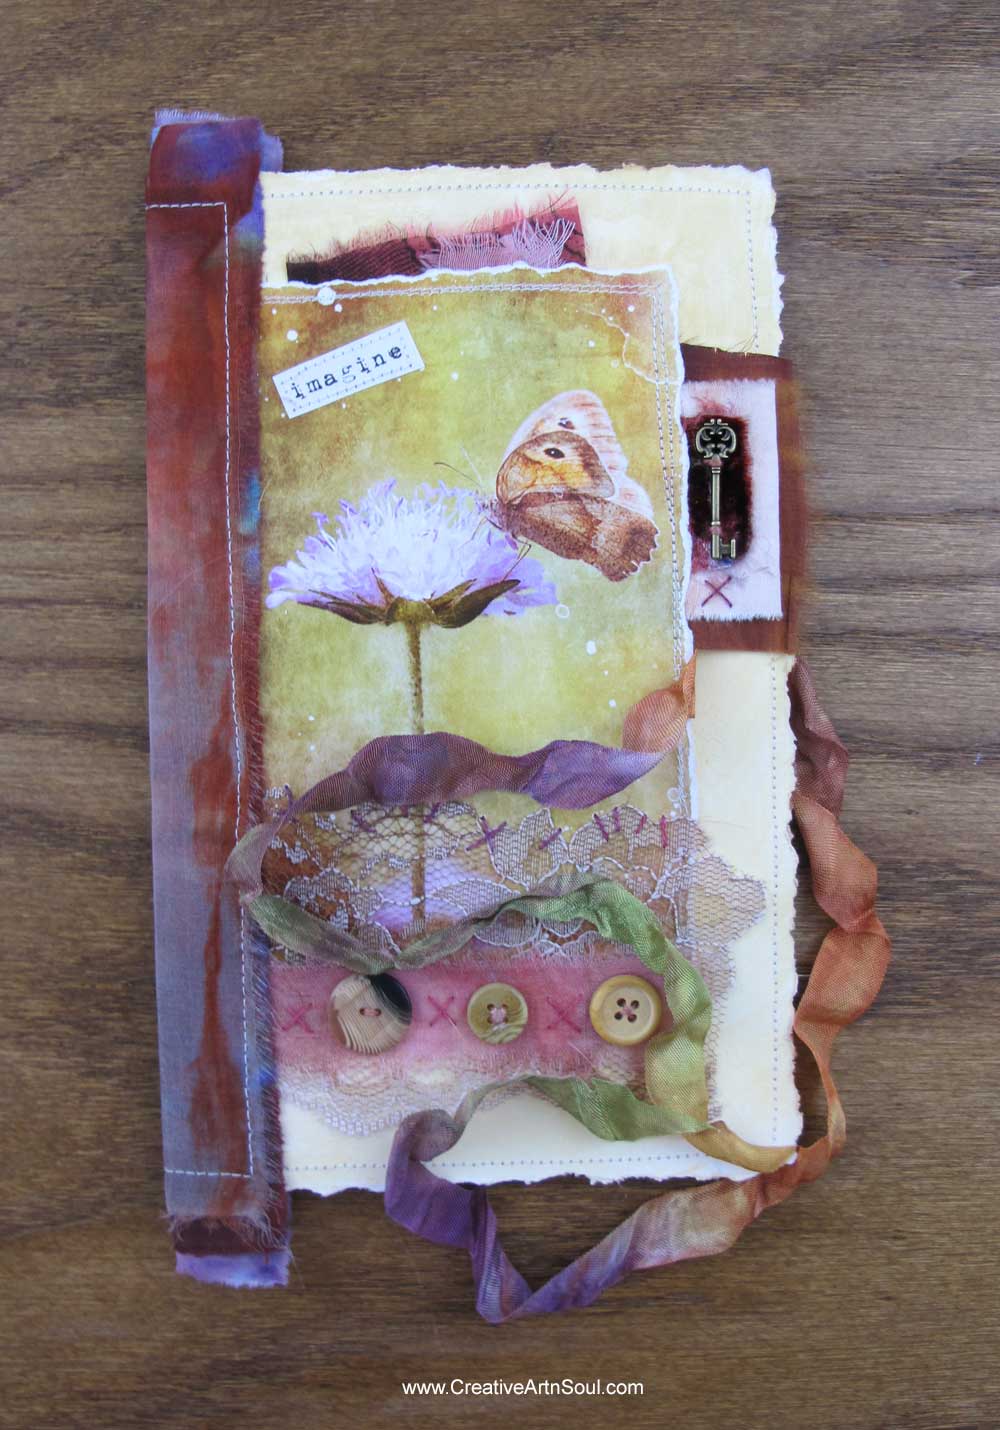
On the front of this folio journal I layered some lace and fabric strips with a few buttons along the bottom of the photo, with a little key charm and fabric scrap collage along the top right side. I also printed the word “imagine” onto paper using a word processing program and my printer, and then machine sewed it to the top left.
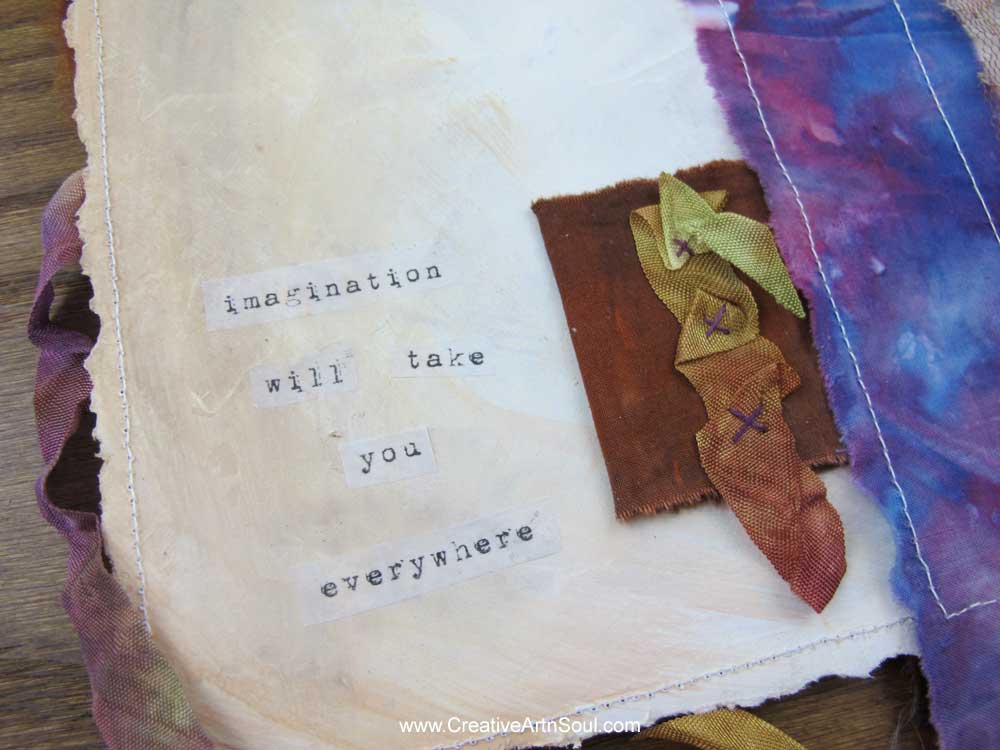
On the left inside I made a layered collage using an image of some vintage butterflies and some fabric and lace scraps. On the right inside I printed out the phrase “imagination will take you everywhere” and arranged the words in a semi-circle.

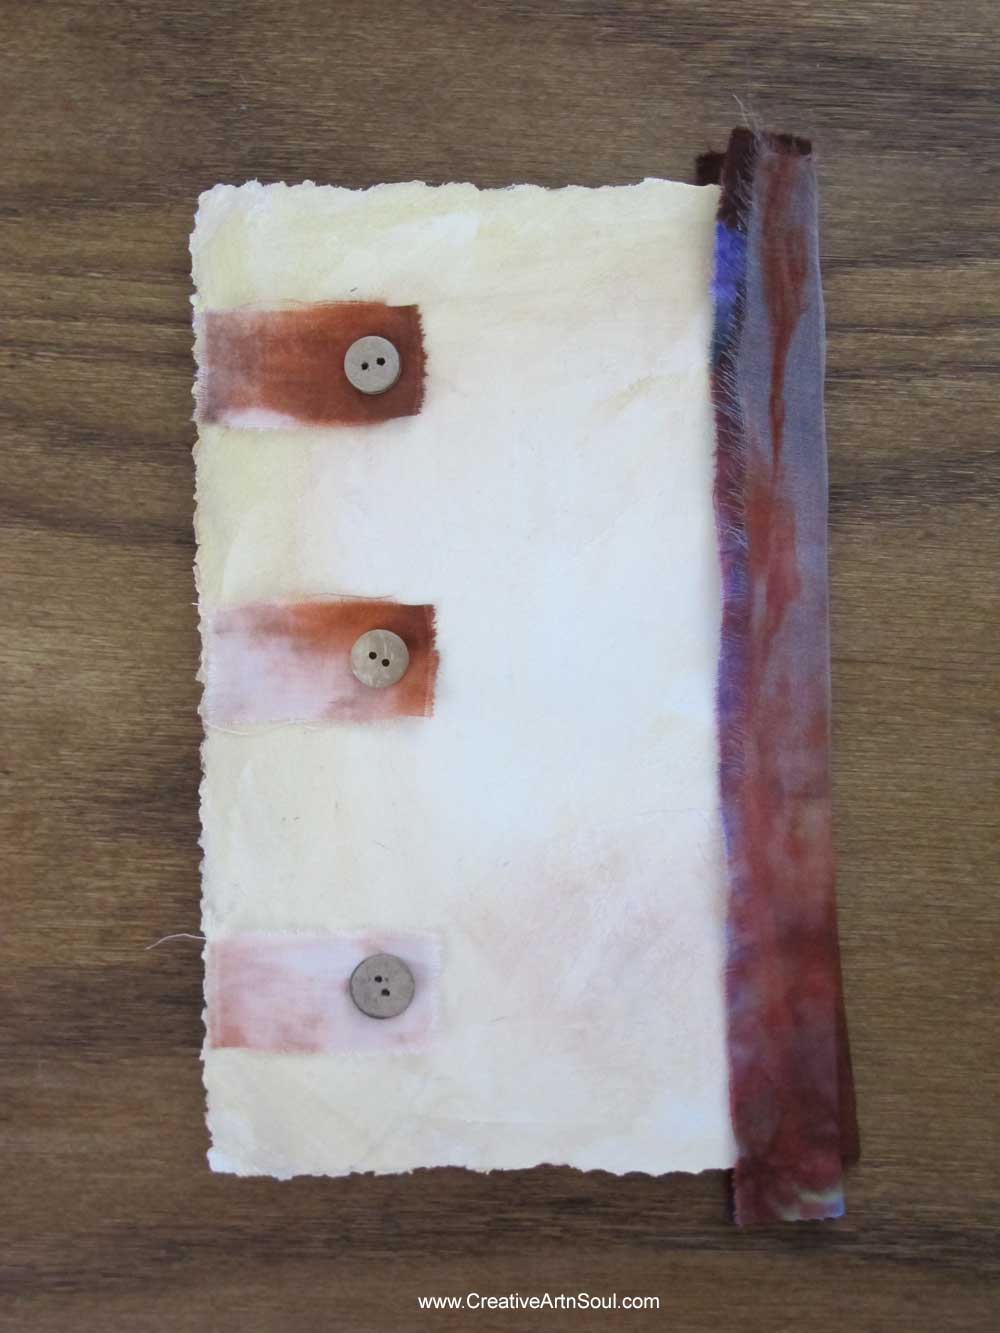
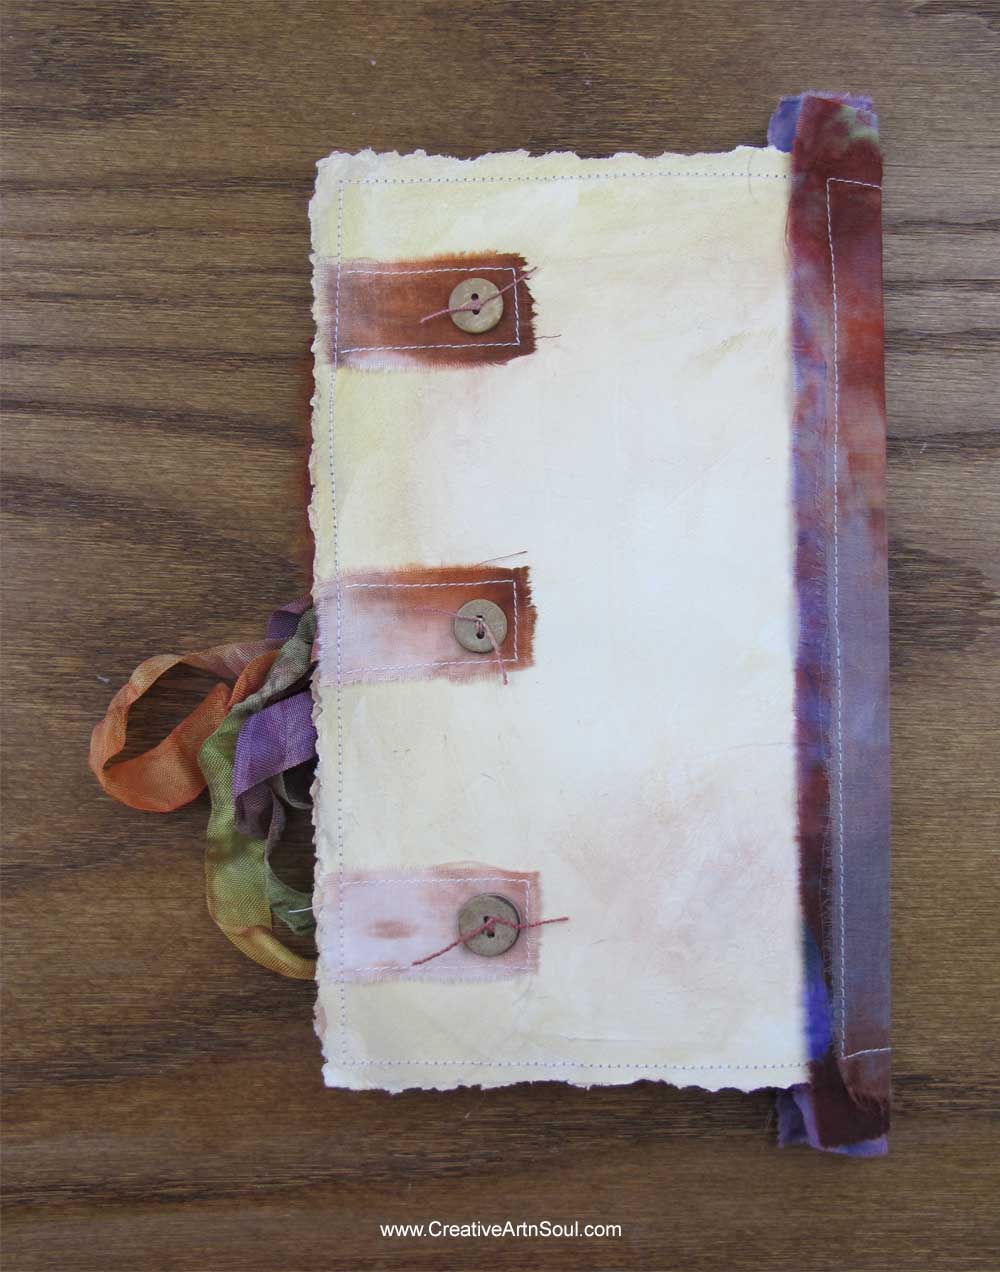
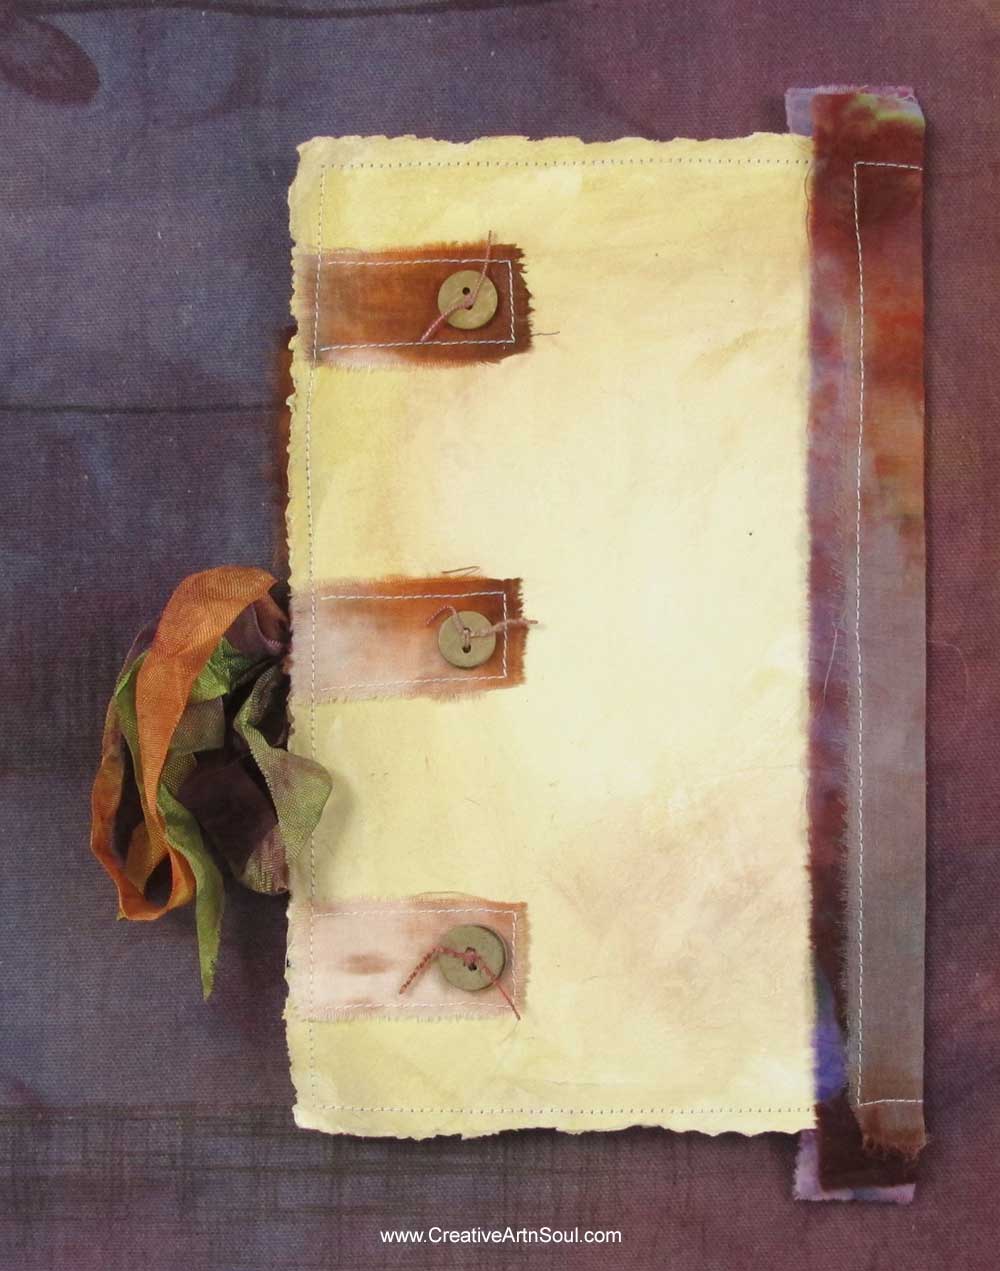
On the back I arranged three strips of fabric with a button on the edge down the side.
Assemble the collage sections
Once you have an arrangement that you’re happy with, assemble the individual collage sections by gluing, or sewing the pieces together by hand or machine. It’s easier to assemble these larger sections separately rather than try to sew them directly onto the journal page.

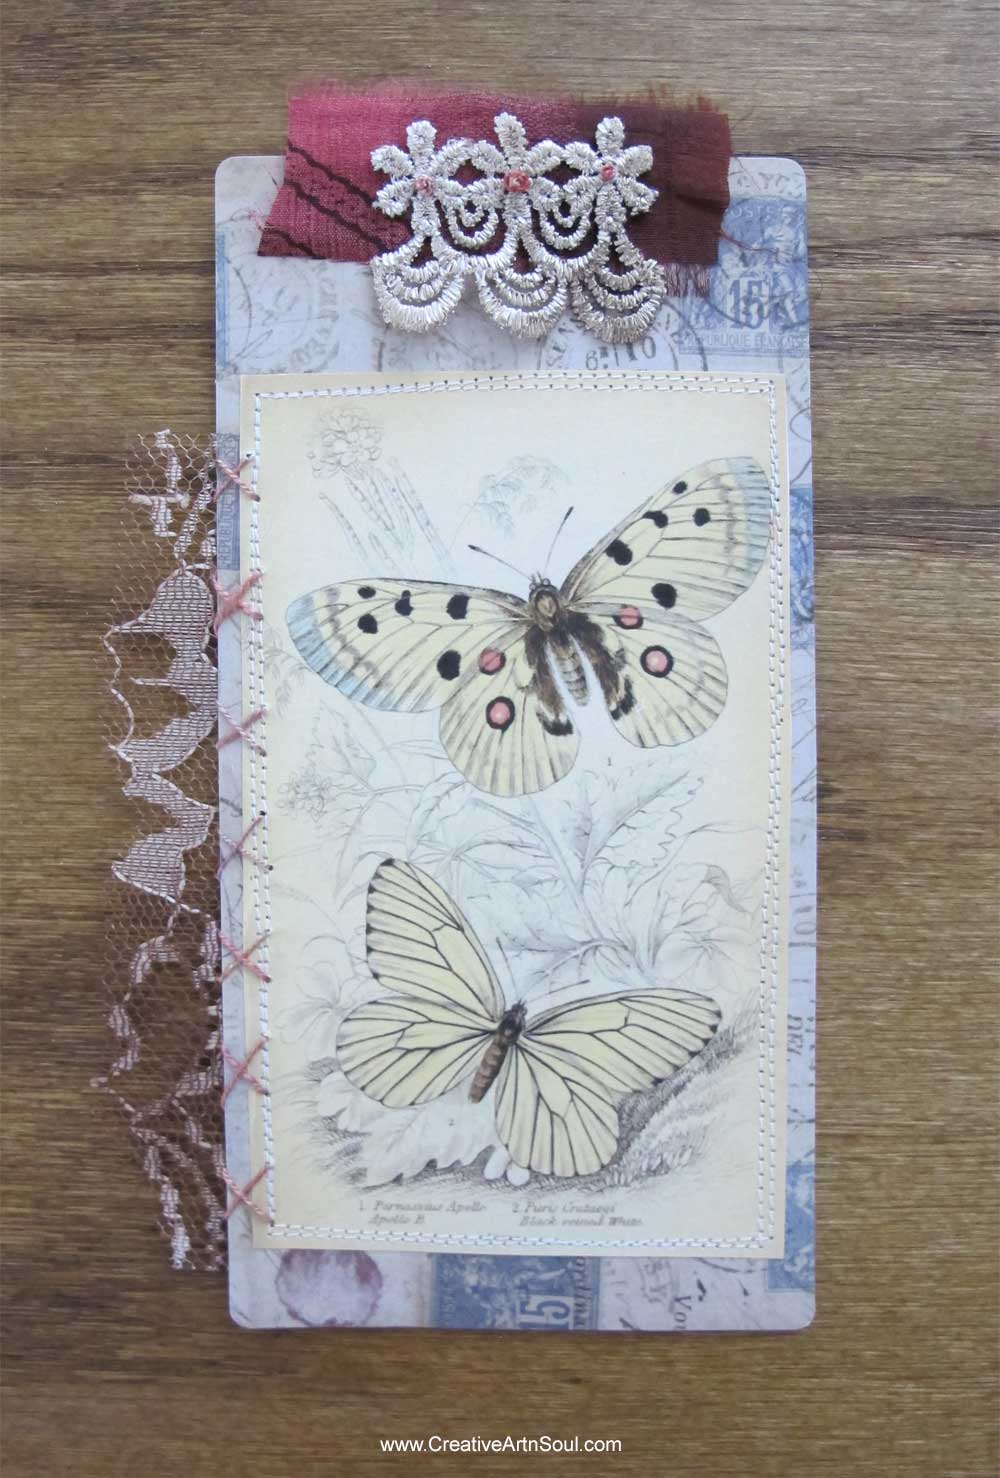
Attach the collage sections to the journal pages
After the collage sections are assembled, glue them onto the painted journal pages using a strong craft glue, then sew the fabric spine sections in place using a sewing machine. I also sewed around the edges of the card on my sewing machine, and attached some lengths of ribbon on the front and back to use as a tie closure.
I altered my original design layout slightly as I was assembling the journal. On the front I added a few more scraps of fabric along the top.
On the inside pages I swapped the designs around

I left the back as I originally designed it excepted I attached a piece of ribbon to use as a tie closure.
Inspiration
Using these techniques, you can make these easy folio journals in any size with different themes.




Save this pin to your favorite Pinterest board!
