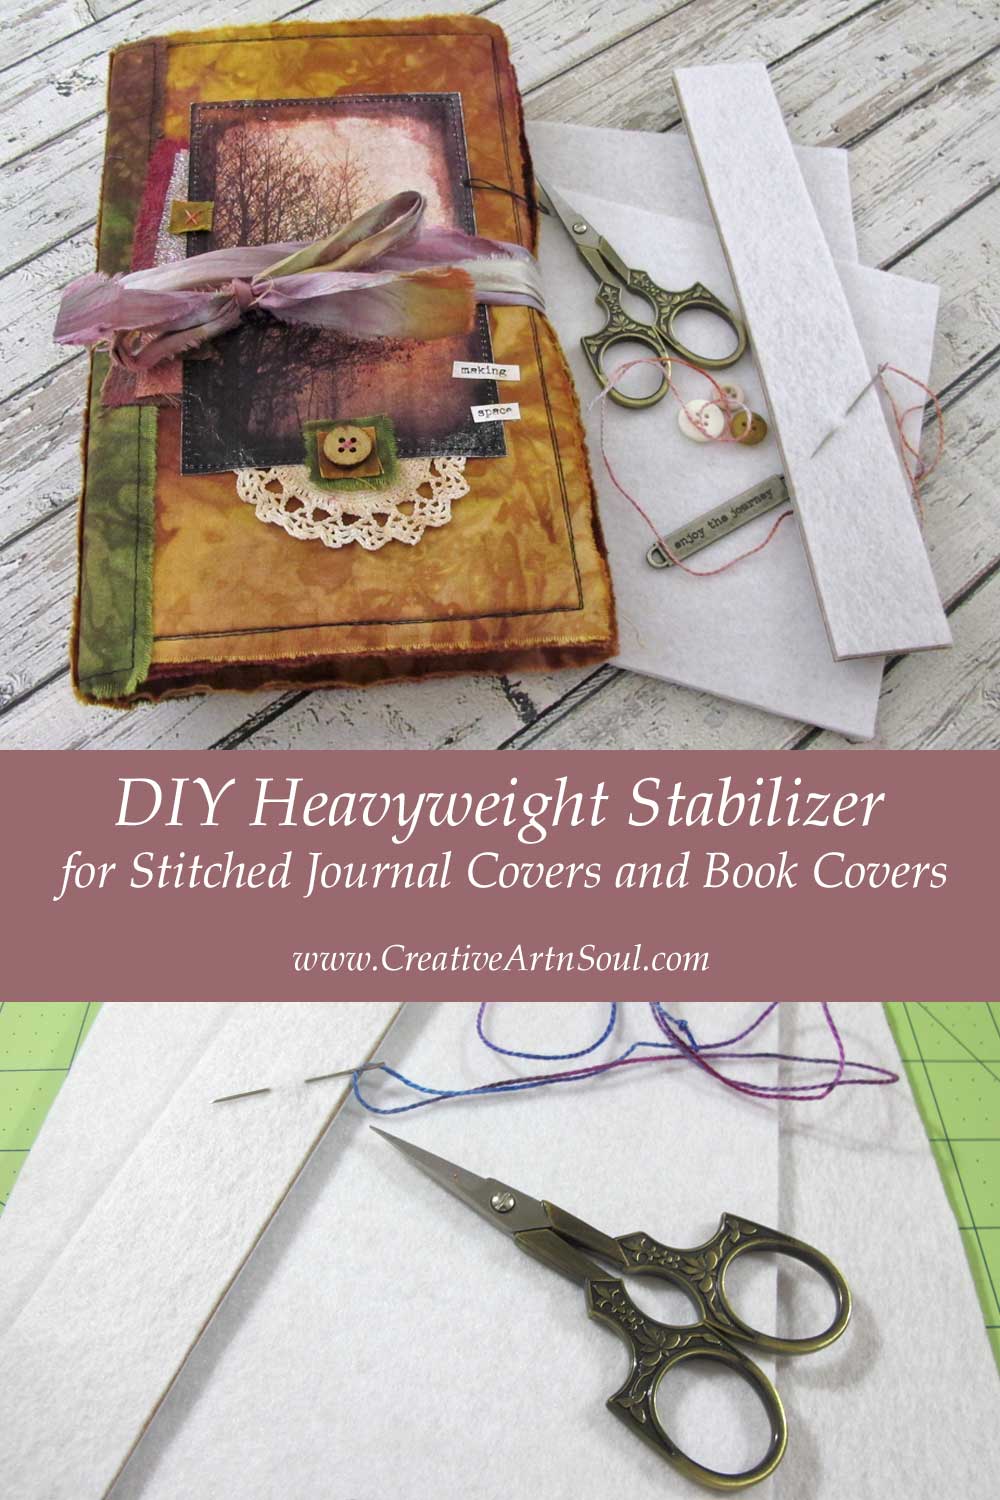
Discover how easy it is to make your own heavyweight stabilizer that is perfect to use in all your stitched journal covers.
When making stitched mixed media journals with rigid covers I particularly like to use a heavyweight stabilizer such as double-sided fusible Peltex to make the stitched journal covers.
This type of stabilizer makes it easy to construct the covers because it’s easy to sew using either hand stitching or machine sewing. However it’s not always readily available in stores, and because it’s quite stiff and rigid it becomes expensive to order and ship through online outlets.
Back in the days before there was any such thing as this type of heavyweight stabilizer, textile artists made their own thick stabilizer using simple supplies that were readily available from their own supply stash.
DIY Heavyweight Stabilizer for Stitched Journal Covers
It’s easy to make this type of stabilizer. Plus it’s inexpensive using supplies that I’m sure you can find in your own craft stash. Here’s how to do it.
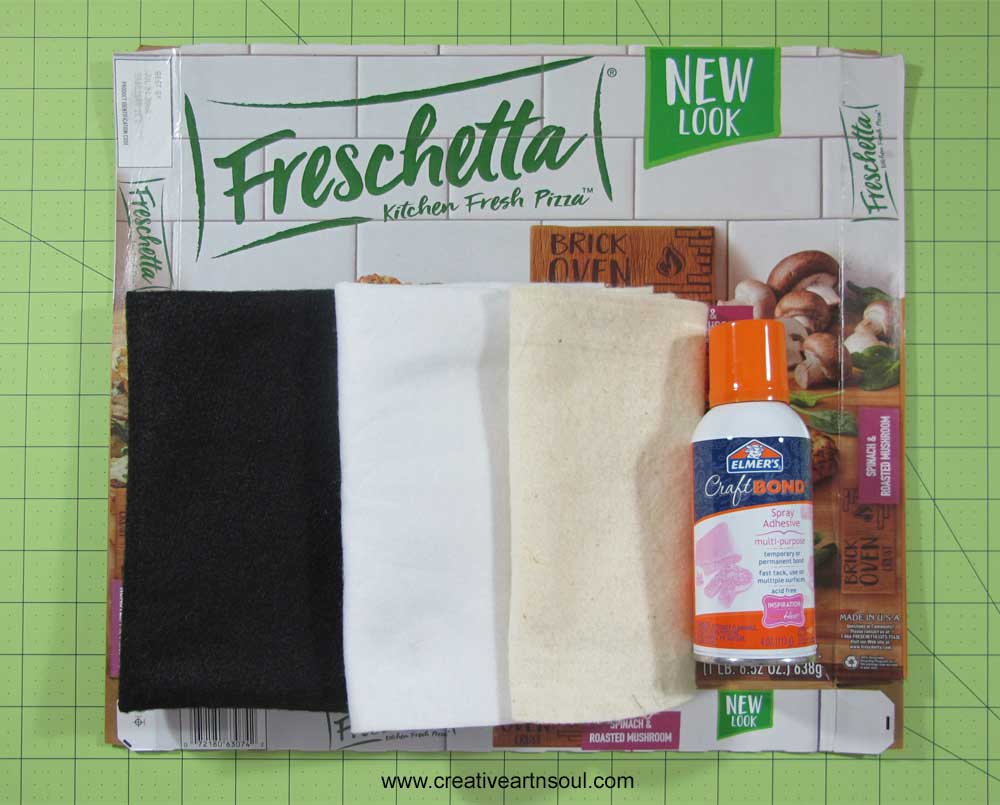
Gather your supplies
- thin cardboard such as a cereal box or pizza box
- acrylic felt, fusible fleece, or cotton batting
- spray glue or craft glue
- Pellon Wonder Under fusible webbing (optional)
- brayer (optional)
Instructions for Making Heavyweight Stabilizer for Stitched Journal Covers
Cut one piece of cardboard and two pieces of felt, about an inch larger than the size of your finished cover.
If using a cereal box or even a pizza box, it may not be large enough to cut in one piece. In this case you may need to cut several pieces for the front cover, back cover and spine.
You can use any color felt. I like to use white when using light colored fabric, and black when using dark colored fabric.

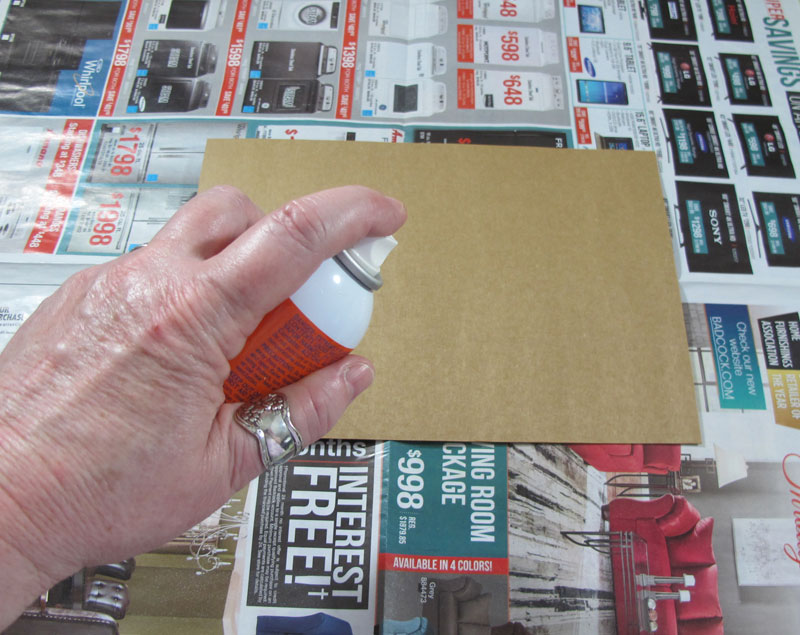
Spray one side of the cardboard with a spray glue. Use this type of glue outside or in a well ventilated area. You don’t want to be breathing this stuff in.
Alternatively you can apply a light coat of craft glue to cover the complete surface of one side of the cardboard. If using fusible felt, follow the directions and iron it directly to the cardboard.
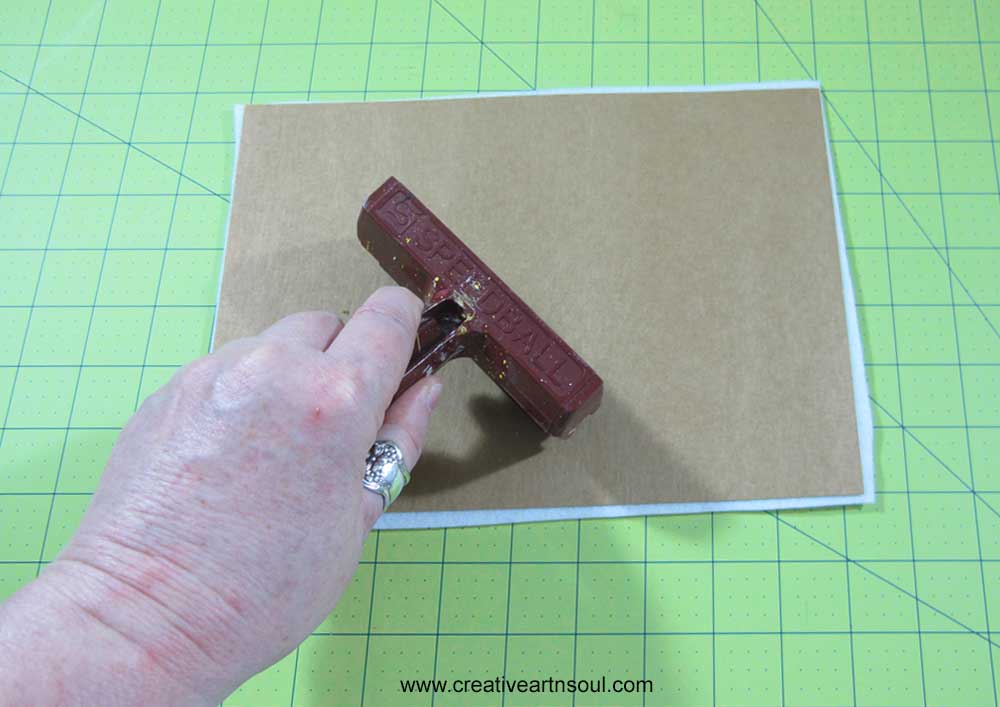
Press the glued side of the cardboard onto the felt and press the pieces together by hand, or use a brayer which makes it easier.
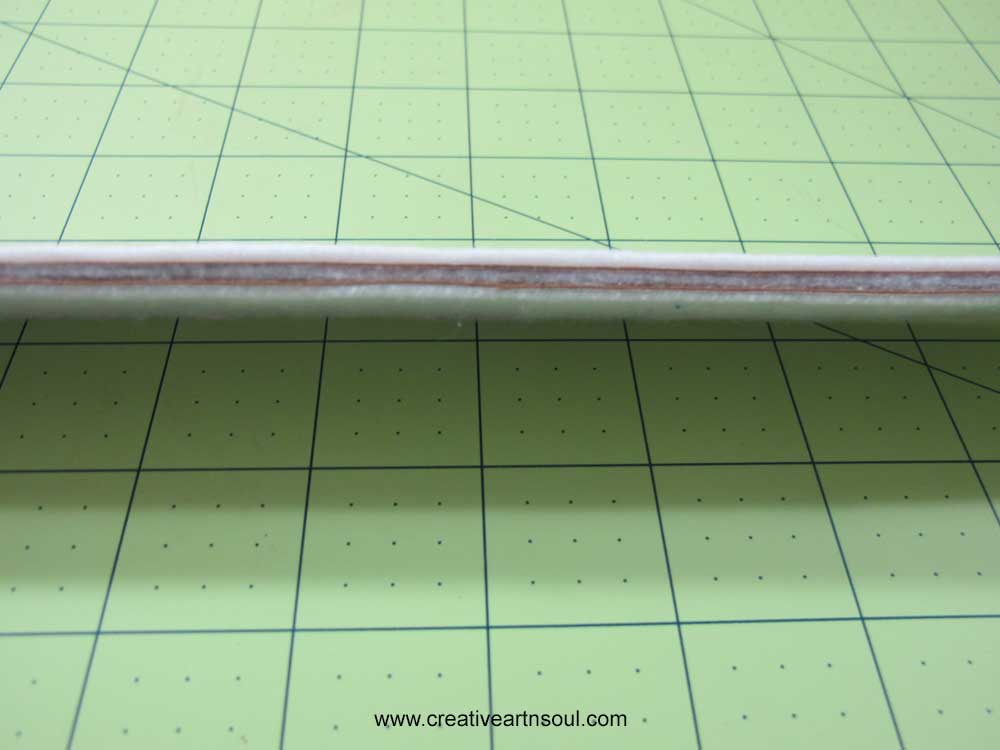
Apply glue to the other side of the cardboard and press to the other piece of felt. You should now have a sandwich of felt/cardboard/felt.
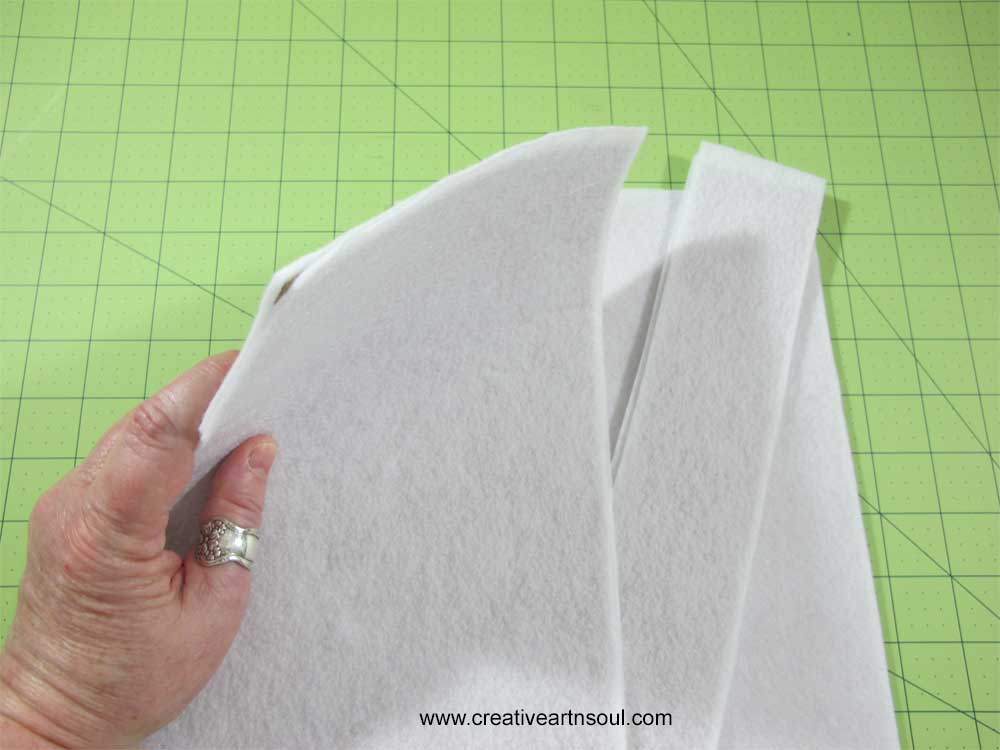
That’s it! You’ve now made a piece of rigid stabilizer.
Allow the glue to dry. Then cut the padded cardboard to size and it’s ready to use.
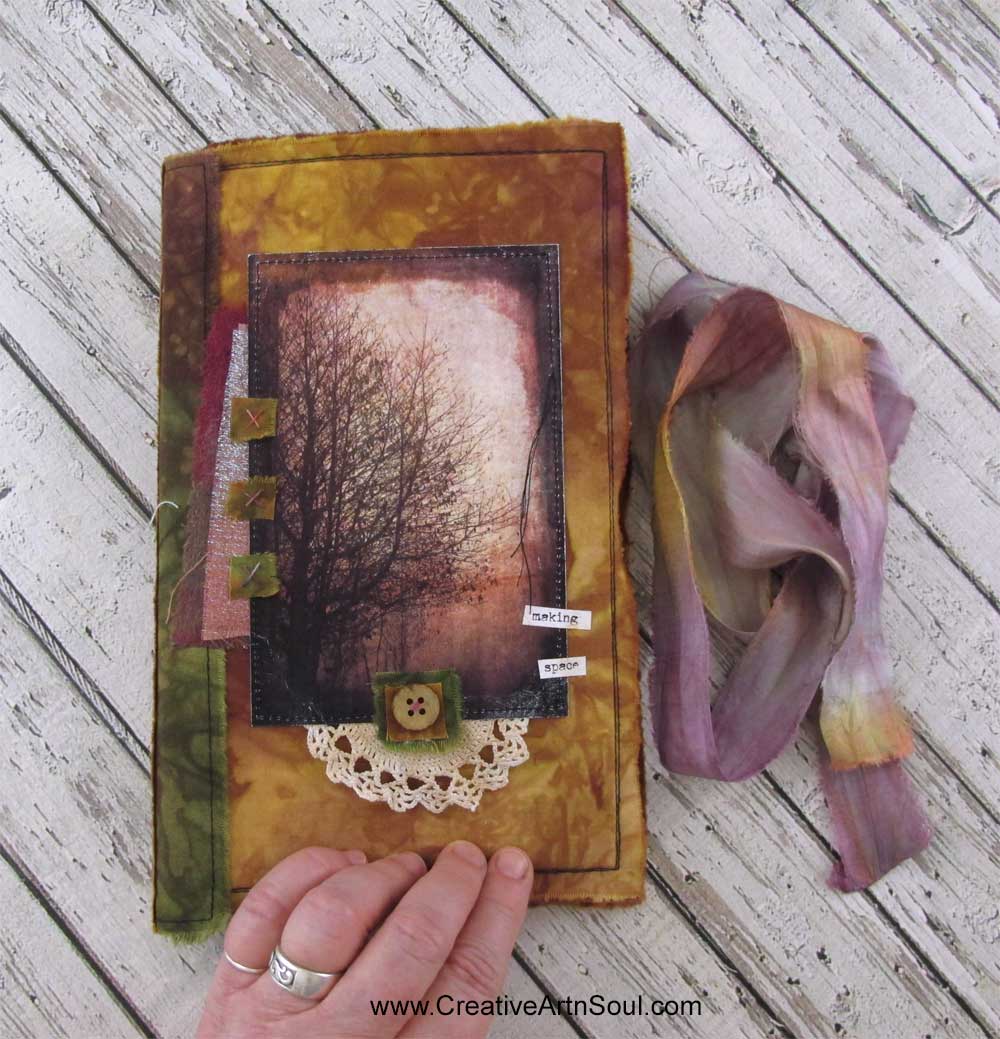
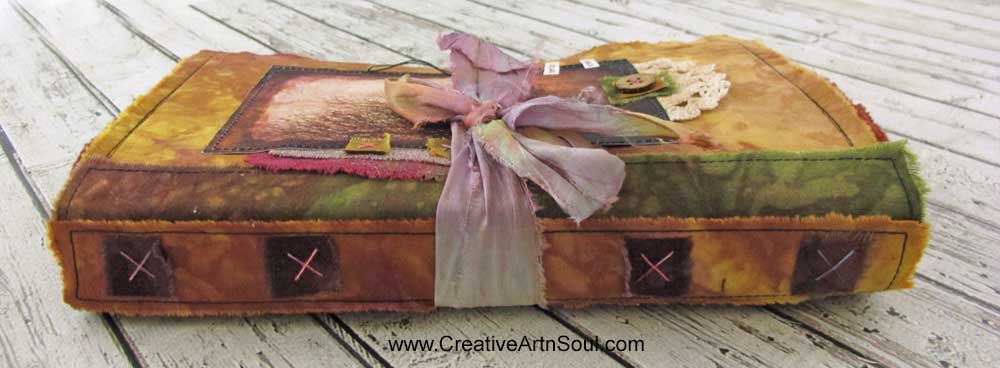
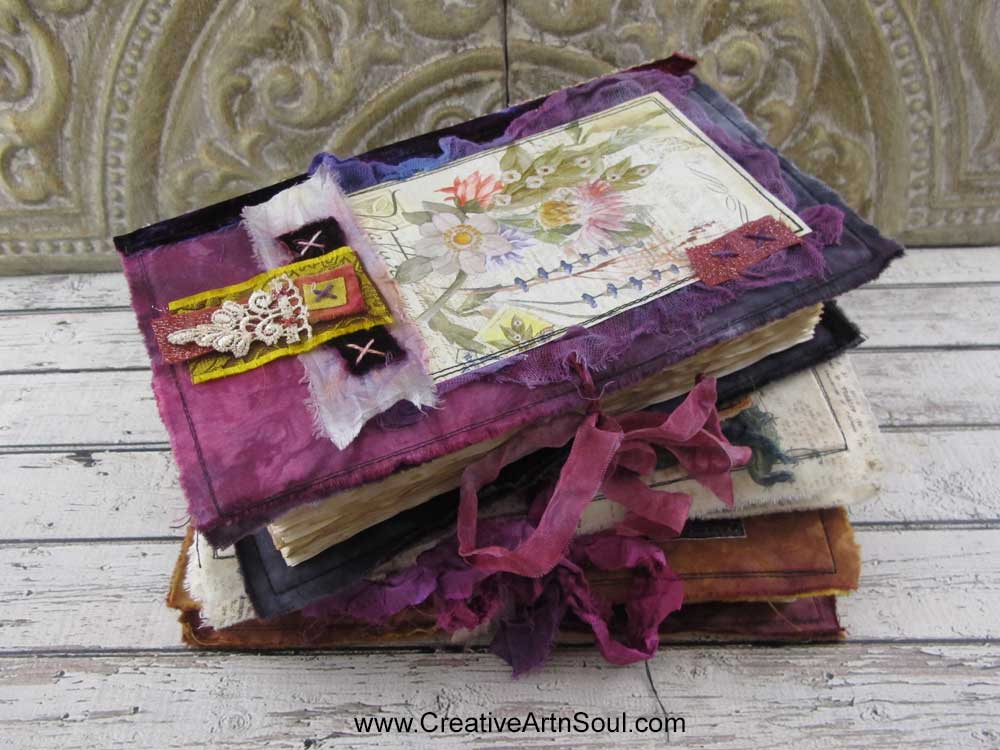
You can use the padded stabilizer just like you would use any other type of thick stabilizer or chipboard for constructing your journal cover. And it’s particularly handy for making stitched journal covers.
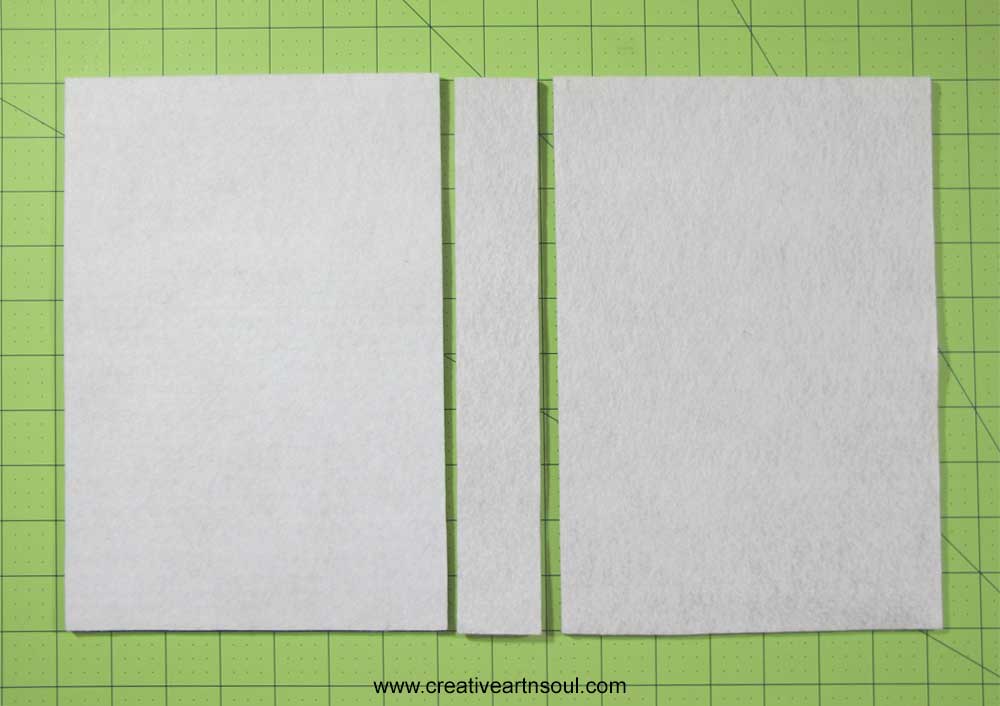
The cardboard is thin enough to sew through using either a sewing machine or by hand. And the felt provides a softly textured surface which makes it ideal for sewing and embellishing.

Make it Thicker for Really Rigid Stitched Journal Covers!
To make a thicker, more rigid piece of stabilizer, simply add more layers of cardboard and felt.
Keep in mind that if it gets too thick though, you may have trouble machine sewing it unless your machine has a walking foot or an even feed foot.
Make Fusible Stabilizer for Stitched Journal Covers
To make the DIY stabilizer fusible, simply iron some fusible webbing such as Pellon Wonder Under to both sides of the felt.
Use it to Make all your Stitched Journal Covers
Save this pin to your favorite Pinterest board!
