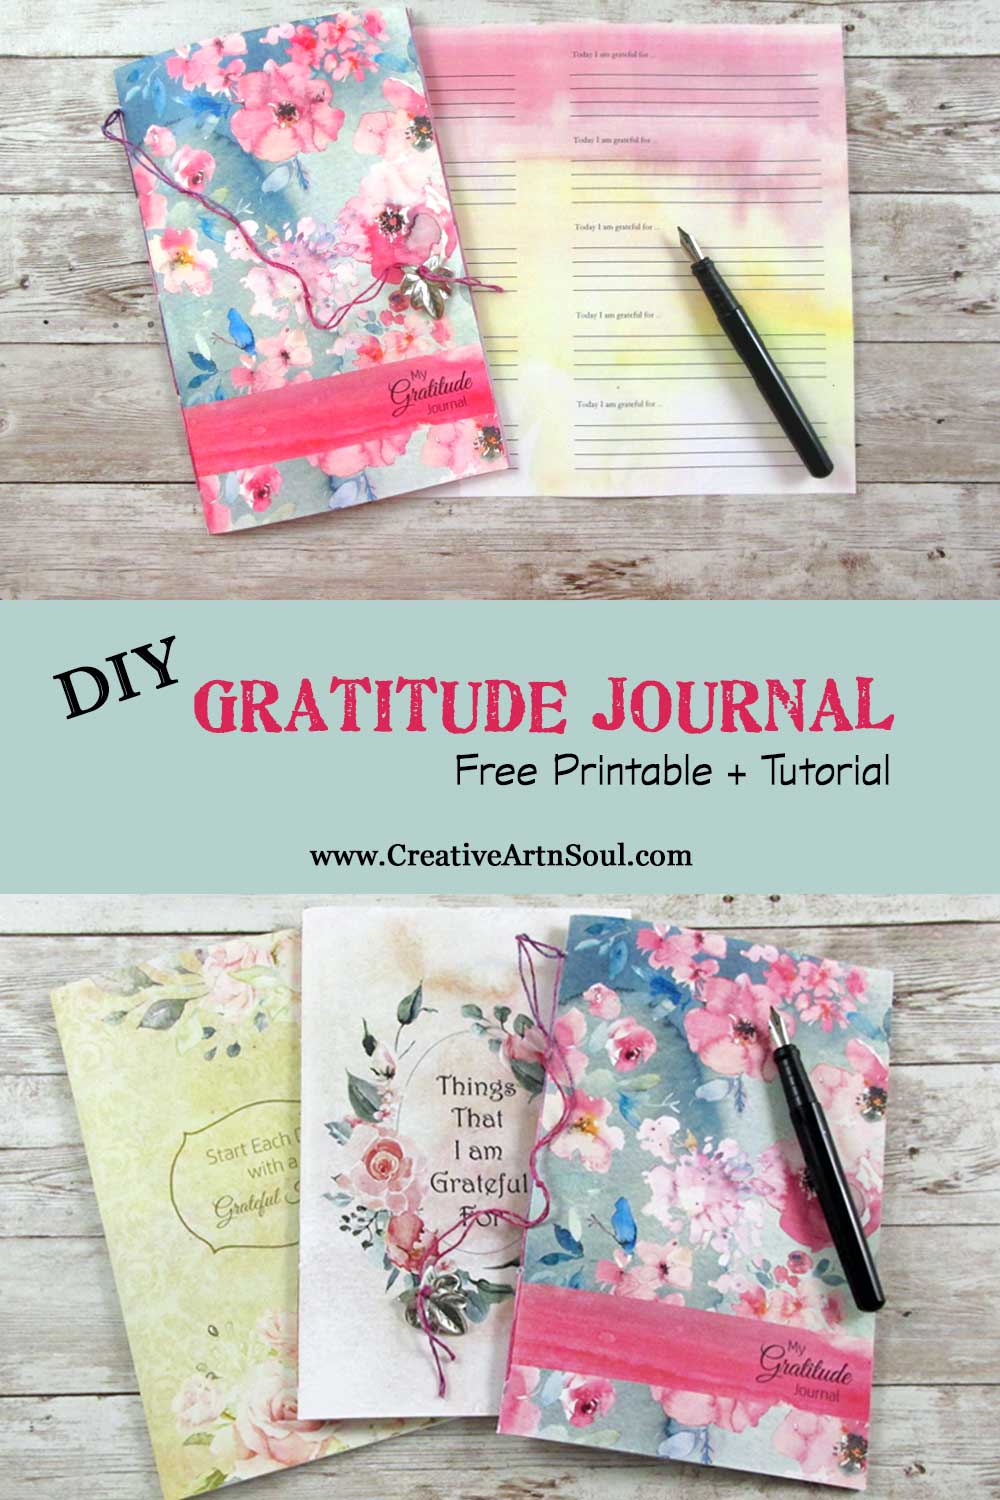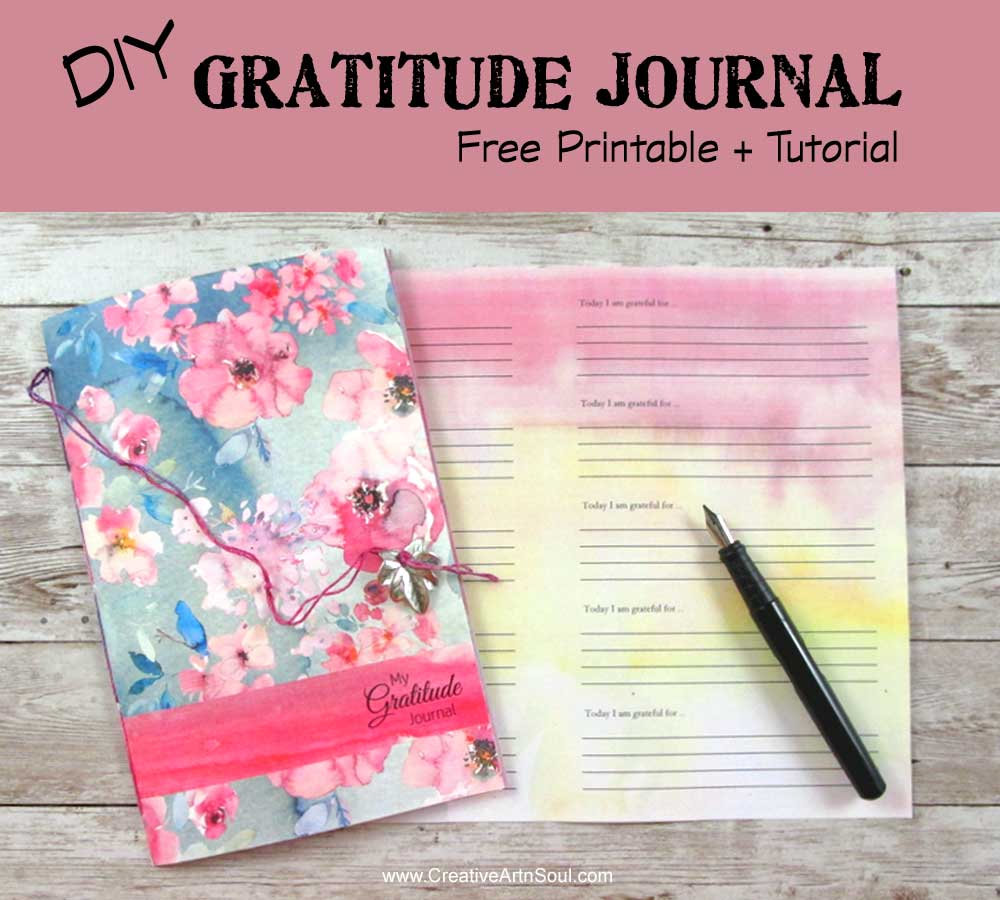
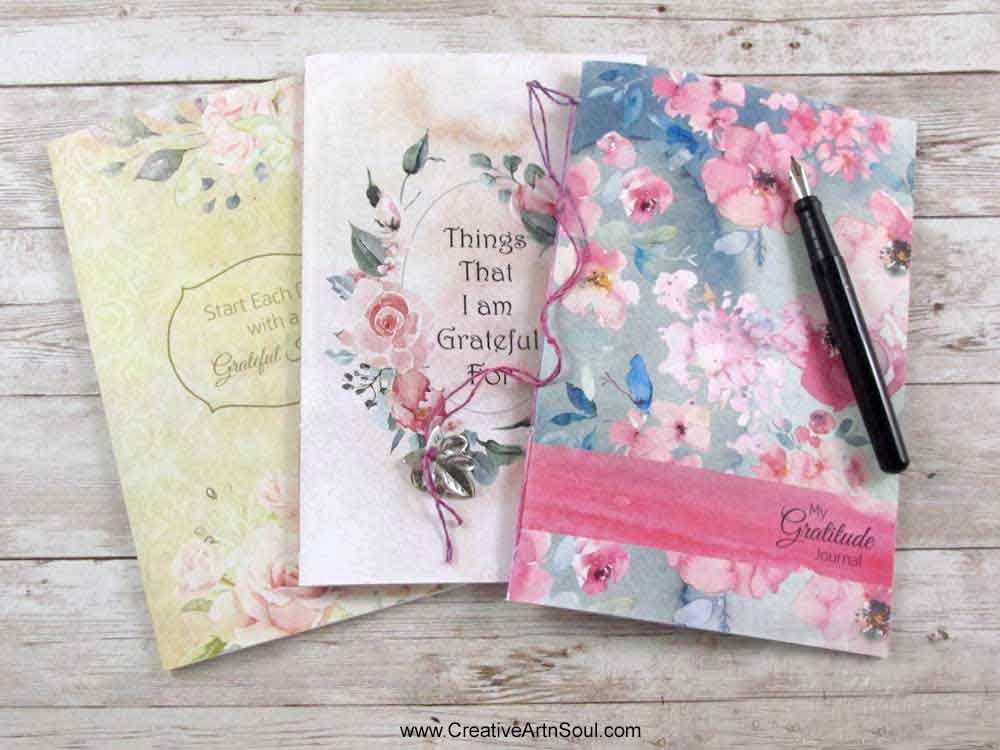
Incorporate gratitude into your day by making a gratitude journal using this free printable gratitude journal page.
Keeping a gratitude journal is not only a great way to remind yourself of all the wonderful things in your life, it can also transform your life in amazing ways. According to Robert Emmons and Michael McCullough, leading researchers into Gratitude, their research shows benefits such as greater connection to others, increased personal joy, better sleep, and lowering symptoms of physical pain.
Gratitude is something that we can easily incorporate into our lives on a regular basis using a gratitude journal.
I’ve tried many different types of gratitude journals over the years and I’ve found that what works best for me is a simple type of journal that doesn’t require a lot of time or effort. A few minutes a day is all that’s needed. With this approach in mind I’ve designed these printable gratitude journals that are simple and easy to use every day.
I’m also mindful of how grateful I am that I get to do what I love every single day in my creative business. With that in mind, please enjoy this free printable journal page that you can use to make your own gratitude journal. My hope is that you learn to incorporate gratitude into your life every day and enjoy the many benefits that it brings.
Supplies & Resources
How to Make a Printable Gratitude Journal
1. Download the free Gratitude Journal Page.
The free printable gratitude journal page has a double-page layout so you can easily fold it to make a journal that is sized approximately 5.5″ x 8.5″.

After signing up check your inbox for the download link.
Terms of Use for Free Printables
When you sign up you will be added to our mailing list.
You can unsubscribe at any time.
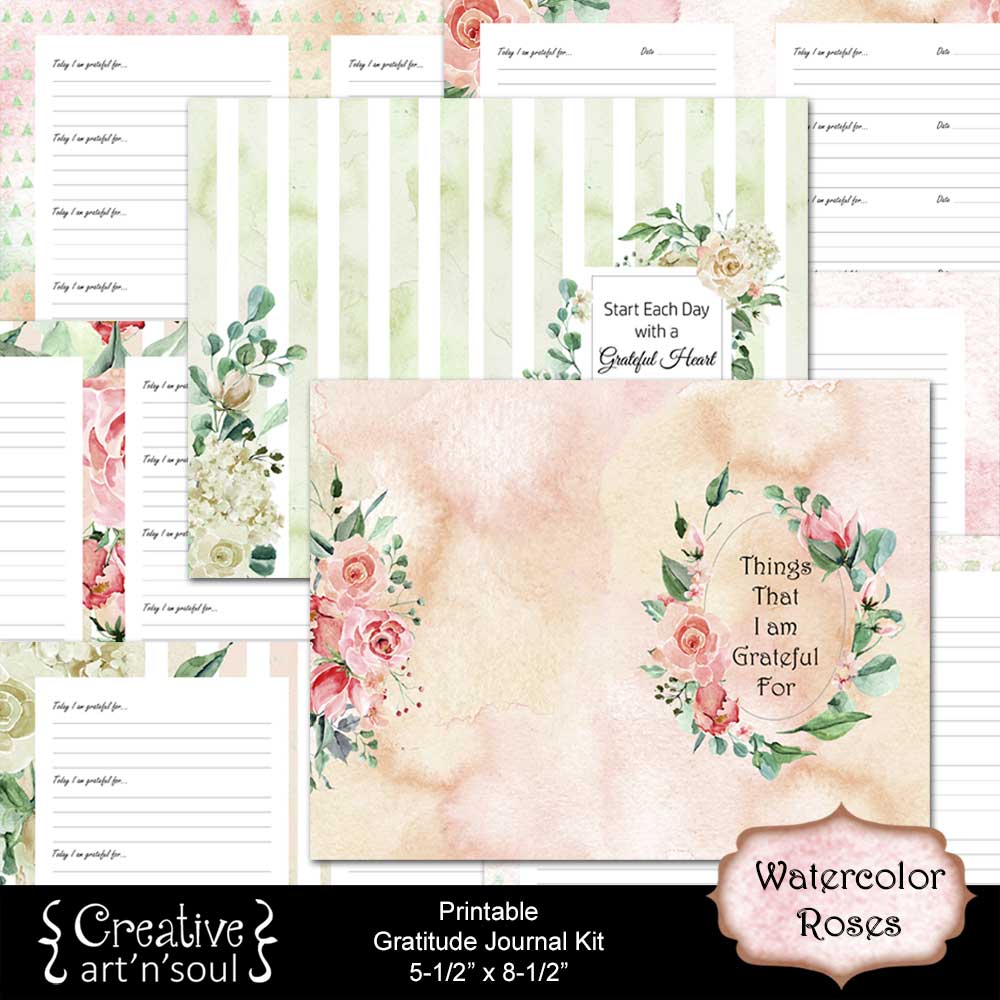
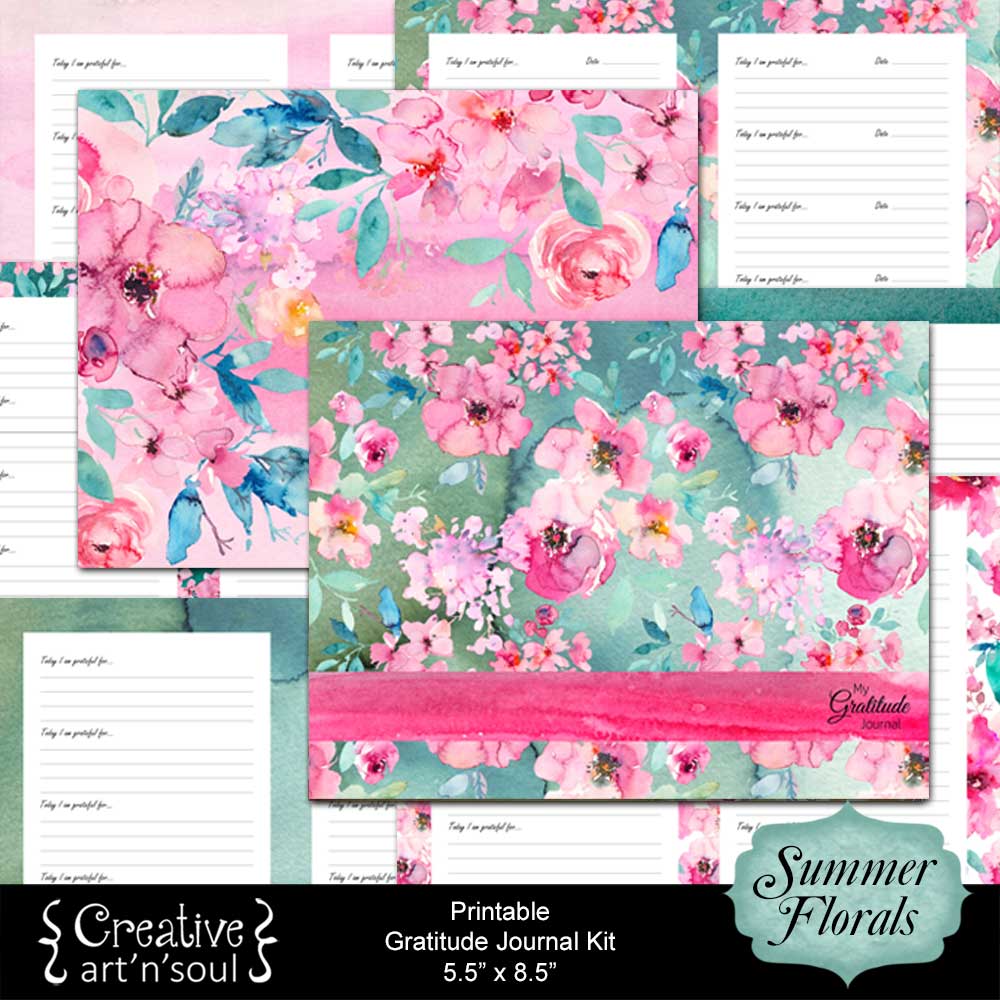
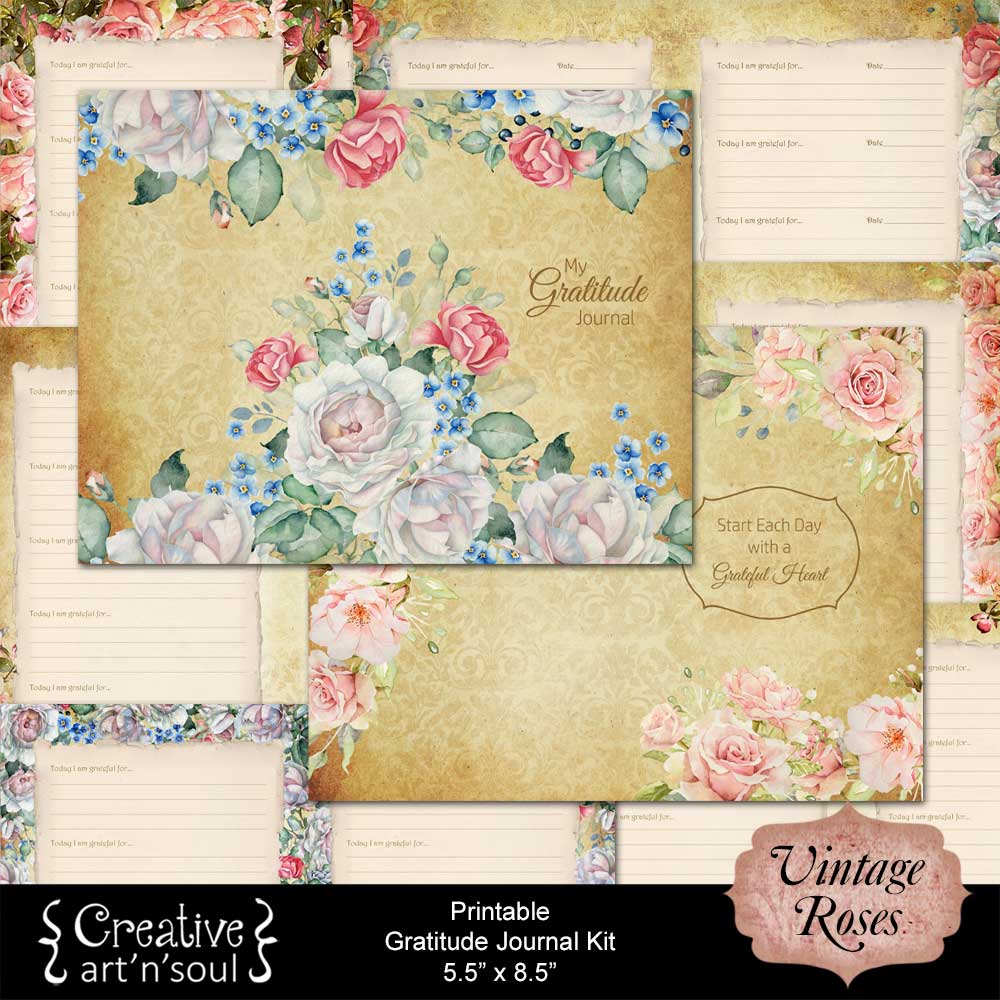
Alternatively, head over to my online store and purchase one of my Printable Gratitude Journal Kits.
Each of these printable kits includes a variety of different pages plus two different covers so you can mix and match to create your own perfect journal.
2. Print the Pages
The pages are sized to print at 8-1/2″ x 11″ however you can also print A4 size (8.3″ x 11.7″). Before you print, make sure to change the following print options: Set Page Scaling to “Fit to Printable Area”. This will ensure that the pages print correctly. Your pdf reader may have a different option, however it should be similar.

Print out six to ten double-sided journal pages onto copy paper. I like to make small journals so I can fill them quickly, and then I have an excuse to make another one using different printables.
Tip: When writing on both sides of copy paper, use paper that has a heavier weight than the standard type of day-to-day copy paper. Paper that is has a heavier weight feels better for writing on, and the extra thickness will help prevent the ink from seeping through to the other side. I like to use 24lb weight paper.
Unless your printer has a borderless printing feature there will be a white border around the edges which is the safety margin set by your printer. These will be trimmed off later once the journal is assembled.
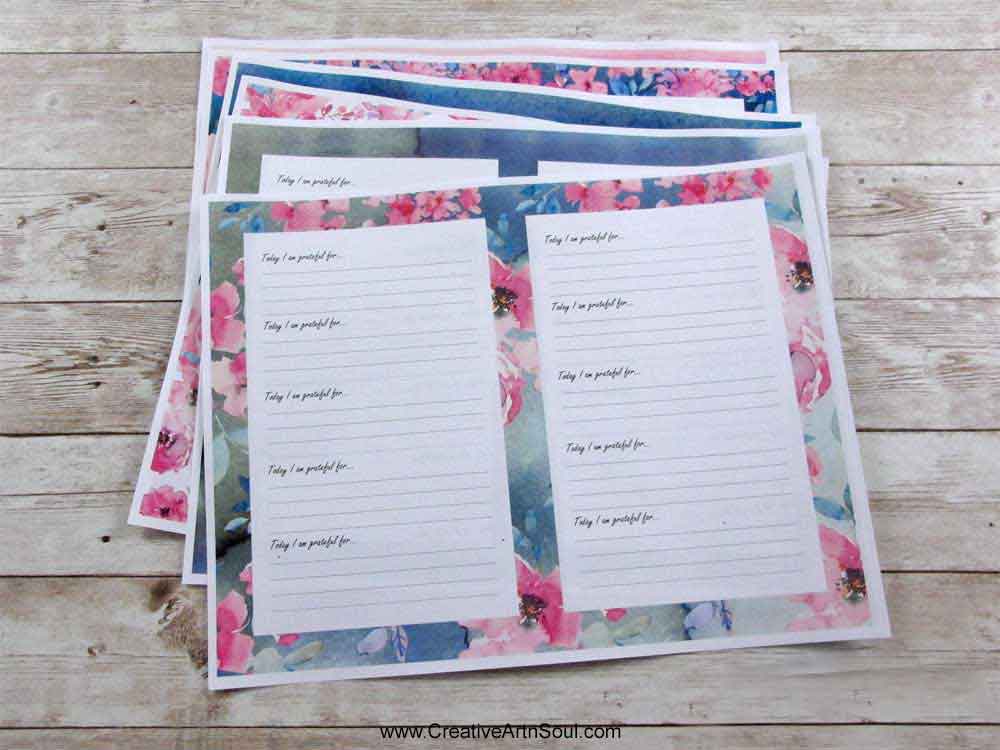
Fold each of the sheets in half to measure 5-1/2″ wide by 8-1/2″ high.

Print out the cover onto a sheet of good quality cardstock. If you’re making a journal using the free printable journal page you can make a journal cover from any other type of cardstock, cardboard or double-sided heavyweight scrapbook paper.

Make a crease down the center of the cover using a creasing tool and fold in half so that it’s the same size as the folded pages at 5-1/2″ wide by 8-1/2″ high.
3. Assemble the Journal
Open the pages and stack them together with the cover on the outside. Attach some binder clips to hold the pages in position. Using a pencil, mark five equidistant dots along the center fold line with the top and bottom dots positioned 3/4″ in from each end.
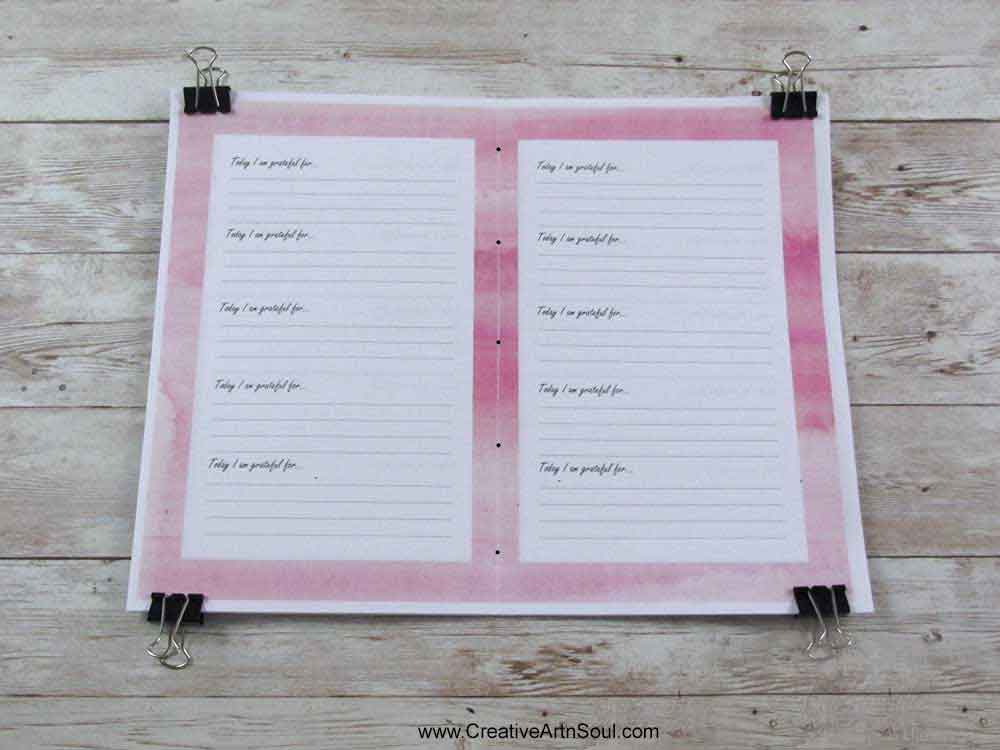
Using a bookbinding awl or a large embroidery needle, poke holes through the marked dots.
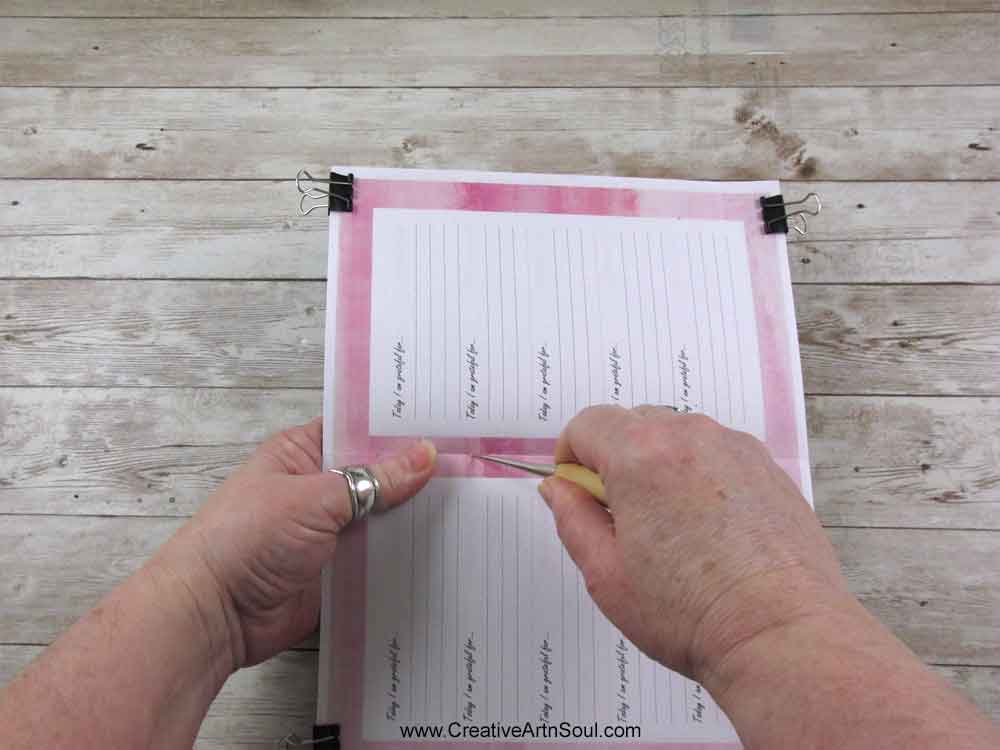
Cut a piece of booking binding thread or hand embroidery thread approximately 40″ long. Using a book binding needle or a large hand embroidery needle, start sewing at the top on the outside. Bring the needle through to the inside, leaving approximately 12″ of thread on the outside. Then through the next hole to the outside, and then back to the inside.
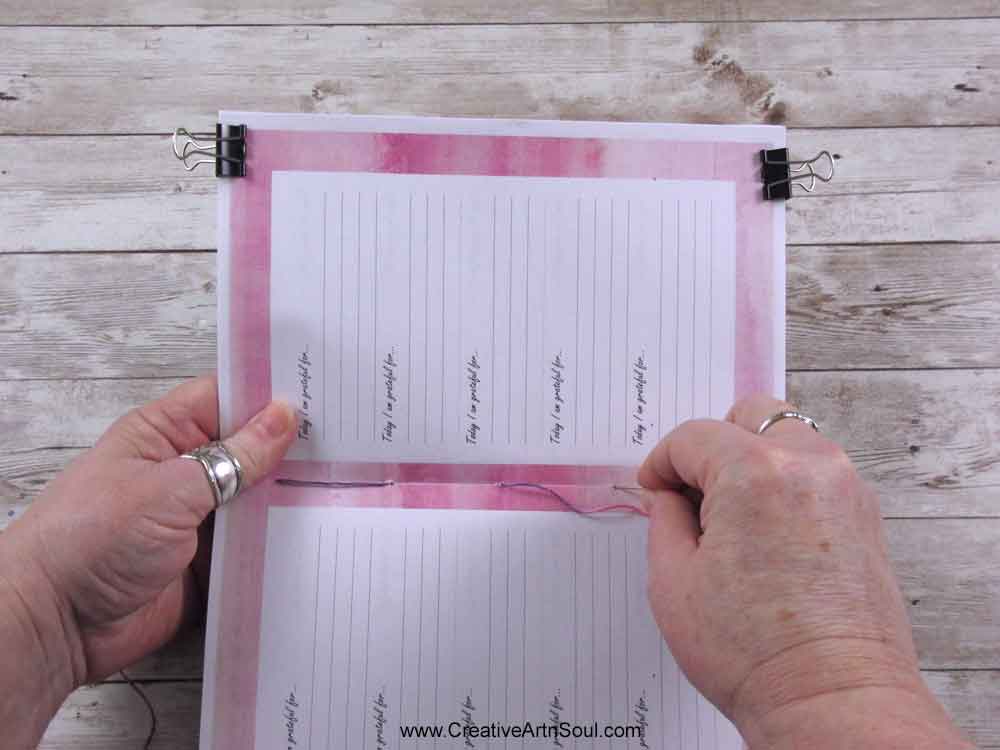
Sew in and out back up to the top, then tie off in a knot at the top on the outside of the cover.

4. Cut the Journal to Size
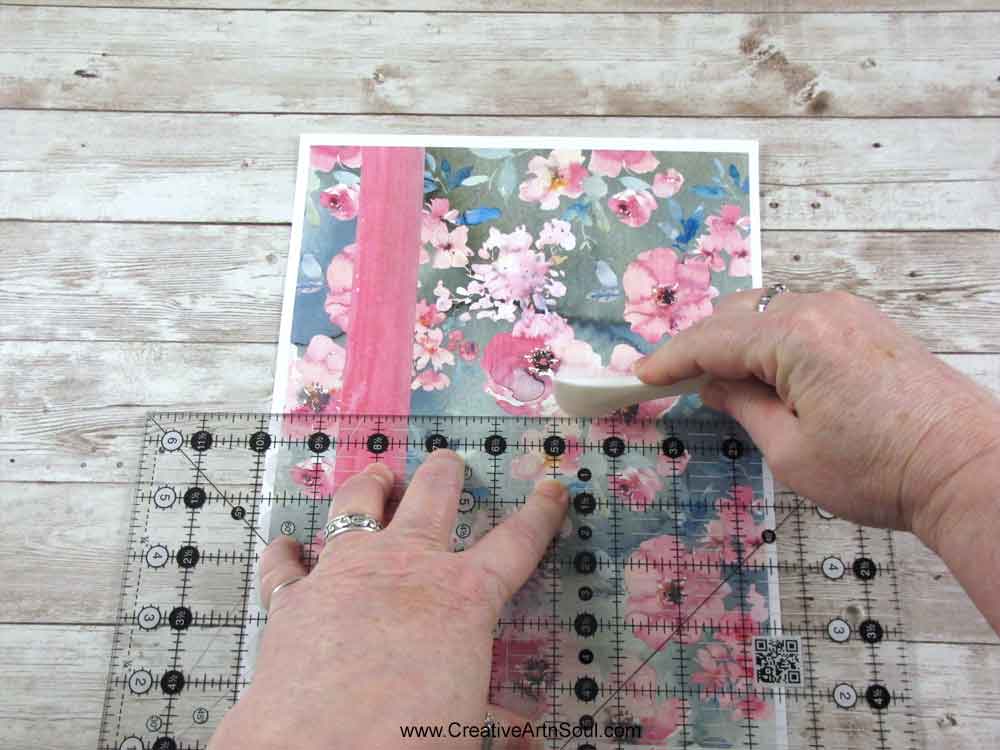
Now it’s time to trim away the white border edges and make the pages even. I find that a clear quilting ruler with non-slip underside, and a sharp stanley knife works perfectly for trimming journals. I like using a quilting ruler because you can see through it to position it which ensures that your paper cuts are accurate.
To cut the long edge, fold the journal closed, align the ruler marks accurately along the folded edge of the journal and measure 5-1/4″ across. This should give you a trim allowance of approximately 1/4″ from the long side. You may need to adjust the measurements if your printer has a wider or narrower safety margin. Press on the ruler firmly, then using a light pressure, cut away a few pages at a time until all the pages are cut through.
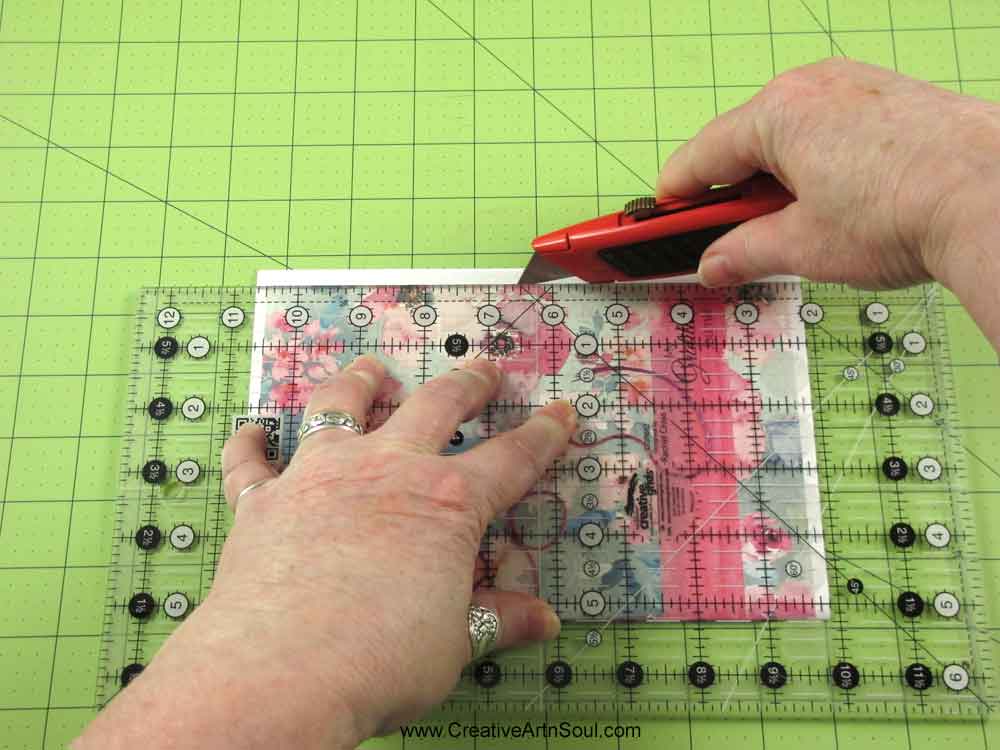
To cut the top edge, align the ruler marks accurately along the bottom edge of the journal and measure 8-1/4″ across and trim away the excess paper.

To cut the bottom edge, align the ruler marks accurately along the top edge of the journal and measure 8″ across and trim away the excess paper.
The finished size of the journal should be approximately 5-1/4″ wide by 8″ high.

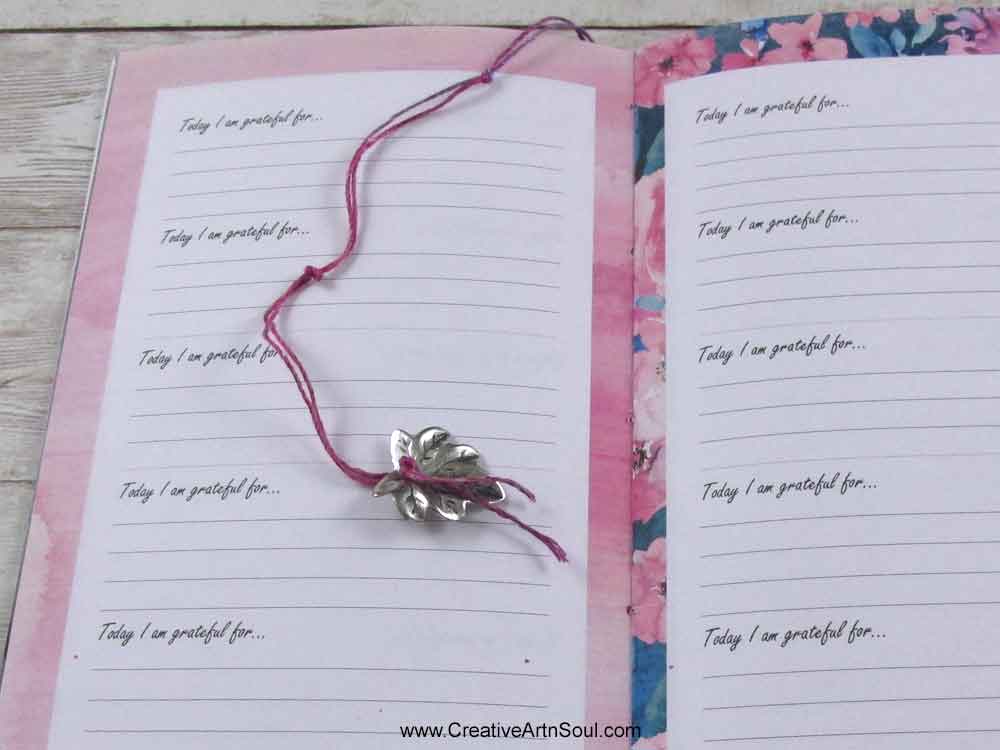
To finish off, tie a metal charm to the end of the threads. Fold the threads over to the inside of the journal and you have a simple bookmark.
Save this pin to your favorite Pinterest board!
