
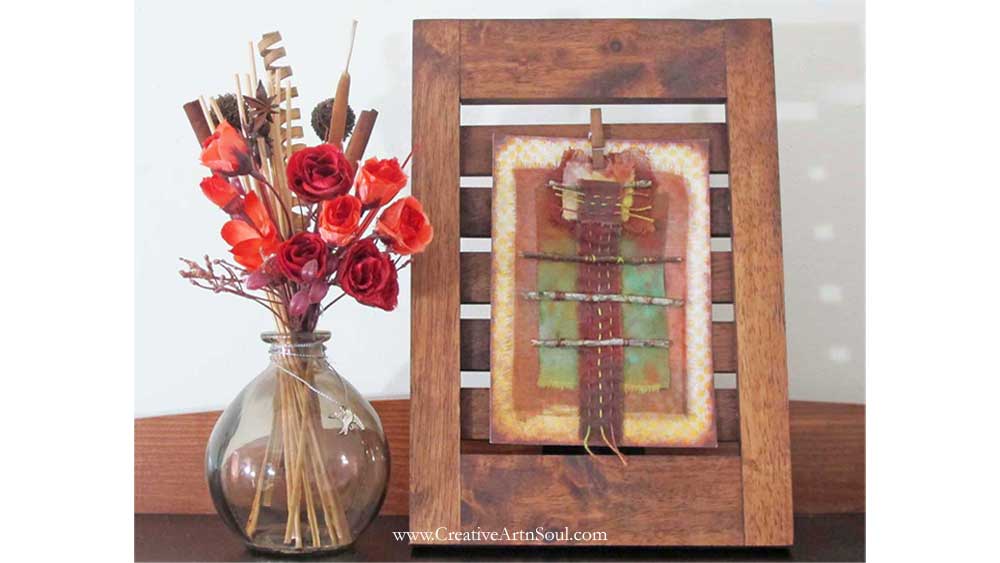
Make a nature-themed stitched mixed media collage using a printable junk journal page as a backing.
Stitched mixed media collages are fun to make and are ideal for times when you want to make a small stitched project that goes together quickly.
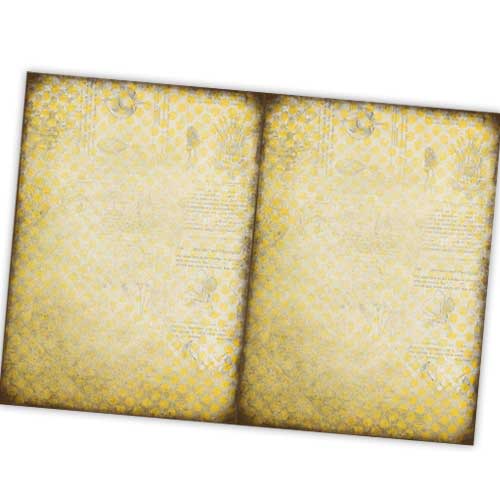
The backing for this collage is made using a printable junk journal page that has been printed onto cardstock. The cardstock backing makes a durable foundation that is strong enough to support hand stitching.
Once finished, your stitched mixed media collage can be framed or even inserted as a page in your junk journal.
Supplies
- cardstock backing page using a printable junk journal page
- fabric scraps
- hand embroidery needle and thread
- small thin sticks about 3.5″ long
- craft strength gluestick or fabric glue.
How to Make a Creative Nature-Themed Stitched Mixed Media Collage
To get started with your stitched mixed media collage you first need to print out a backing page onto cardstock.
You can use any type of printable page for the backing and if you don’t already have one, you can find a link to download this free printable page.

Download the Printable Junk Journal Background Page
This free printable is available for download in the Free Junk Journal Printables Library.

Before you start stitching, lay out all the pieces so you know how everything goes together.
The fabric strip is about 1″ wide about the same length as the backing page. It wraps around and folds over the smaller stick at the top.
At the top underneath the strip are several small square scraps of fabric.
For the background I’ve used a large piece of sheer fabric about 4″ wide x 6″ high with a slightly smaller piece of solid fabric on top.
The three large sticks will be sewn on last on top of the fabric strip.

The easiest way to keep the fabric in position while you’re stitching, is to glue the pieces onto the backing page using a strong craft gluestick or fabric glue.
First place the background fabric pieces on top of the cardstock backing and glue them in place.
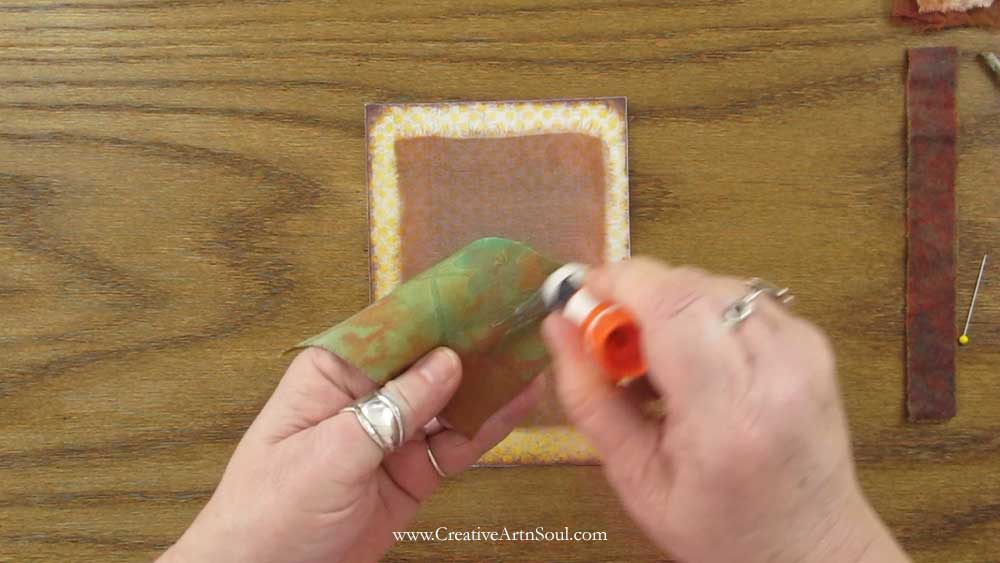
With the background fabric positioned, center the small fabric squares along the top and glue them in place.

Fold and overlap the top of the fabric strip over the small stick by about 1″.

Sew 2 or 3 rows of running stitch across the top folded section using a running stitch. I like to leave my thread ends loose, but you can tie them off if you prefer.

Then sew three rows of running stitch down the length of the fabric strip.
Once the fabric strip is stitched, insert the small stick into the folded section and position along the top of the fabric squares

The fabric strip will be held in position by sewing the stick to the backing page using a few stitches at both ends.
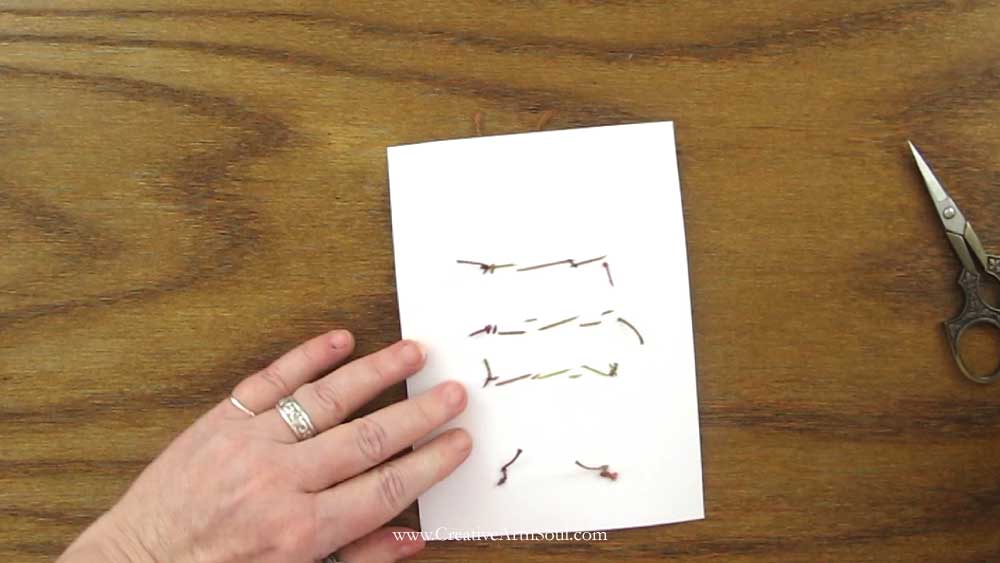
Position the needle where the first stitch should be made close to the stick near the end.
Push the needle through the backing page to make a hole. Then turn the card over and on the back you should be able to easily see the hole so you know where your stitch will be made.
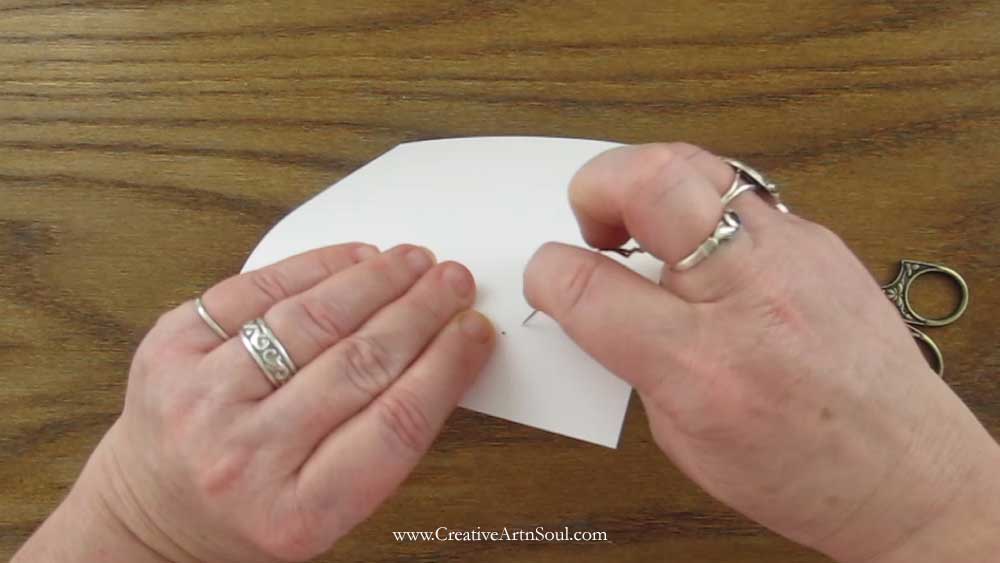
Hand sewing on cardstock can be tricky because paper is not flexible like fabric, so it can be challenging to know how and where to position the stitches.
This problem can be solved by piercing holes through the cardstock from the front where you can see where the stitches need to be made, and then using those holes as a stitch guide.
Using this method of punching a hole from the front to the back you can easily see where the stitches should be positioned.

Once the fabric strip is stitched in place at the top, position the 3 large sticks down the length of the fabric strip.
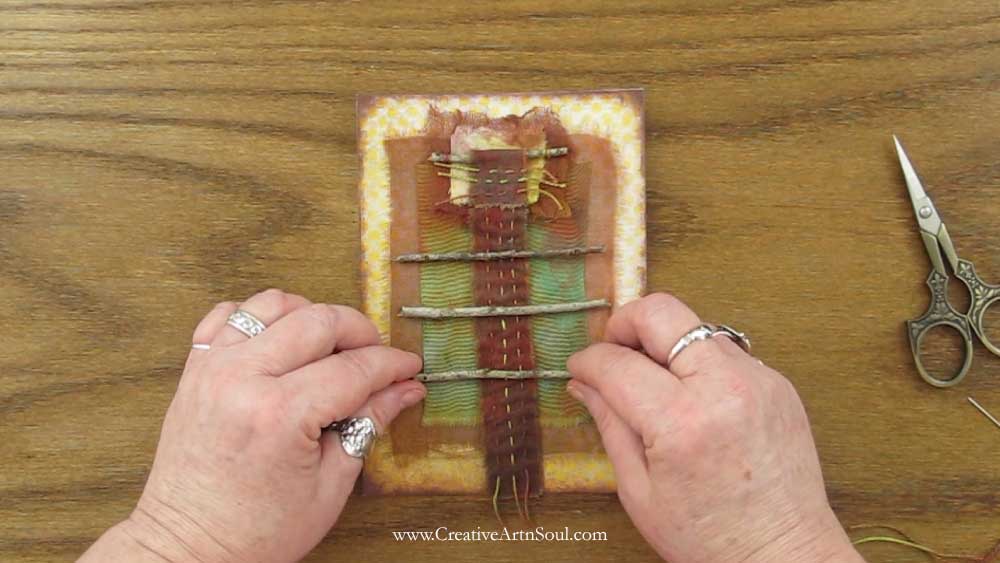
When you’re happy with the placement, stitch each of the sticks into position in the same way as for the stick on the top section.

Once the collage has been stitched, frame it and enjoy!
Save this pin to your favorite Pinterest board!
