
In this step-by-step guide learn how to make a junk journal with creative fabric embellishments.
If you’ve ever wanted to learn how to make a junk journal, particularly a stitched journal, this guide includes lots of creative ideas to get you started. The junk journal has a hard cover with creative fabric embellishments on the pages. The journal is easy to make using supplies that you probably already have on hand.
The hard cover is made from a book which is an ideal way to recycle unwanted books. The pages are made from various papers and cardstock, such as scrapbook papers, magazine pages, and printable papers. The signatures are sewn in using a pamphlet stitch, and creative fabric embellishments provide the final touch.
When making your journal, take your time and enjoy the process. This project is meant to be fun and creative so always be thinking of ways that you can make your journal unique and personal.
How to make a Junk Journal Video
In this video learn how to make a junk journal with a hard cover as well as techniques and inspiration for making fabric embellishments.
Supplies
If you want to learn how to make a junk journal, you’ll need some supplies. You may already have most of these items in your stash.
- Book Binding Kit
- Bone Folder
- Wooden Handle Awl
- Craft Knife
- Double-Sided Tape
- CraftBond Gluestick
- Aleene’s Clear Gel Tacky Glue
- Spray Glue
- Hand Embroidery Needles
- Hand Embroidery Thread
- Thread Wax
- Scrapbook Paper
- Distress Ink Pad Vintage Photo
- Ink Pad Applicator
- Metal Charms
- Binder Clips
- Tear-Away Stabilizer
- Non-slip Ruler
Make the Junk Journal Cover
To get started with your junk journal, the first step is to select a book with a hard cover. The book doesn’t necessarily have to be vintage or old; it just has to have a hard cover where the pages are not glued to the spine.

To remove the pages, open the book and find the crease where the pages meet the cover.
Using a small sharp craft knife, carefully cut along the edge of the pages where they attach to the cover. Once you’ve cut away the pages, you can discard them or keep them to use as pages in other junk journals or art journals.
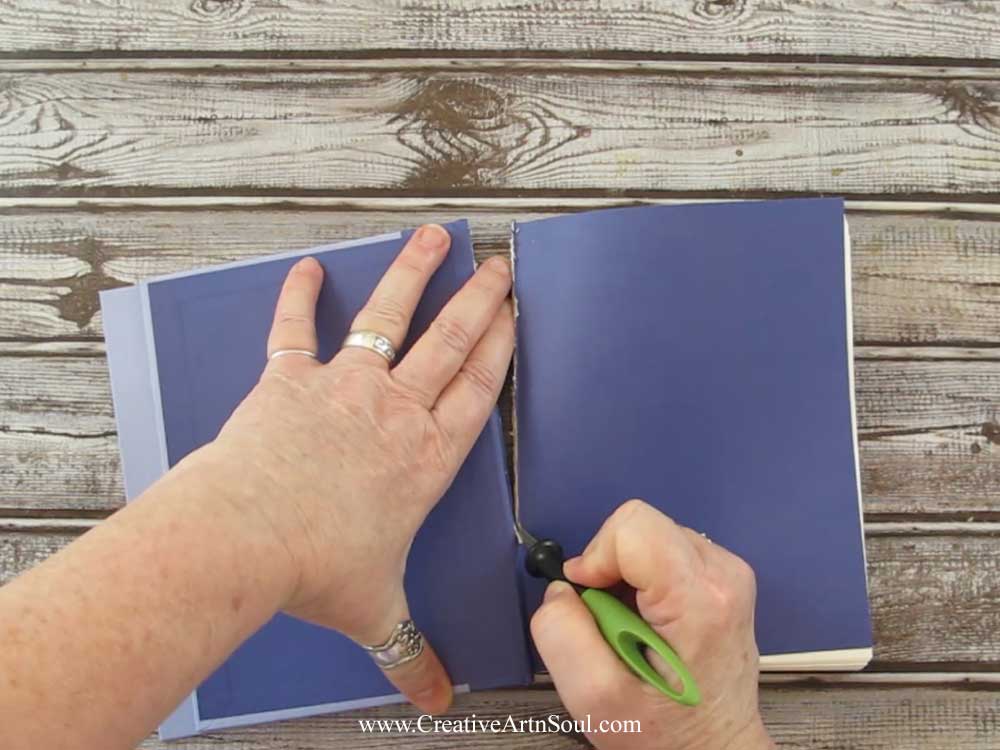
After you’ve cut out of the pages, you can leave the inside of the book cover as it is, or you can cover the inside and the outside using fabric or paper.
If you plan to cover the inside, you first need to reinforce the inside section of the spine. This can be easily done using duck tape.
To do this, measure the length of the book cover, cut a piece of tape to length and press it over the spine area. Be sure to press into the edges of the spine so that the book will open and close easily.

To cover the inside, measure the book cover and cut a piece of fabric or paper to size. Make sure to take into account the recess of the spine. In this junk journal I’m using fabric because it’s more flexible and easier to fit.
You can use liquid glue to adhere the fabric in place, however spray glue is quick and easy to use and you can reposition the fabric fairly easily. After you apply the glue, press one side in place, press the fabric into the spine recess, then press the other side in place.

Select the Paper for the Junk Journal Pages
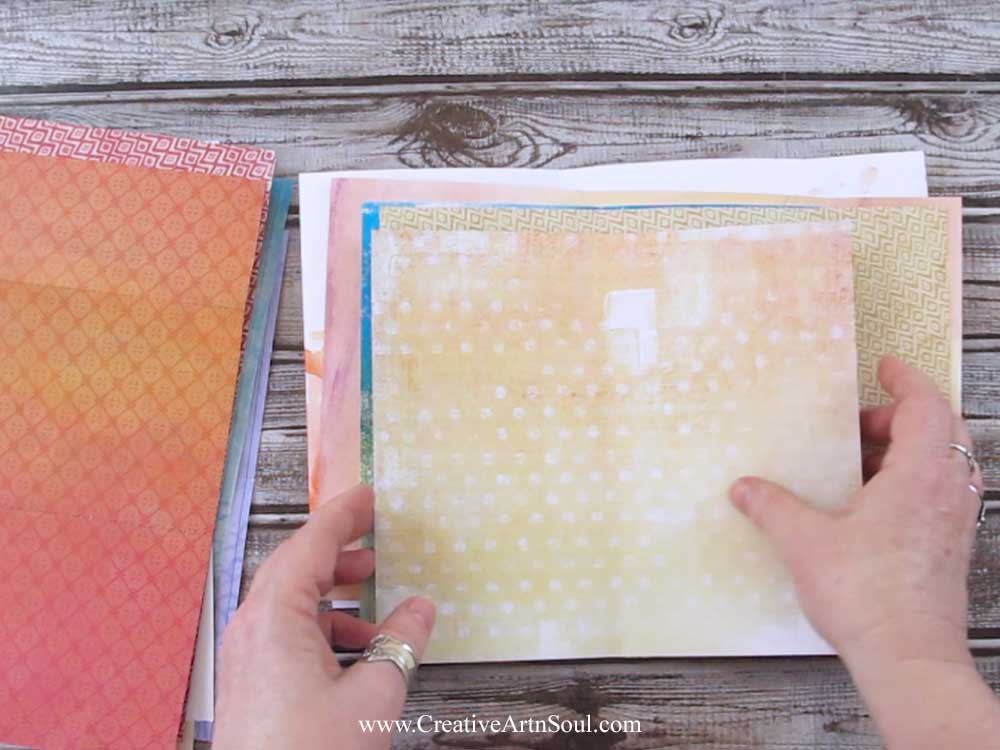
There is no right or wrong way to use a junk journal so you can include papers and pages that work best for you.
If you like to write or journal your thoughts, you may want to include different types of lined writing paper. If you draw or sketch, you may want to include some type of plain paper or watercolor paper.
You could include papers such as scrapbook paper, printable papers, hand painted papers, and pages from magazines and books. If you removed the pages from a hard cover book, this is the perfect way to recycle them.
The pages don’t have to be the same size so this type of journal is ideal for using up all your different sized paper scraps.
Make the Signatures
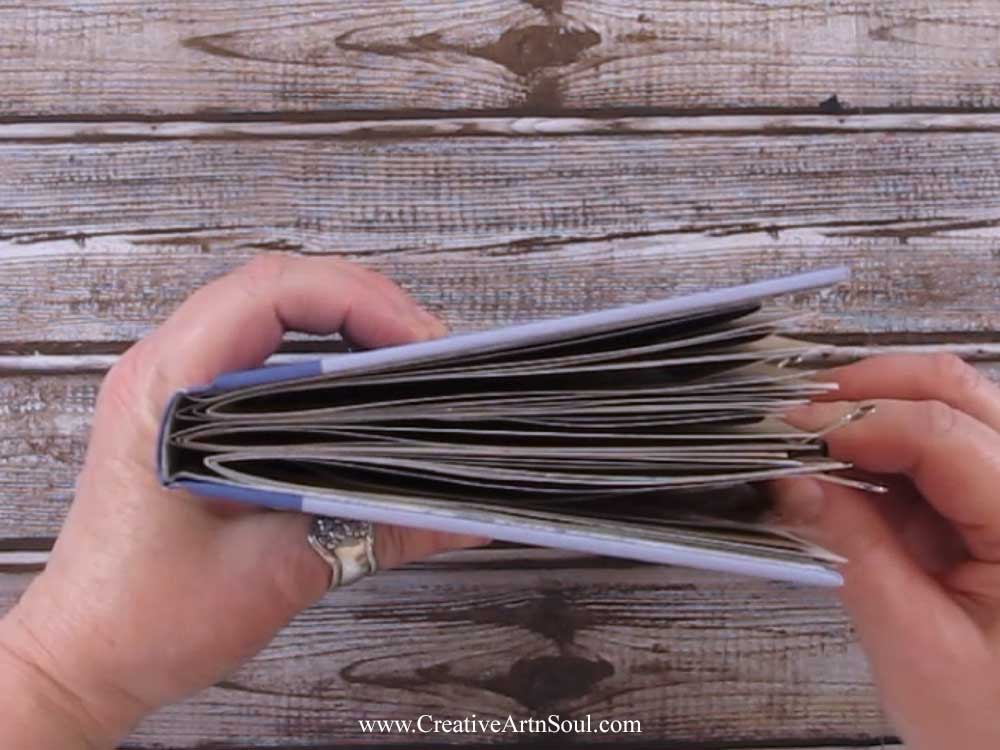
Once you’ve decided on the types of papers you’re going to include in your journal, cut or fold them to size, and assemble them into signatures. The pages should be about the same size as the journal cover or slightly smaller so they fit neatly inside the cover. I’ve used 9 to 10 folded pages per signature.
Make the Hole Templates
To make it easy to sew the signatures to the cover, it’s a good idea to make hole templates and punch holes into the cover and the signatures before sewing.
To make a cover hole template, first measure the width and height of the spine and cut a piece of paper the same size. Then decide how many holes you’re going to use to sew the signatures in place.
For this journal I’m using three signatures and I’m going to sew them in using a 3-hole pamphlet stitch. However depending on the size of your journal you could use 5 or 7-hole pamphlet stitch.
Mark one hole in the middle of the template, and the other two holes about 1″ in from each end. When marking the holes, make sure that they are spaced evenly apart, both widthways and lengthways.

For the page hole template, cut a piece of paper the same length as the cover hole template, by about 2″ wide. Fold the paper in half and make a crease down the center.
Align the folded edge with the markings on the cover template, and transfer the markings from the cover template to the page template.
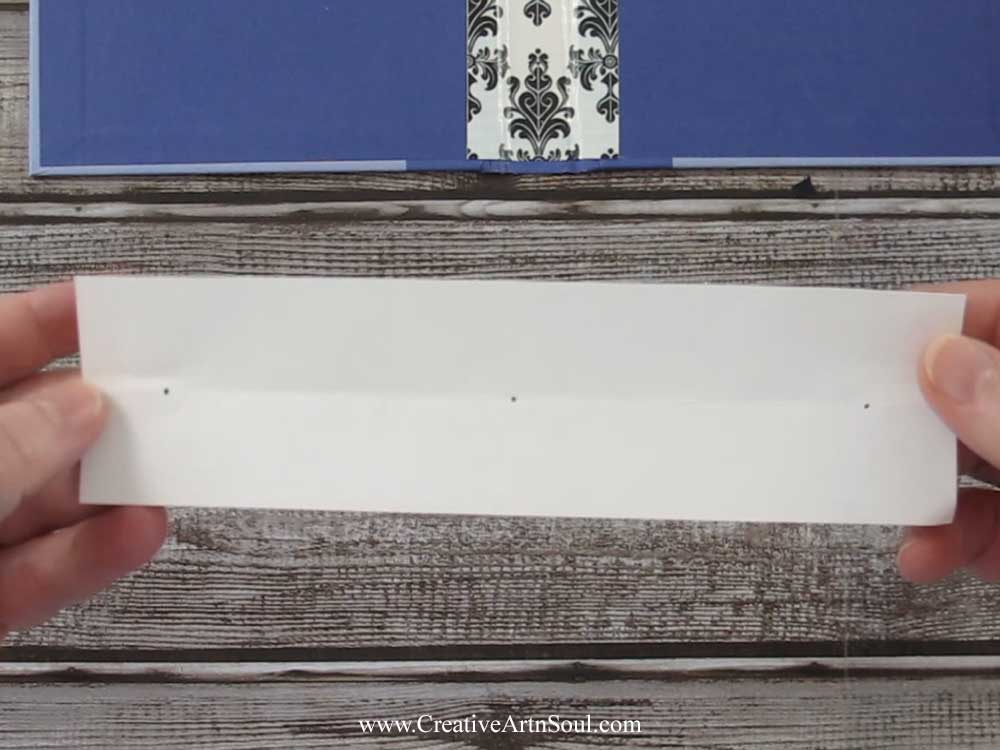
To finish the templates, punch a hole through each of the marks using an awl. This will make it easy to transfer the markings to the cover.
Transfer the Hole Markings
To transfer the hole marks, on the inside of the cover position the cover hole template along the length of the spine and mark the hole positions using a fine point sharpie.
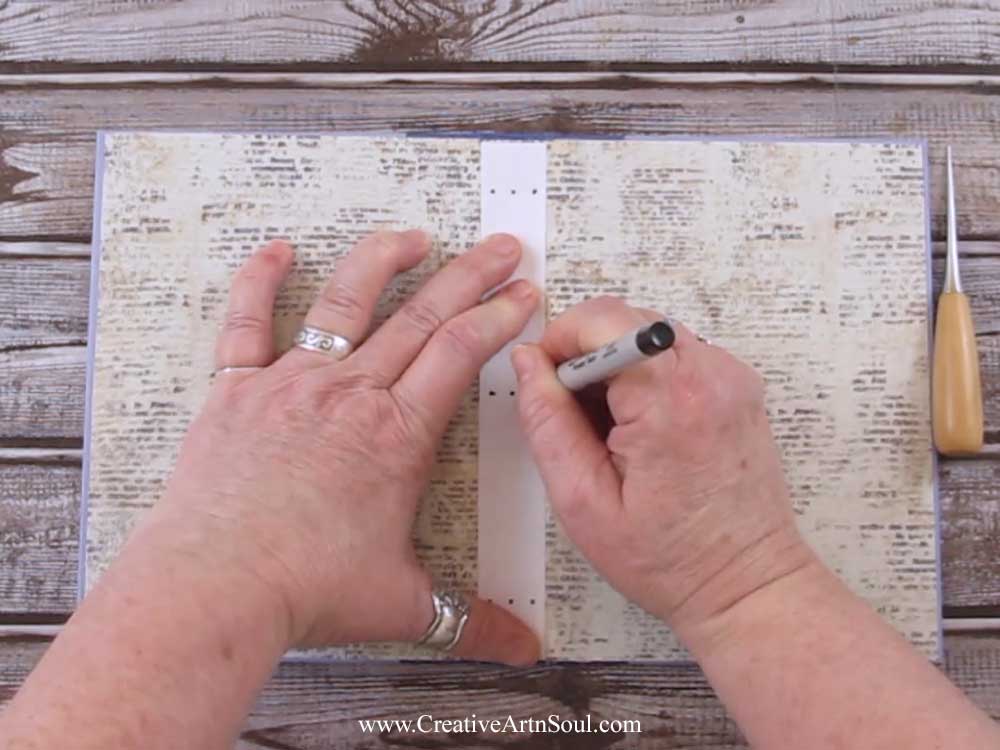
Once the markings have been transferred, poke holes through the spine using a bookbinding awl.
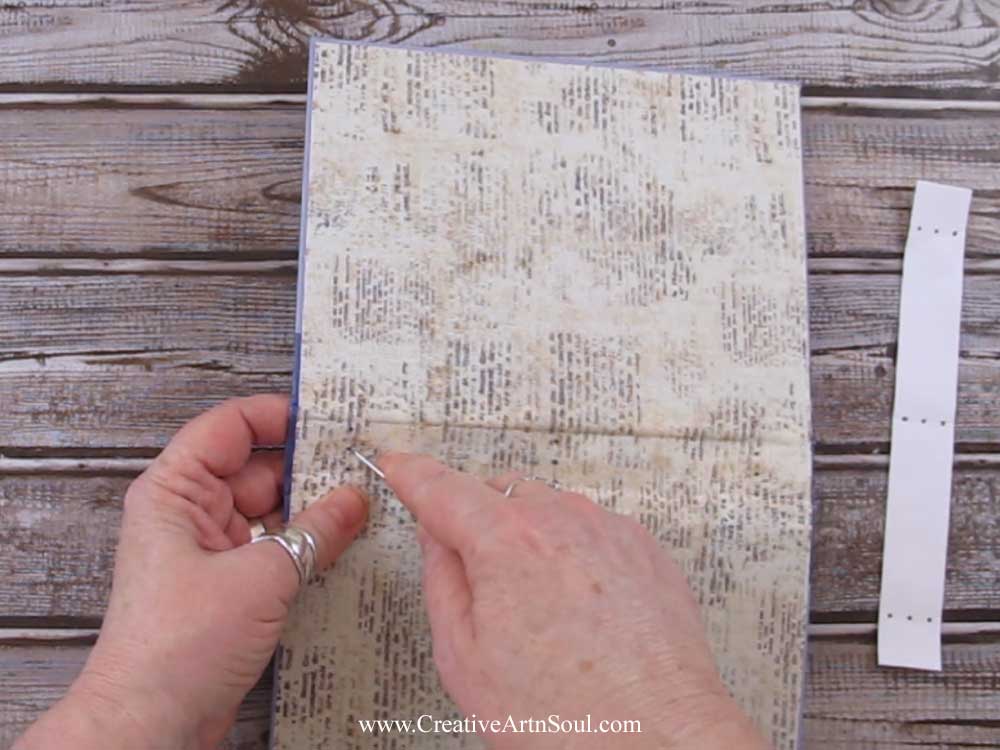
After the holes have been punched through the cover, do the same with each of the signatures.
Sew the Signatures
The signatures are sewn into the cover using a simple pamphlet stitch.
Cut a length of bookbinding or embroidery thread a little longer than twice the length of the page and thread it through a large embroidery needle.
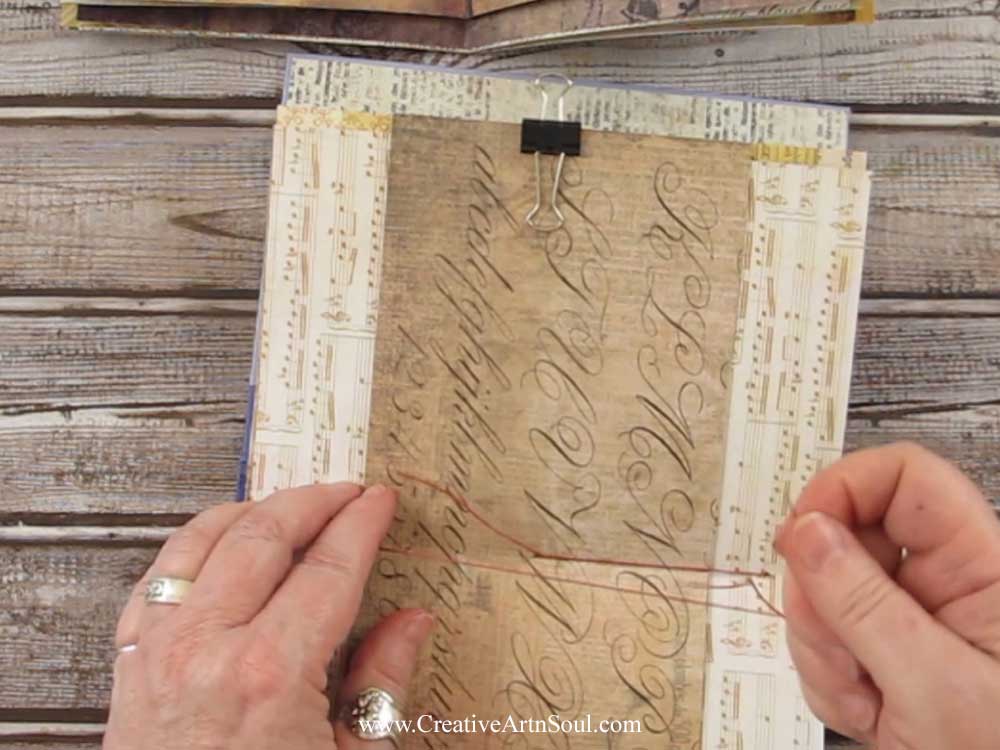
Position one of the signatures inside the book cover. Starting with the middle hole on the inside, push the needle through the signature and the cover to the outside leaving about a 4″ thread tail on the inside.
Bring the needle back to the inside through the top hole, back out again through the center, then back in again through the bottom hole.
Pull the thread tight, then tie off in a knot in the center. Sew the other signatures into the cover in the same way.
Finish the Journal Cover
To finish off the journal, I cut to size and glued two pieces of scrapbook paper to the front and back of the book cover, and I also glued a piece of lace down the spine to hide the stitching.

How to Embellish the Junk Journal using Fabric, Lace and Stitches
When you make a junk journal, it never feels quite complete until you add some embellishments, and stitched embellishments are the perfect final touch.
The secret to a really good junk journal, is to not be stingy with your embellishments. Your journal should be overflowing with all sorts of fabric and lace, pockets and tags, beads and charms. And anything else you want to include.
Embellished Pages
Ribbon and lace strips can be attached along the edges of pages easily by gluing them in place using a gluestick.
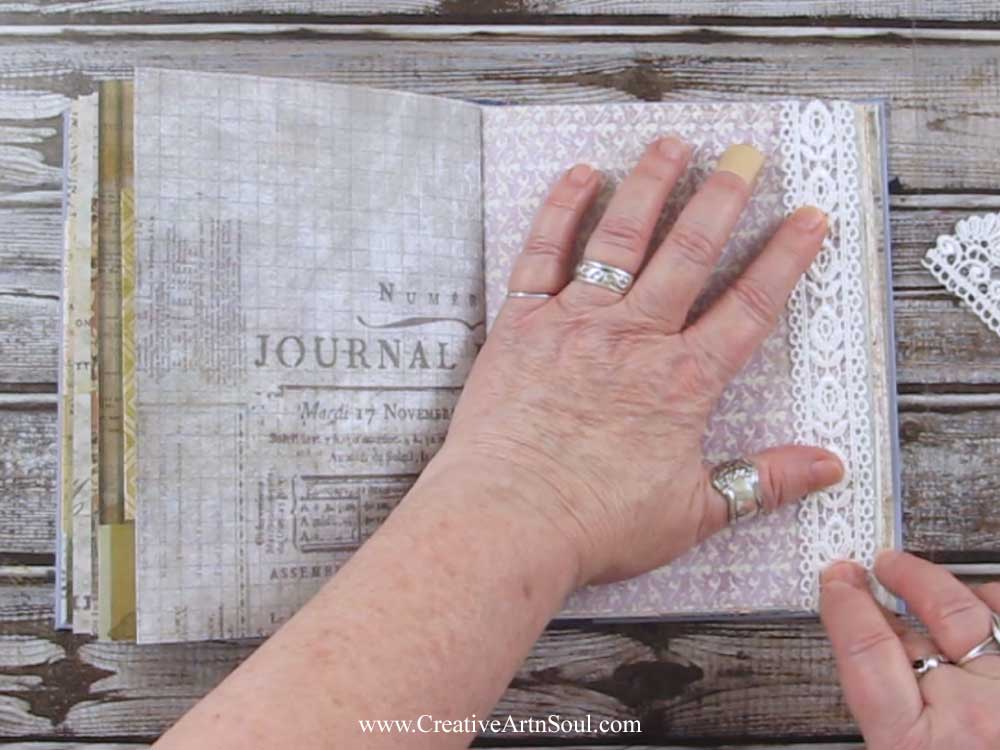
If you wanted to stitch the lace to the page using a sewing machine, once the glue is dry, fold the pages under and you should be able to sew it easily on your sewing machine. I’ve sewn this piece using a narrow zig zag stitch in white thread, so the stitching is not very noticeable.

If it’s too difficult to add machine stitching directly onto the page, you can use my favorite technique for attaching fabric and lace collages.
Layer the pieces of fabric and lace together with any other embellishments, onto a backing of tear-away stabilizer. The stabilizer acts as a support when machine or hand stitching. THen once everything is assembled and sewn, tear or cut away the excess stabilizer and glue the section onto the page.
Use a gluestick to glue the pieces in position so they don’t move around while you sew. Doing it this way is quick and easy, and you can position lace and fabric sections wherever you like on the pages of your journal.

As a final touch, you can age the lace. You could stain the lace by dyeing it with tea or coffee before you sew it, but it’s sometimes easier to stain it using an ink pad and applicator.

The edges of the pages can also be embellished by sewing a few hand stitches along the edge using some thick embroidery thread.

Embellished Pockets
Fabric and lace scraps can also be used to make and embellish pockets and tuck spots.
Fabric and lace pockets could be sewn directly onto the page using a sewing machine but it’s a bit awkward to do this, so the easiest way is to first sew them to a piece of tear-away stabilizer and then attach the pockets to the page using glue or double-sided tape.
I sewed the fabric strips on my sewing machine using a zig zag stitch and I’ve left a narrow strip of stabilizer down each side that will make it easy to glue the pocket to the page.

Pockets can of course also be made from paper or cardstock, such as scrapbook paper, or paper scraps or even your leftover book pages.
Once you’ve cut or folded the pocket, you can add some machine or hand stitching around the edge before gluing it onto the page. I’ve machine stitched around the edges using a zig zag stitch and I’m going to sew on some fabric scraps and glue on some words to make a small collage.

You can also use the same method to make a double corner pocket, with one pocket slightly smaller than the other layered on top.

As well as corner pockets, you can make square and rectangular pockets in a similar way.

Embellished Tuck Spots
Tuck spots can be made using small bits of embellished paper, cardstock or fabric that are glued to the page or attached by paper clips.
A simple flag can be made from a strip of leftover cardstock, folded in half and then attached to the page with a paper clip.
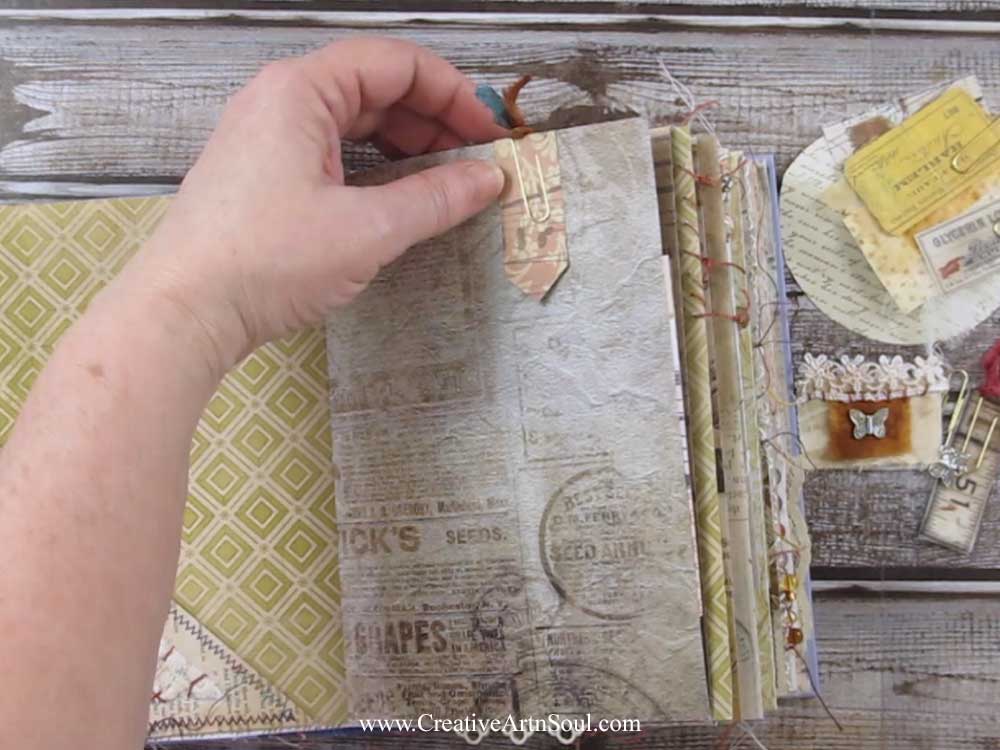
A fabric tuck spot can be made using small individual scraps of fabric glued to a piece of stabilizer, layered and embellished with stitches or charms, then attached to the page, one on each side, with a paper clip.
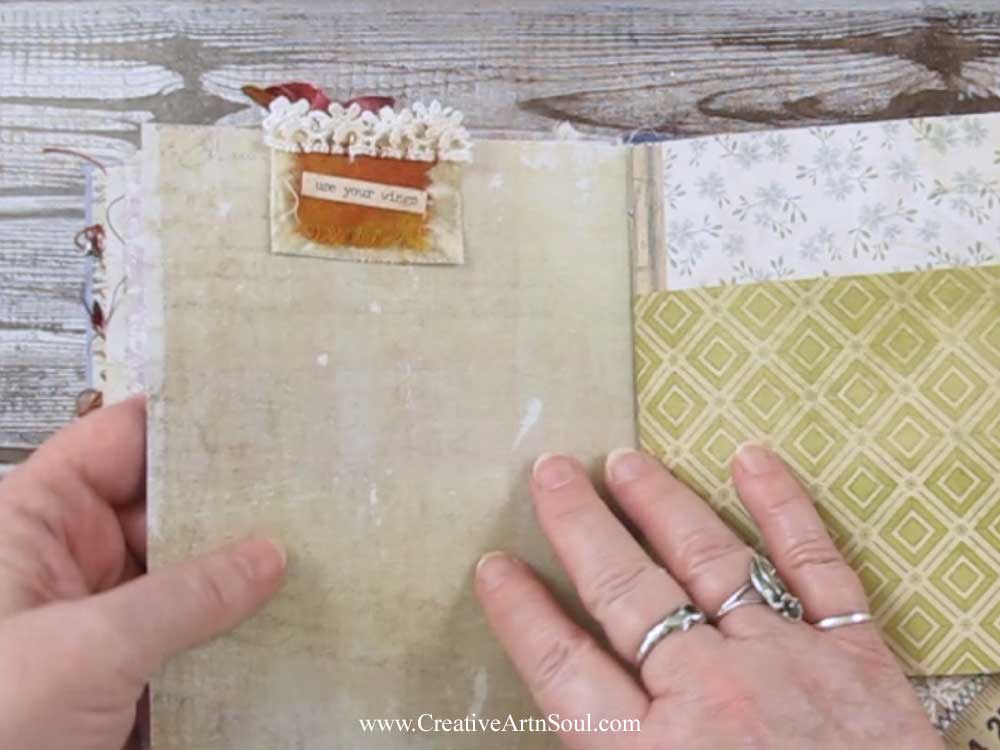
Embellished Journal Cards and Tags
Journal cards and tags are fun and easy to make and embellish with bits of fabric and lace.
To make a basic journal card, cut a piece of paper or cardstock to size. When using paper, it’s best to use two pieces glued together to make the card a bit stiffer and more useable than when using just one thin sheet of paper.
I’ve cut a piece of scrapbook paper 3″ wide by 8″ long. Once the card is made you can add simple fabric or lace trim down one side or across the bottom.
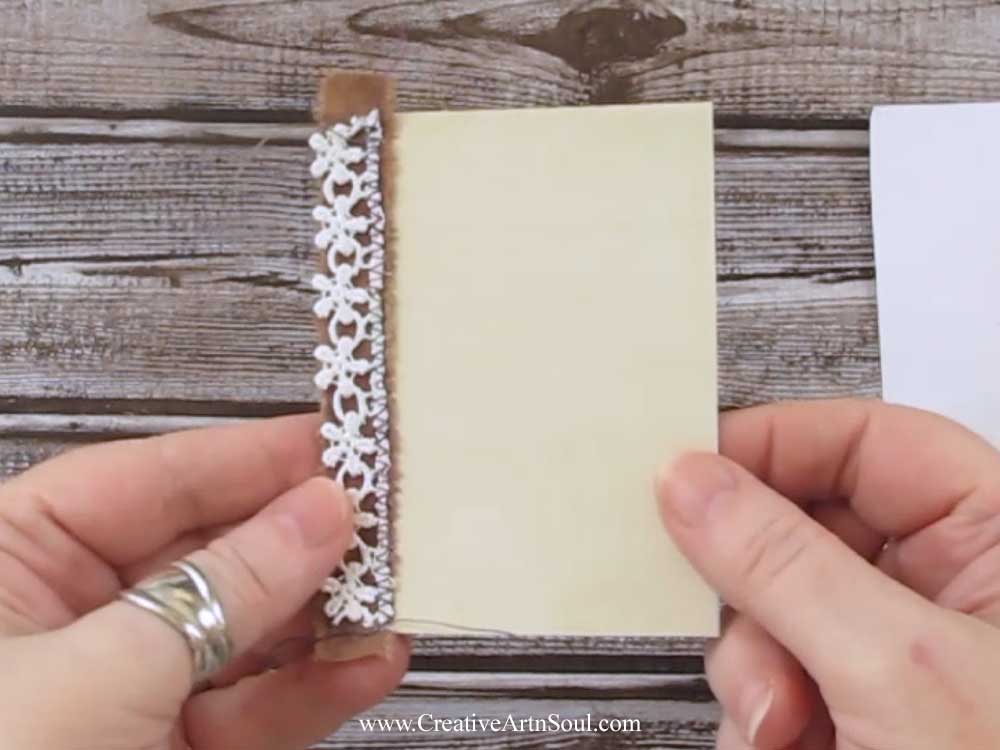
Tags can be made in the same way as journal cards, then snip the corners at a 45 degree angle, and punch a hole at the top.

As well as blank journal cards, which are handy to have on hand for writing or notes, you can also embellish journal cards and tags with small collages using words, images and fabric scraps.

You can make quick and easy photo frames by cutting slits into a journal card or tag, and then inserting the photo, or sewing the photo directly onto the card.

You can also use journal cards and tags to save favorite quotations. Printing the quote onto paper using a word processor, then glue the paper to a card or sew it on using a few hand stitches.

Save this pin to your favorite Pinterest board!

