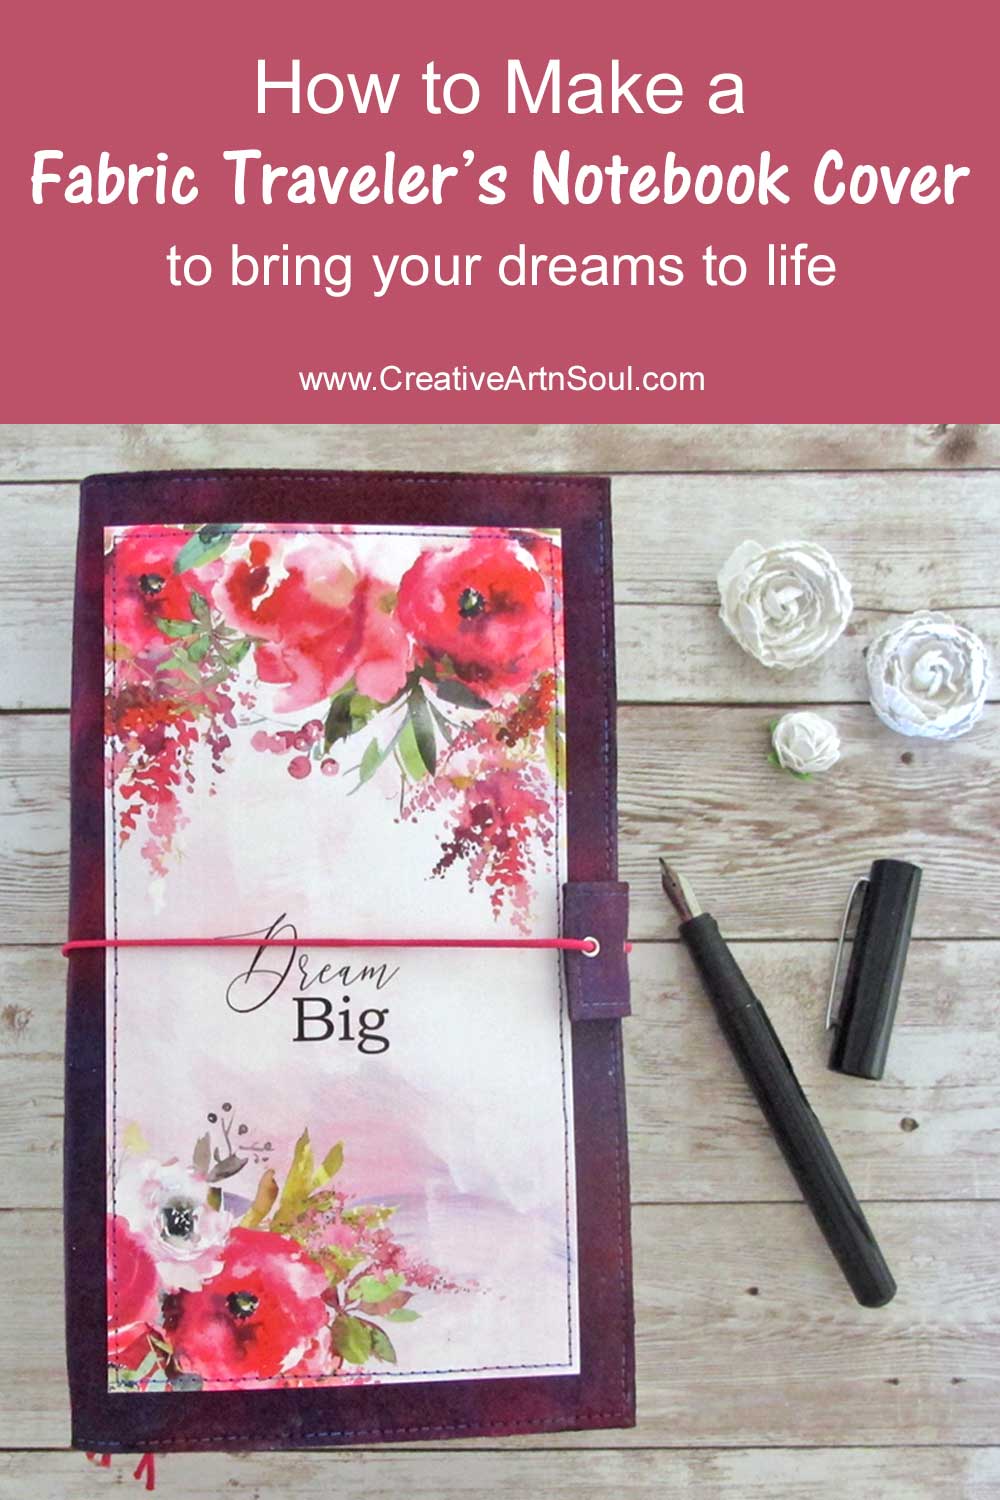
Over the years I’ve grown to love my traveler’s notebooks. I love the compact size which is perfect to carry in my bag when I go on walks or photography excursions, and I particularly love that I can have different types of inserts in the same notebook and swap them out when I fill them up. With this system you can include notebooks for writing, sketching and journaling. You can even include a small planner! All these different notebooks wrapped up in one cover make it easy to manage and organize your life and business.
In this tutorial I’m sharing my personal favorite method for making a traveler’s notebook cover. I like my covers to be sturdy and functional, as well as lovely to look at and hold. And I like them to be large enough to hold about six inserts so I make them a little larger than normal. Because I like to use a larger traveler’s notebook, I always add a closure tab which prevents the elastic from cutting into the fabric and also keeps all my “stuff” from falling out.
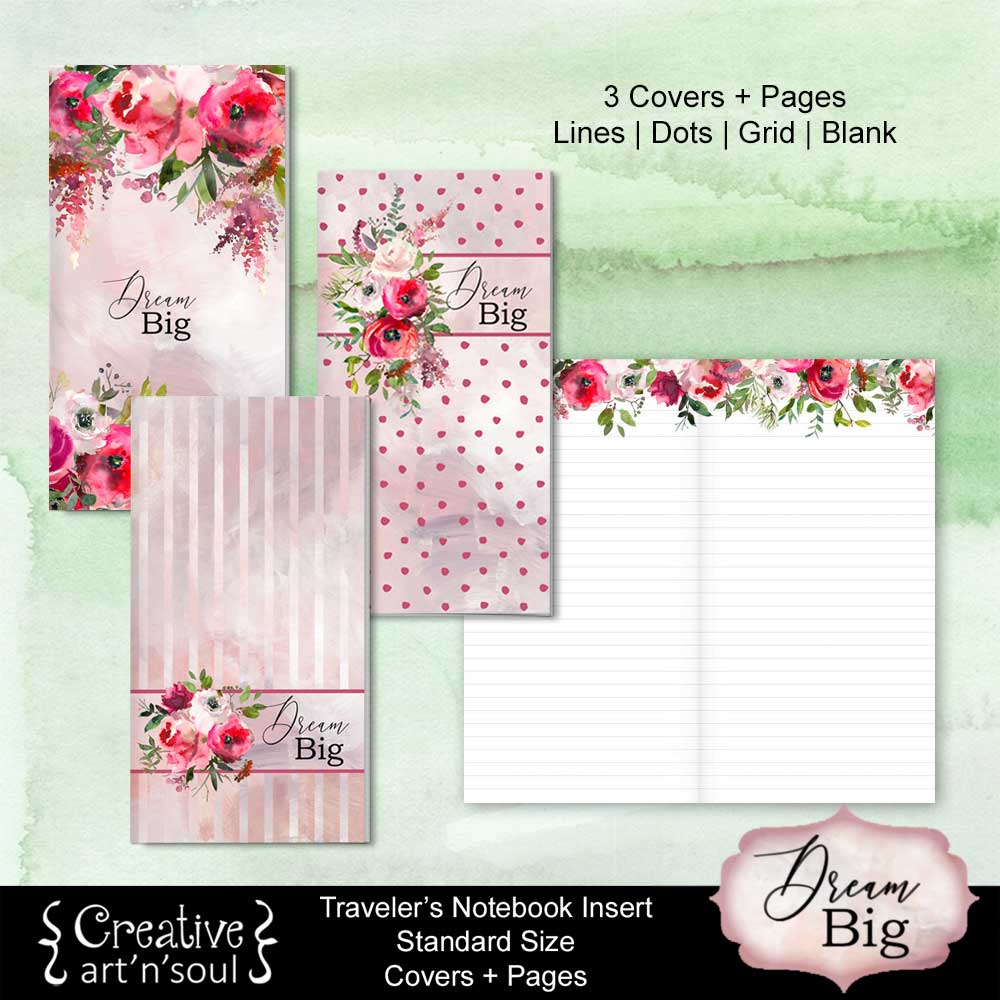
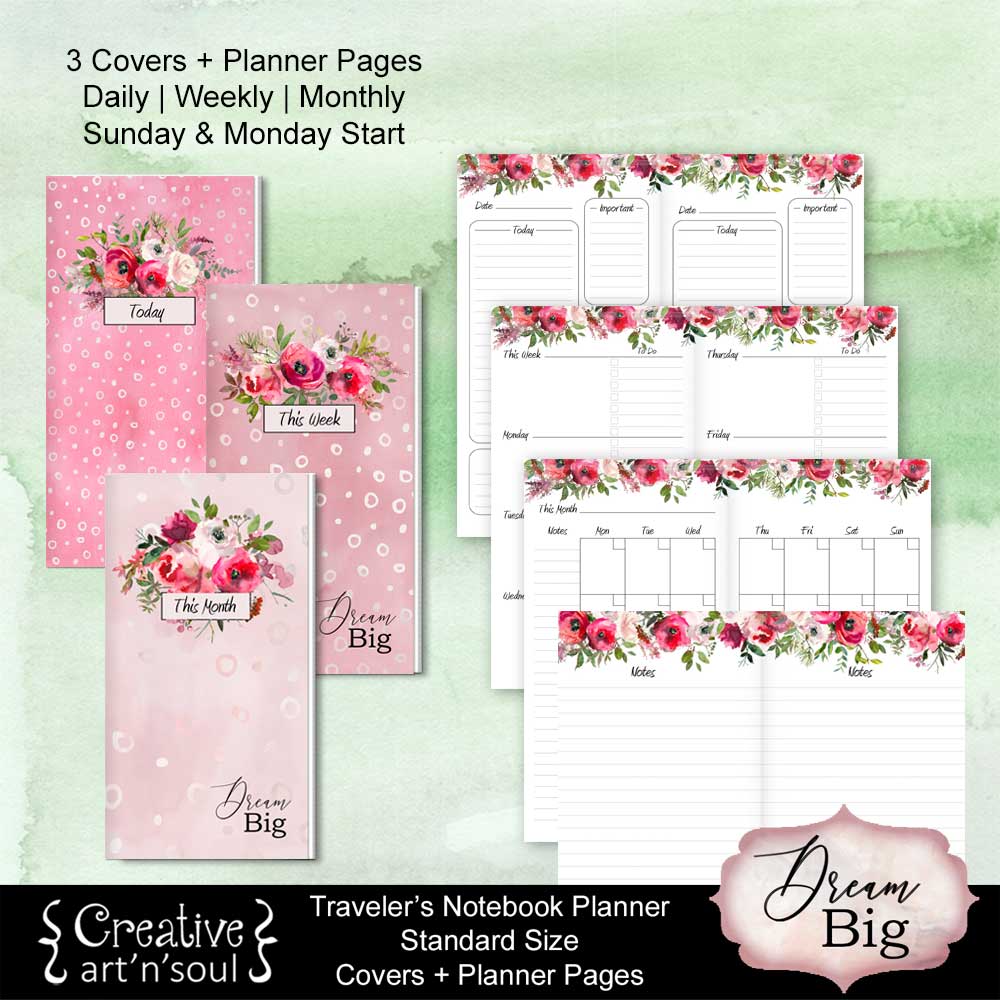
This cover was inspired by my series of printables – Dream Big Printable Traveler’s Notebook Inserts and Dream Big Printable Traveler’s Notebook Planner Inserts – simply because I love the colors as well as the theme. I like the idea of having a notebook and planner for capturing big ideas and dreams because writing them down helps to keep them alive.
This extra wide fabric traveler’s notebook cover that will fit up to six inserts with plenty of room for stuffing your notebook full of big dreams. The finished size is 11.25″ x 8.75″ which will hold inserts 8″ high by 4.25″ wide. If you don’t care to make your own printable inserts, you can even use your favorite commercial inserts and adjust the cover dimensions to suit your needs. You can also use any type of image on the front; simply cut to size.
Contents
Supplies
- Fabric
Cut two pieces 12″ wide x 9.5″ high for the outside cover and lining
Cut two pieces 3.5″ wide x 1.75″ high for the closure tab - Pellon Peltex 72 double-sided fusible stabilizer
Cut one piece 12″ wide x 9.5″ high for the cover
Cut one piece 3.25″ wide x 1.5″ high for the closure tab - Pellon Craft Fuse fusible interfacing
Cut two pieces 12″ wide x 9.5″ high for the outside cover and lining - Dream Big Traveler’s Notebook Insert Covers for outside cover
Print one cover onto a piece of cardstock - Cardstock
- Spray Glue
- Ruler
- Rotary Cutter
- Fray Check or Fabric Glue
- Sharpie or Felt Marker
- 1/8″ Eyelets
- Eyelet Punch
- Elastic Cord
How to Make a Fabric Traveler’s Notebook Cover
Cut out all the fabric, interfacing and stabilizer pieces. The cut pieces are oversized so that once the cover and closure tab are assembled they can be trimmed back to size. This ensures that the edges are nice and even. I’m using hand-dyed fabric for my cover but you could use any type of fabric. If you aren’t able to find any Peltex stabilizer, you can always make your own.

Iron the Craft Fuse interfacing to the underside of the fabric pieces. Interfacing will help to stabilize the fabric before it’s adhered to the Peltex stabilizer, and will also help to create a sturdier cover.

Iron one of the fabric pieces to the one side of the Peltex. Follow the manufacturer’s instructions to ensure that the fabric is fully adhered.

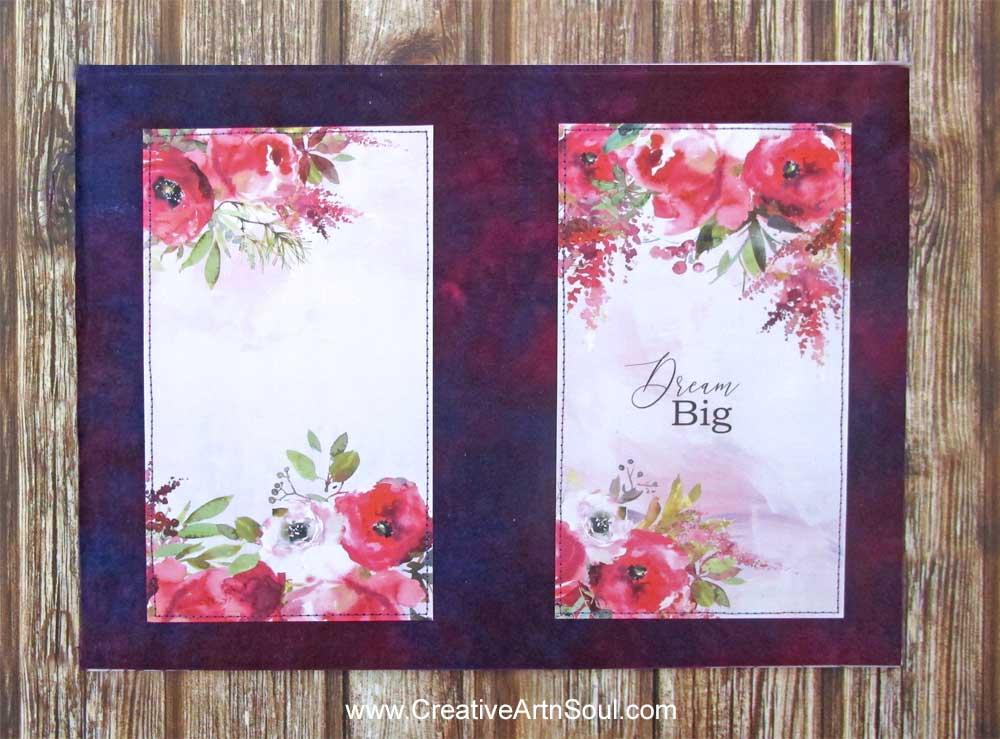
Print out one of the covers from the Dream Big Travelers Notebook Printable Inserts onto a piece of cardstock. For a softer cover, I sometimes like to print my images onto fabric. If you’ve never printed onto fabric before you can find out how to do that here. The insert covers print at 8.5″ wide by 8″ high, so cut 1/8″ from the top and bottom edge then cut it in half so each piece measures 7.75″ x 4.25″.
Position one piece on the front cover (right side) 7/8″ in from the top and bottom edge, and 7/8″ in from the right side. Position the other piece on the back cover (left side) 7/8″ in from the top and bottom edge, and 7/8″ in from the left side. Make sure that both pieces are positioned accurately and are aligned.

Using spray glue, spray the underside of each of the smaller pieces and reposition on the cover. The spray glue will hold the pieces in place without having to worry about them shifting or moving out of position.

On your sewing machine, sew close around the edge of each of the images.

Iron the remaining fabric lining piece to the underside of the Peltex.

Using a ruler and rotary cutter, cut away 3/8″ from around each of the edges so the cover measures 11.25″ wide by 8.75″ high.

On your sewing machine sew close around the outer edge of the cover. Apply some Fray Check or fabric glue around the edges of the fabric to ensure that it doesn’t fray. Allow to dry.


To finish the white Peltex edges of the cover, run a Sharpie or a felt marker along the edges and color them in so they blend with the color of the cover.

Measure halfway across the top edge and put a pin marker at 5-5/8″ which is the halfway mark. Measure 1/4″ down from the top edge, and using a Sharpie or other type of marker, make a mark 1/4″ away from the pin marker on both sides. The distance between the marks should be 1/2″. Do the same along the bottom edge. Measure half-way down from the top edge and make one mark along the middle for the closure.


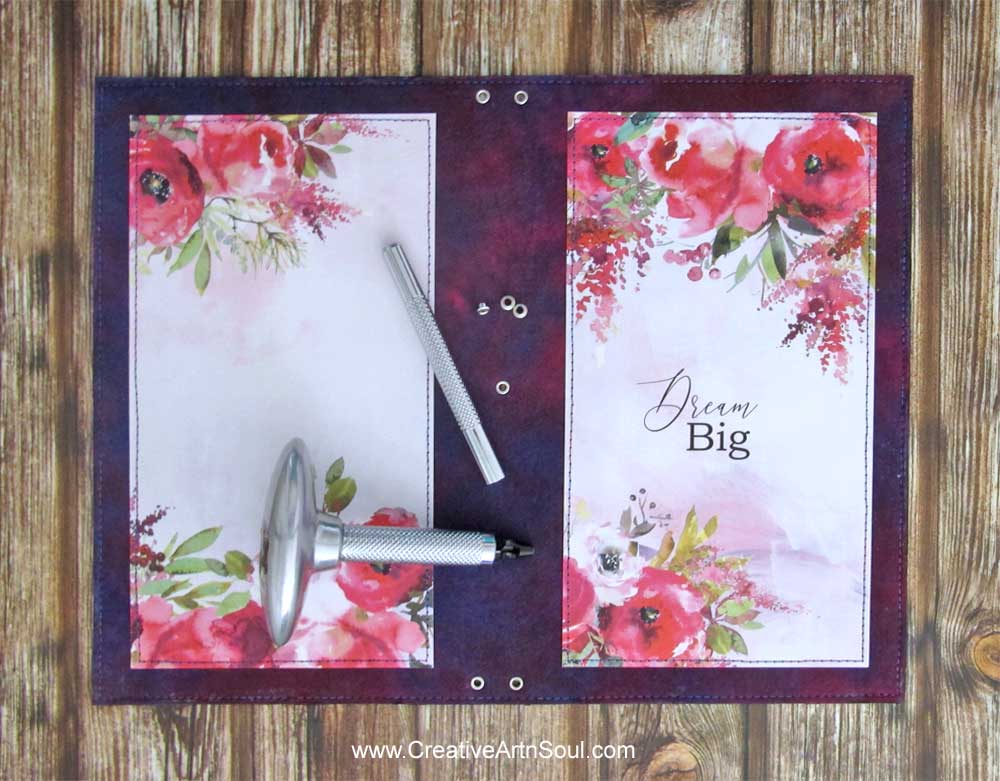
Using an eyelet punch, make five 1/8″ holes over the sharpie marks.

With the right side facing up, use an eyelet punch to attach the eyelets.
How to Make the Closure Tab
Iron the fabric pieces to both sides of the Peltex then cut to size at 3″ long by 1.25″ high. On your sewing machine, sew close around the edge of each of the images.

Finish the edges using a Sharpie or a felt marker.
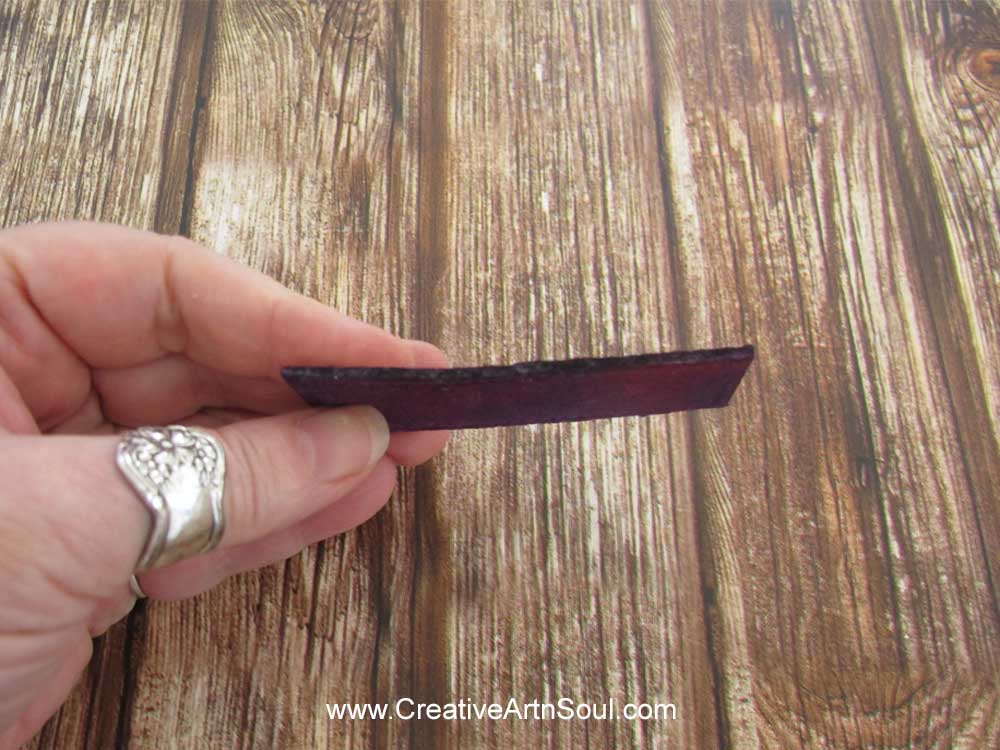
Using a sharpie or other type of marker, make dot marks along the center 1/4″ and 3/4″ in from each end.

Using an eyelet punch, punch 1/8″ holes over the sharpie marks, then with the right side facing up, use an eyelet setter to attach the eyelets.

How to Assemble the Cover
Cut a length of elastic cord 19″ long and thread the cord through the top right eyelet to the outside, back inside through the top left eyelet, through the bottom left eyelet to the outside, then back inside through the bottom right eyelet. Make sure the elastic is taut but not too tight, then tie off in a knot. Trim the ends.


Cut another piece of elastic cord 14″ long and thread it through the eyelet holes. Beginning with the right side facing up, thread it through hole #1 to the underside, then in and out through each of the remaining holes.

Thread both ends of the elastic through the center hole on the cover and tie off in a knot on the inside. Trim the ends. This is the closure band.
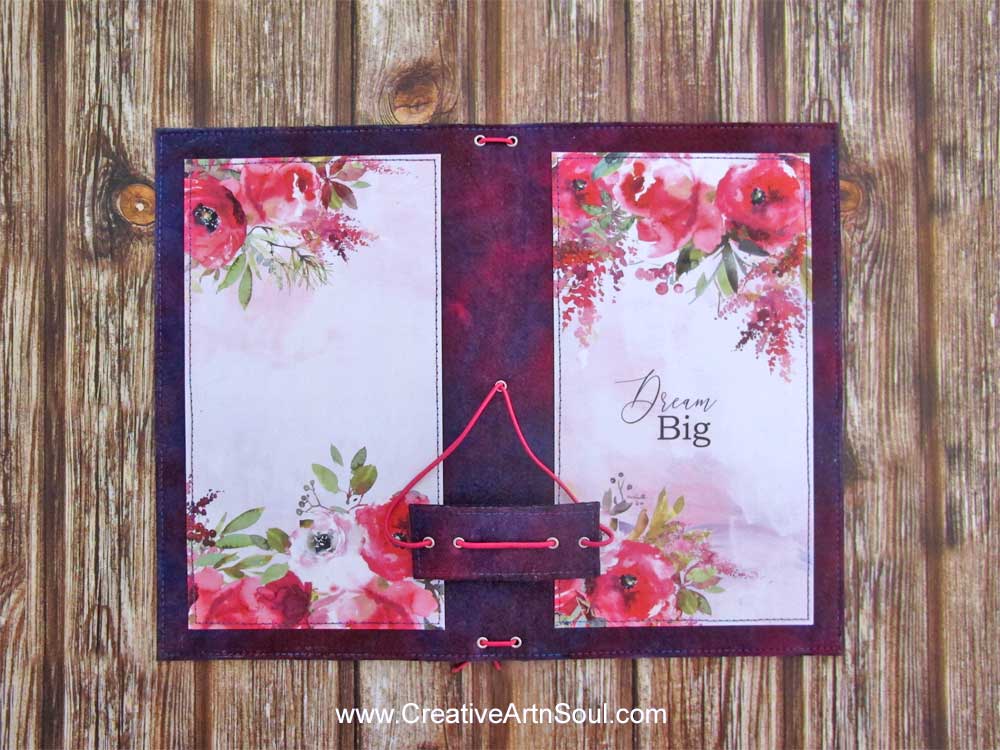

Wrap the closure band around the cover and adjust the elastic band if necessary.

How to Attach the Inserts
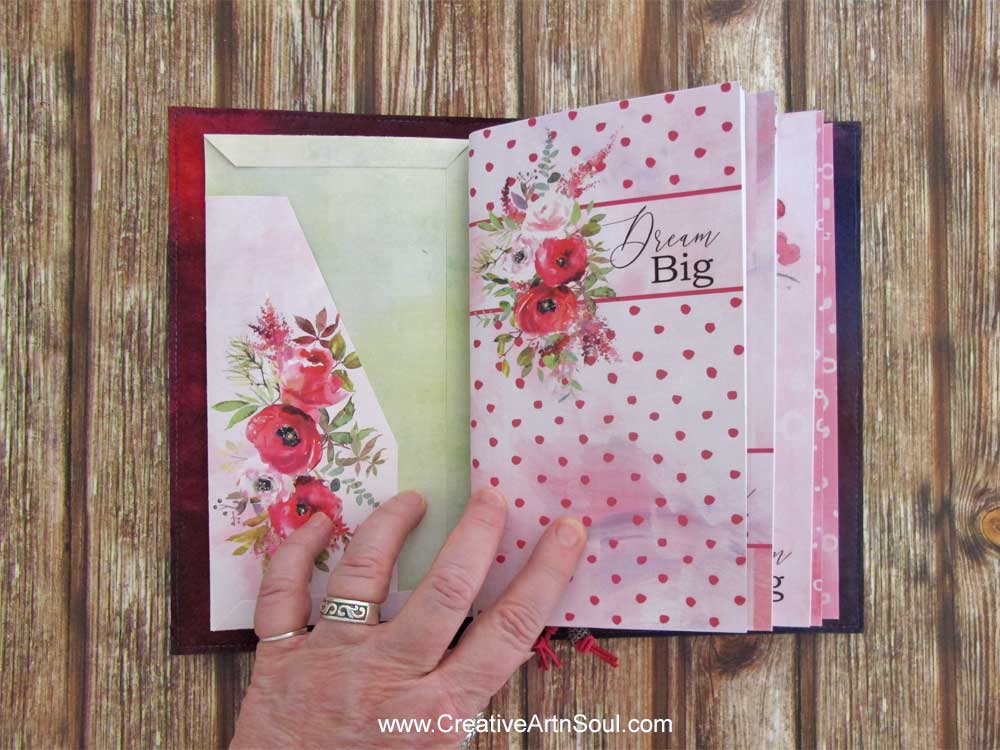
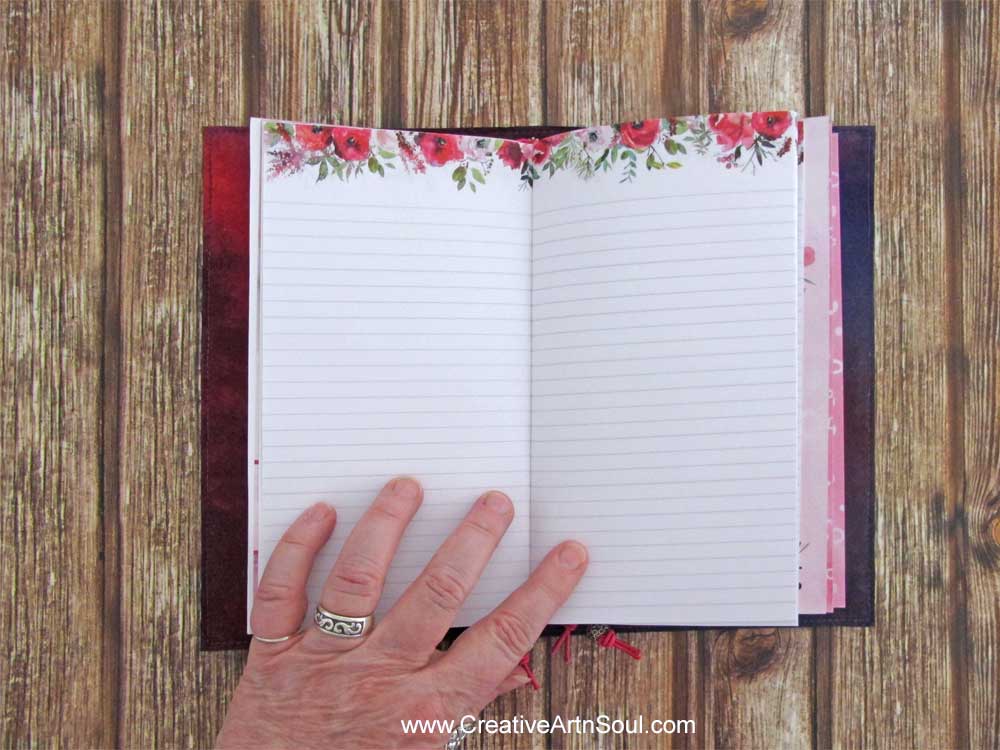
Now that the cover is made, you can fill it full of your favorite inserts to keep yourself organized. I’ve filled my cover with the Dream Big Printable Inserts and the Dream Big Printable Planner Inserts so I can write, take notes, sketch and keep track of my day.
Cut two pieces of elastic cord 20″ long. Tie the ends in a knot to make two circular elastic bands. I’ve added a large bead at the end of my bands for embellishment so I cut my elastic pieces 22″ long to allow for an extra knot at both ends of the bead to hold it in place.

To join two inserts together, open one insert halfway and wrap an elastic band around it.

Open the other insert halfway and slip it through the other side of the elastic band.
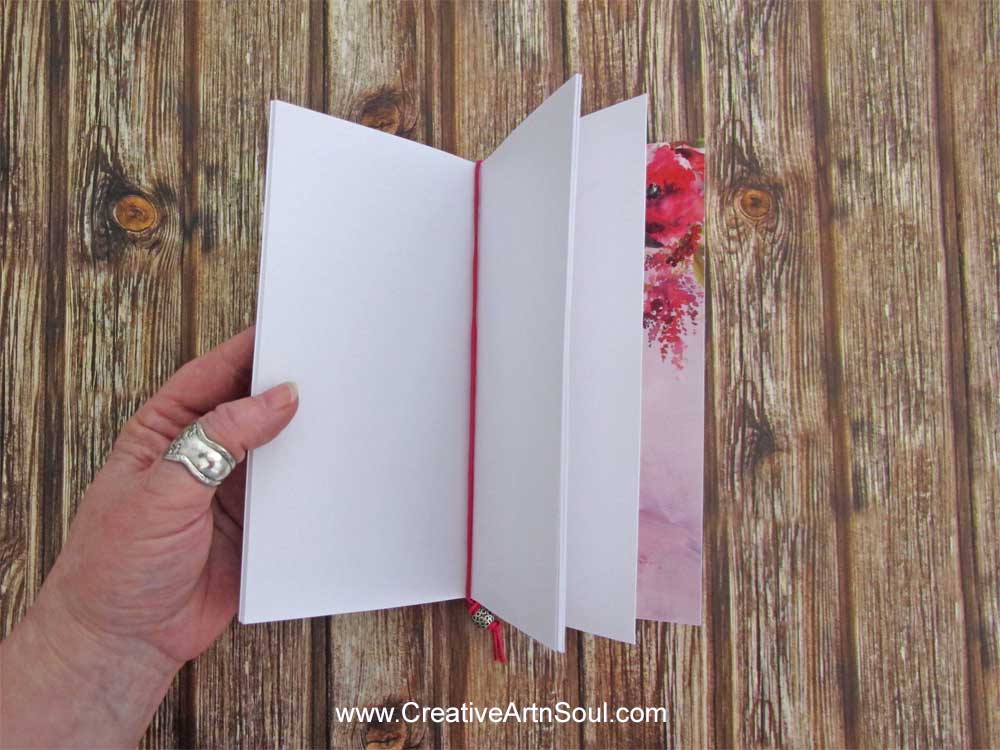
The two inserts are joined with an elastic band.
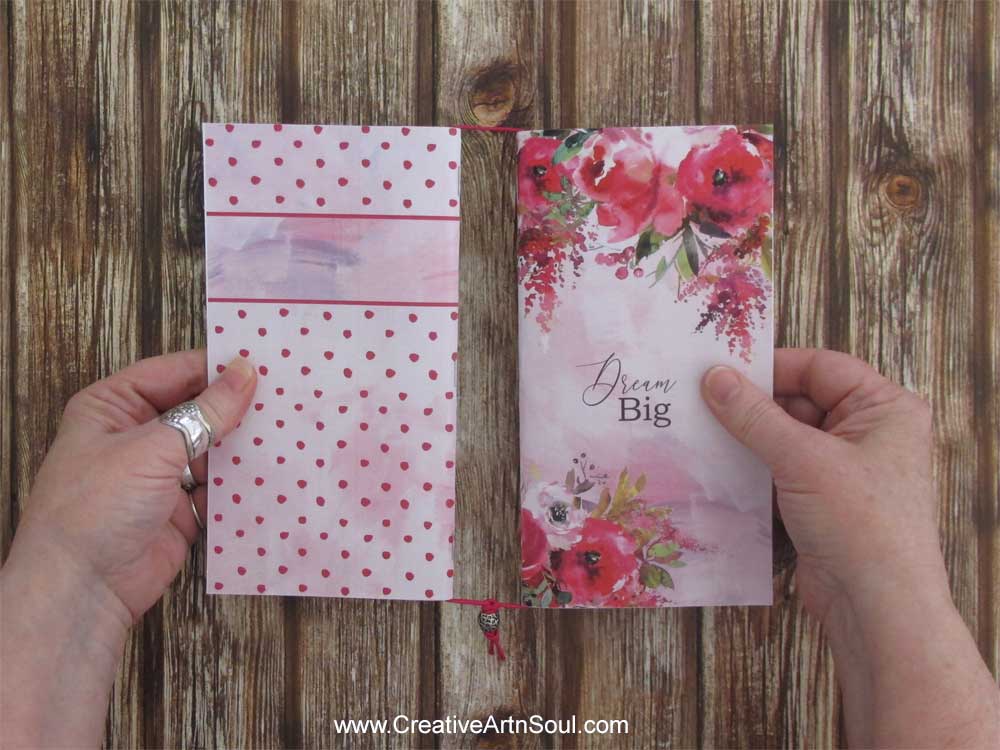
Open the cover and slip the first insert underneath the elastic on the left side of the cover.
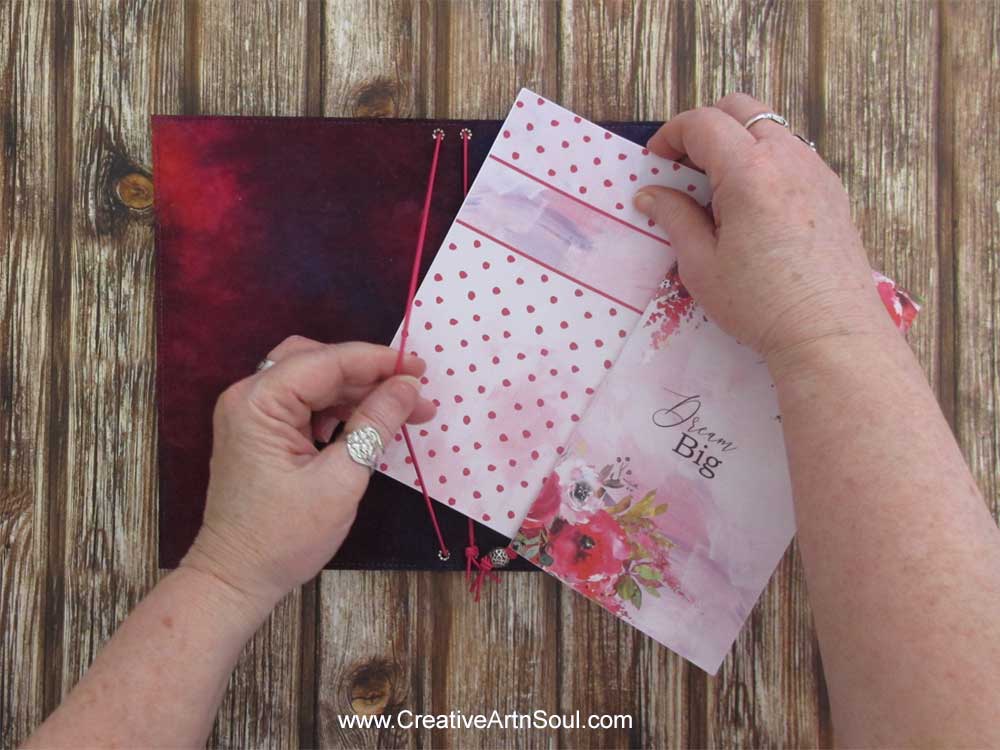

Open the third insert halfway, and slip it under the center elastic.
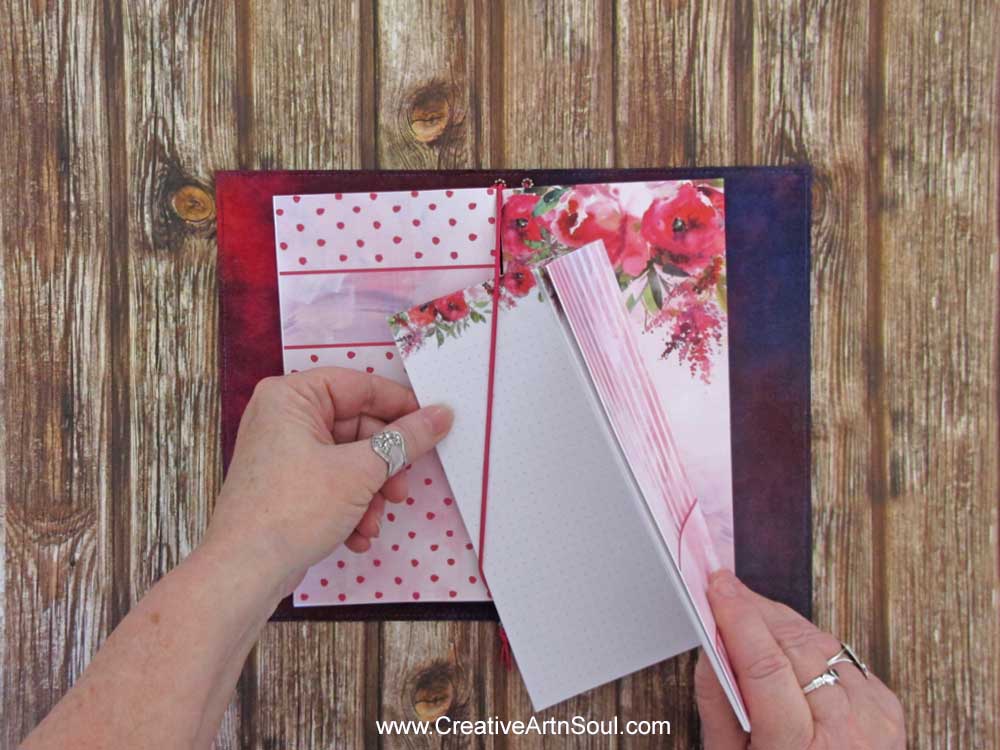
Assemble the inserts for the right side of the notebook in the same way and attach to the elastic on the right side.




Shop for Creative Journaling Printables
Save this pin to your favorite Pinterest board!
