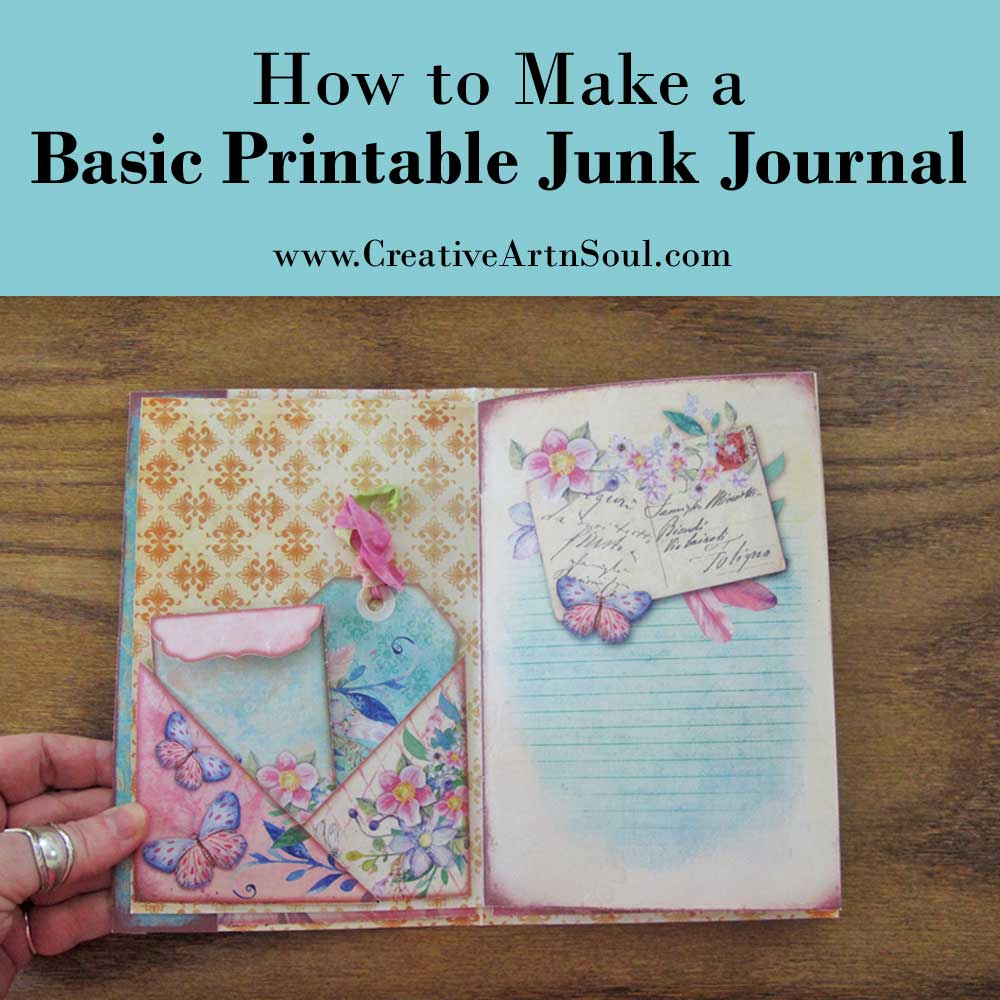
Learn how fun and easy it is to make a printable junk journal.
Making printable junk journals is easy, fun and creative, but if you’re just starting out with these types of junk journals it can be difficult to know how to get started making them.
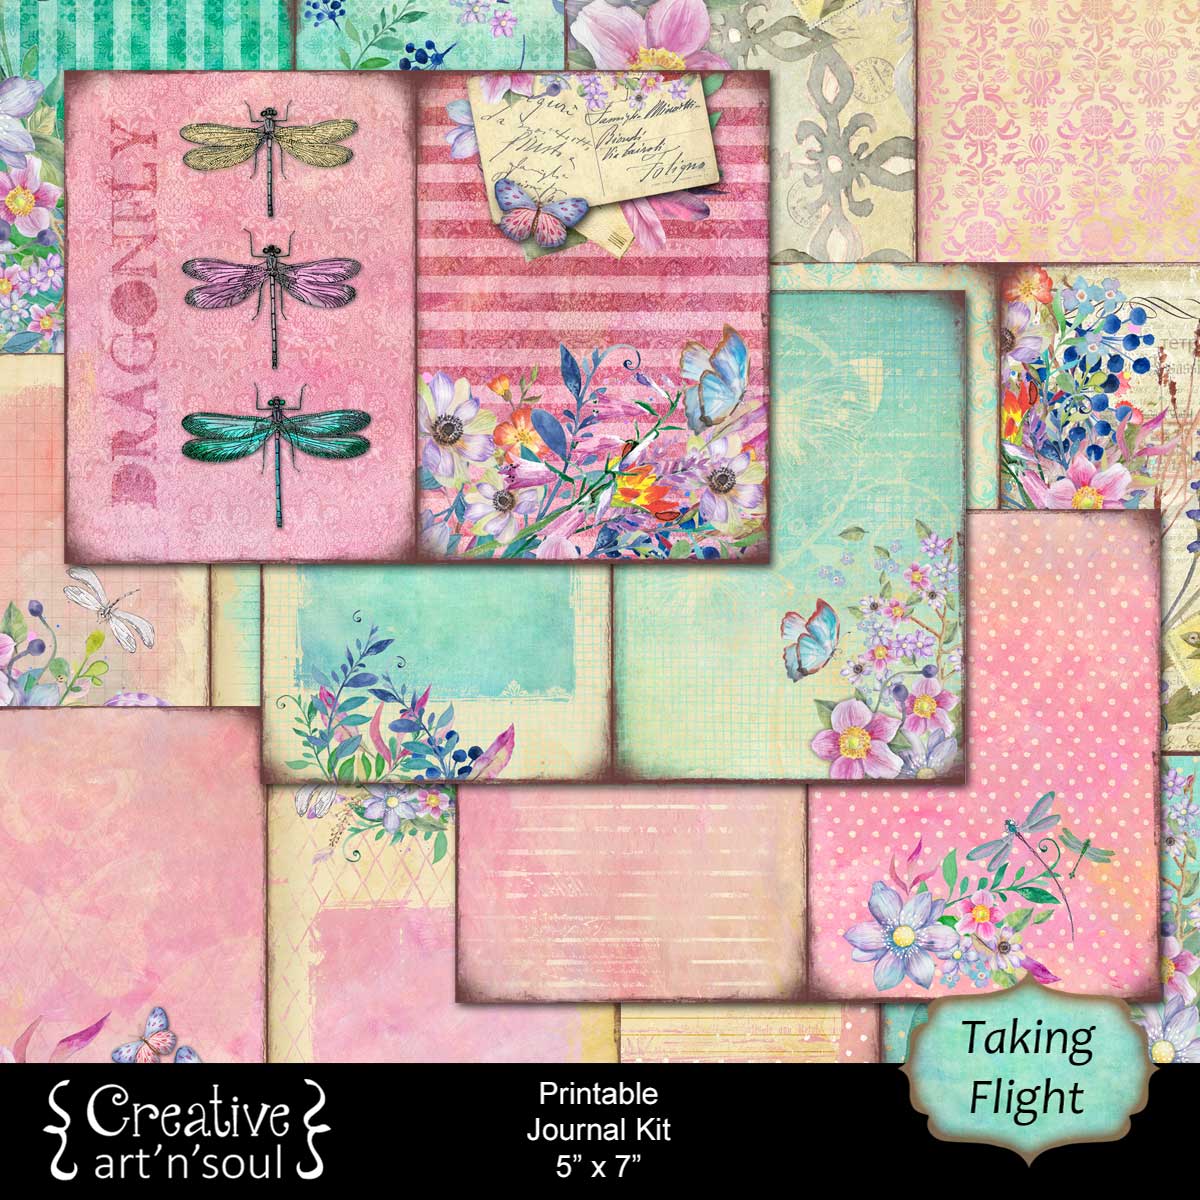
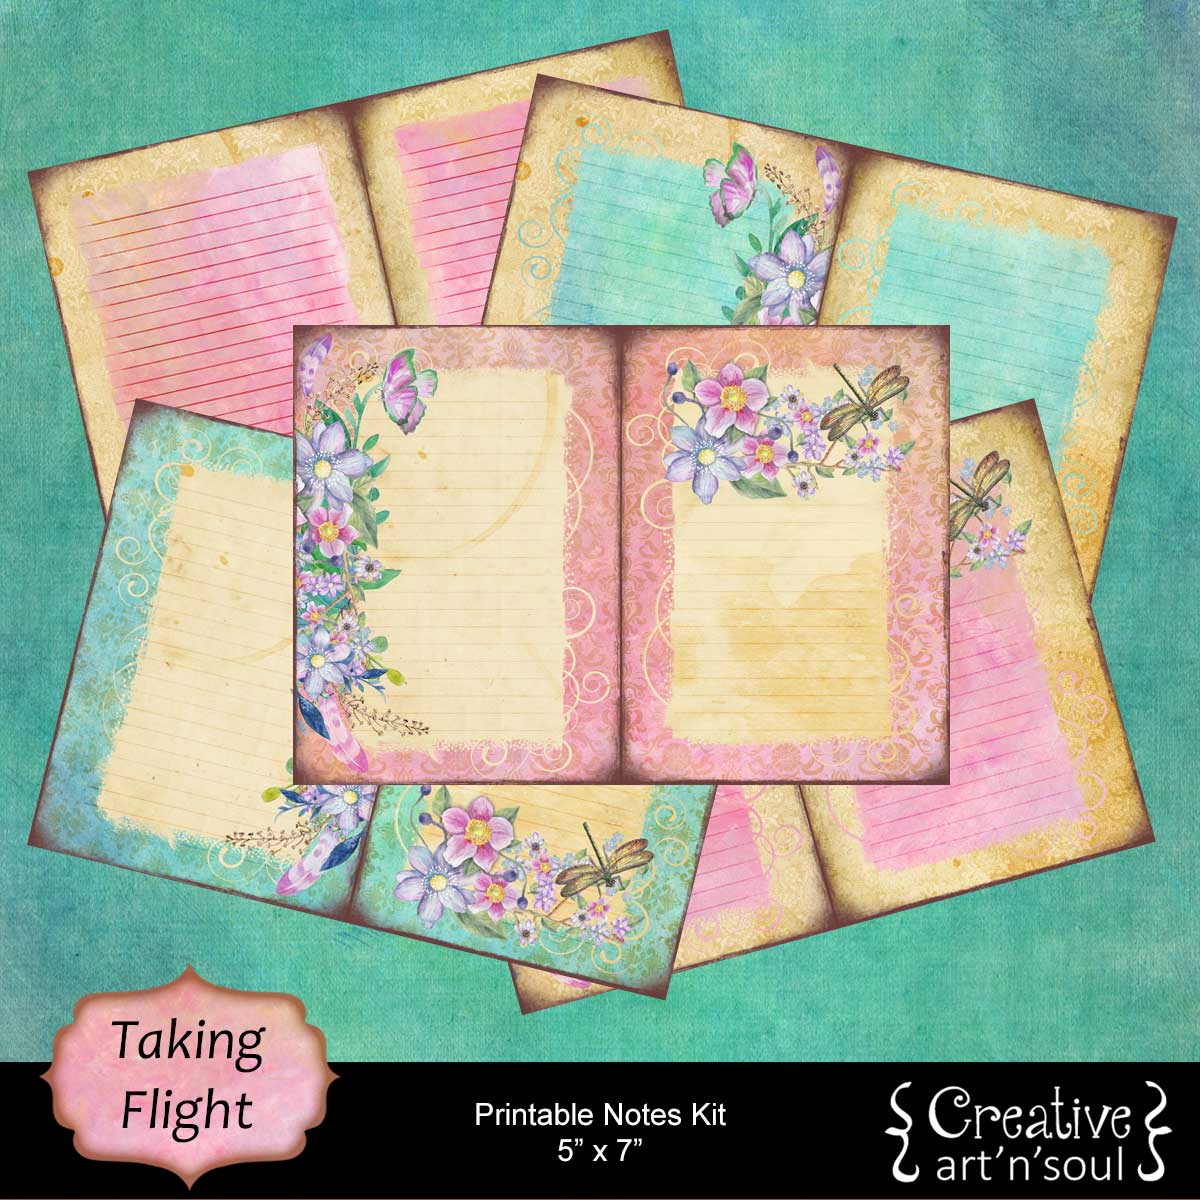
In this tutorial I’m showing you just how easy it is to make a basic printable junk journal. I’m using the Taking Flight Printable Journal however you could use any other type of printable journal kit.
Once you know how to put a basic printable junk journal together, you can then get a bit more creative and include other types of papers such as scrapbooking paper, junk mail, and other types of ephemera. You could even add some sewing and writing to embellish the pages.
Supplies & Resources
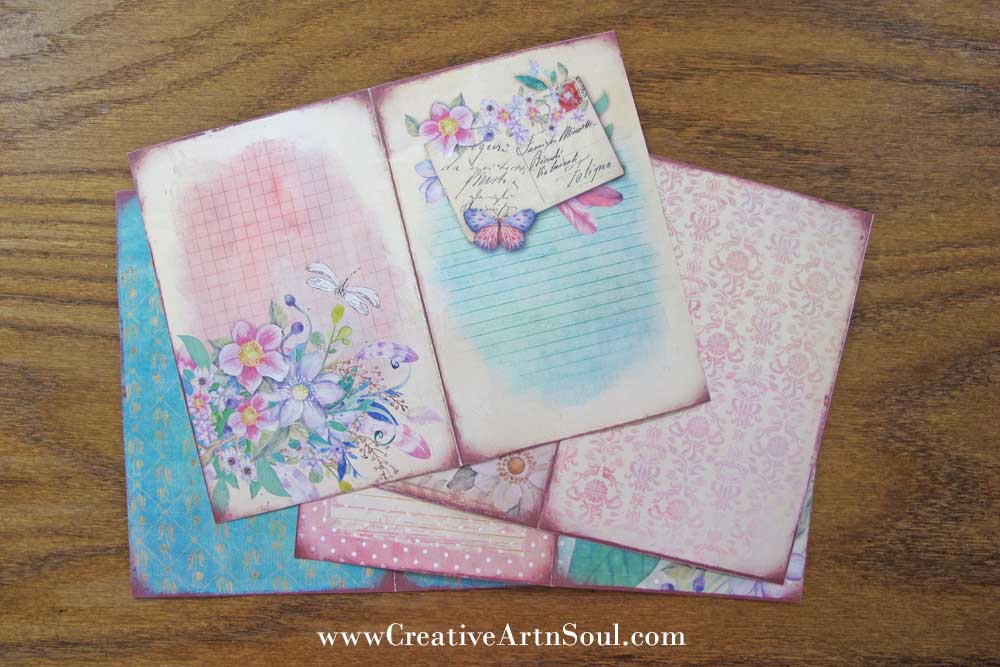
Print Out The Pages for your Printable Junk Journal
Print out the pages for your Printable Journal, and trim to size. Fold in half and crease with a paper creasing tool.
Recommended Papers
Use 110lb cardstock for the cover, and 67lb cardstock or 24lb copy paper for the pages. I prefer to use 67lb cardstock which is a lightweight cardstock but thicker than copy paper, which will prevent bleed through to the other side when you print or write on it. It can also be easily sewn without tearing.
Assemble The Printable Junk Journal
Assemble the pages with the cover on the outside and secure with binder clips.
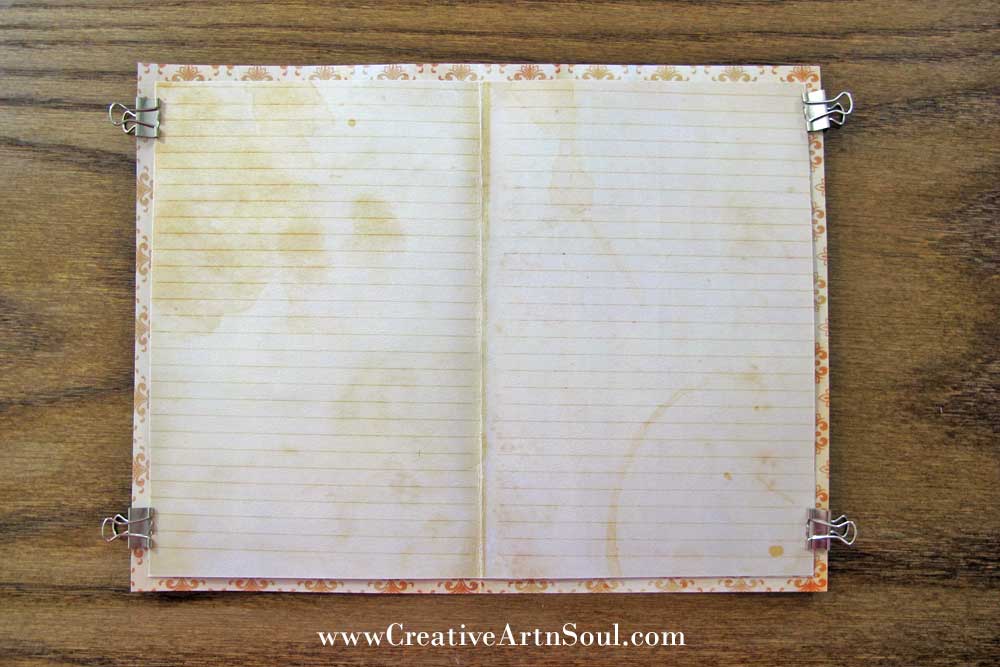
Staple the pages together using a long reach stapler, or sew them using a pamphlet stitch.

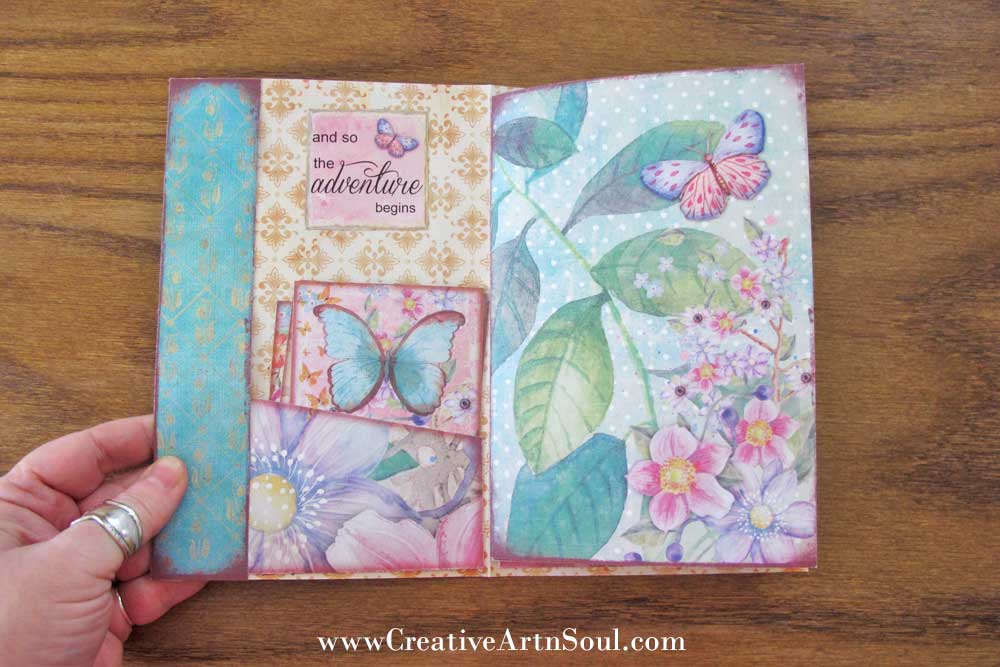
Embellish The Junk Journal Pages
Now the fun begins!
You can use the pockets, envelopes and cut-out embellishments that are included with the printable journal kit in any way you like. Here are some suggestions.
Add pockets to the inside of the front cover to hold journal cards.
Tip: I glued the wide book spine to the inside cover to use as a side pocket. You could also use it as a bookmark.
Glue the cut-out embellishments to the pages.
Tip: I had a misprint on one of the pages, so I cut up the page and inserted it through the center of the pages to create a smaller page. I glued two cut-out buttons together and attached them to the edge.
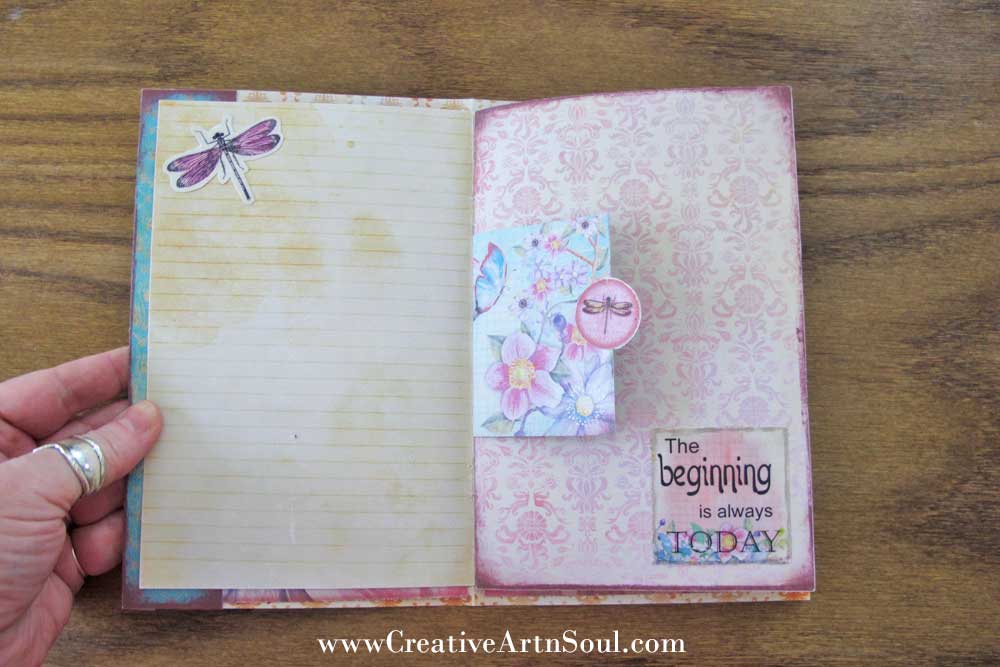
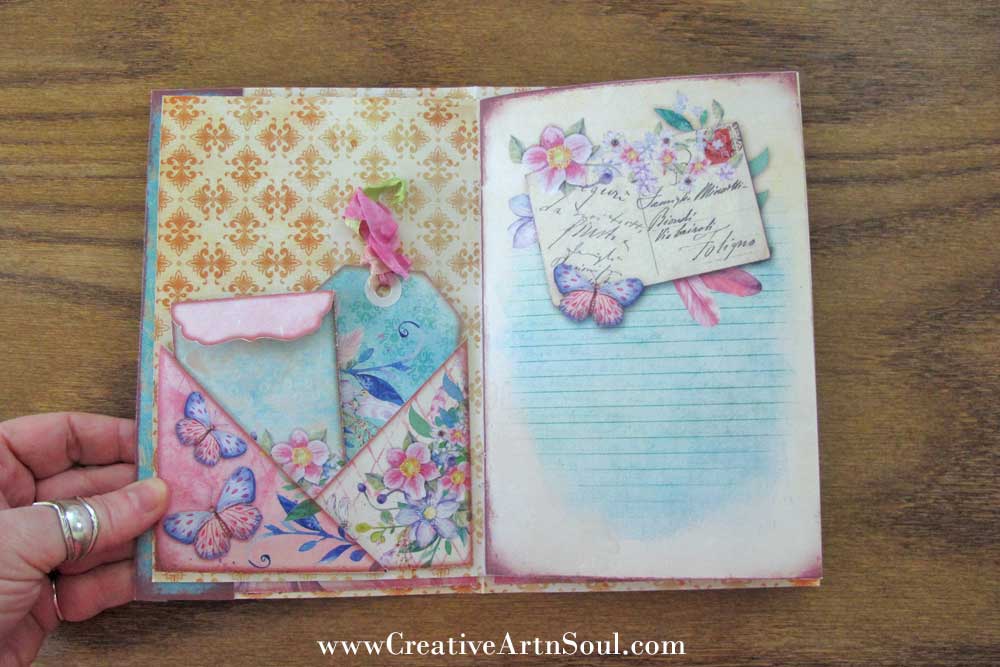
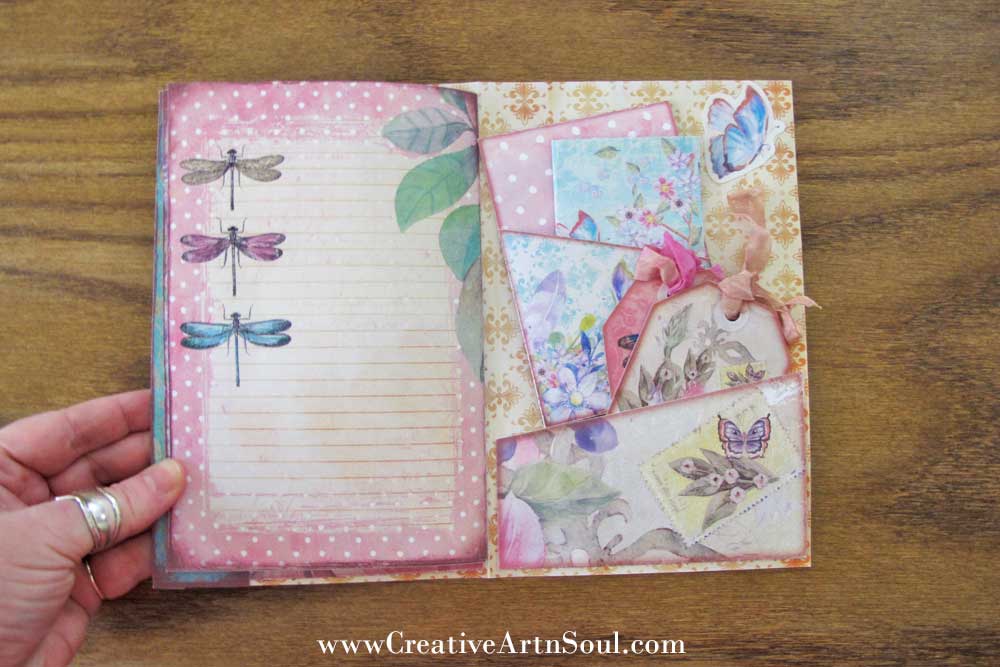
I overlapped two corner pockets to make a larger pocket to hold an envelope and tag.
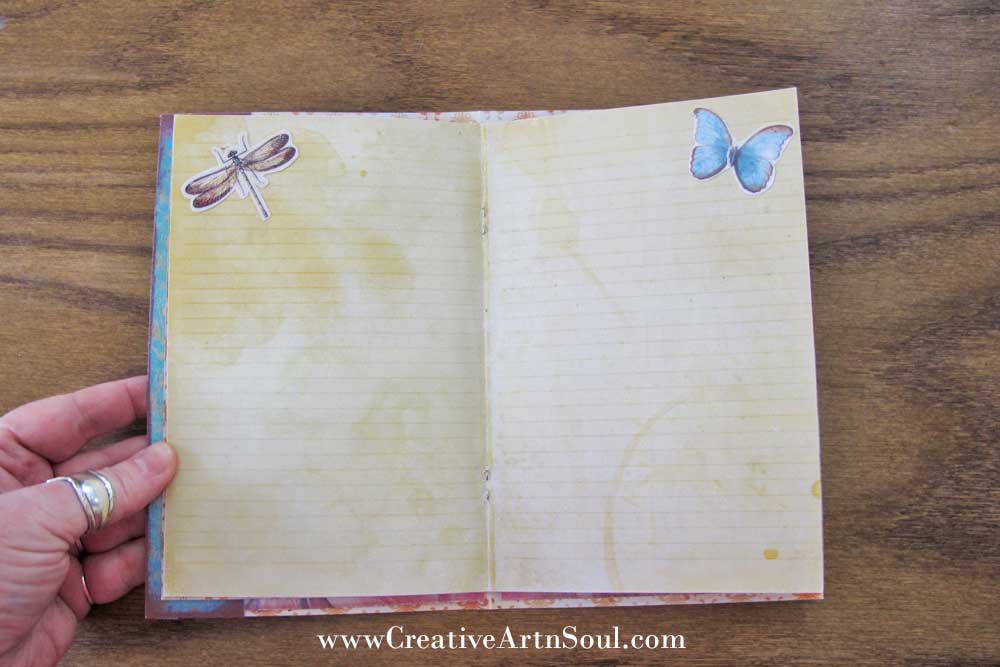
A center writing page for journaling.
I used one of the journal cards to make a deep pocket to hold an envelope.

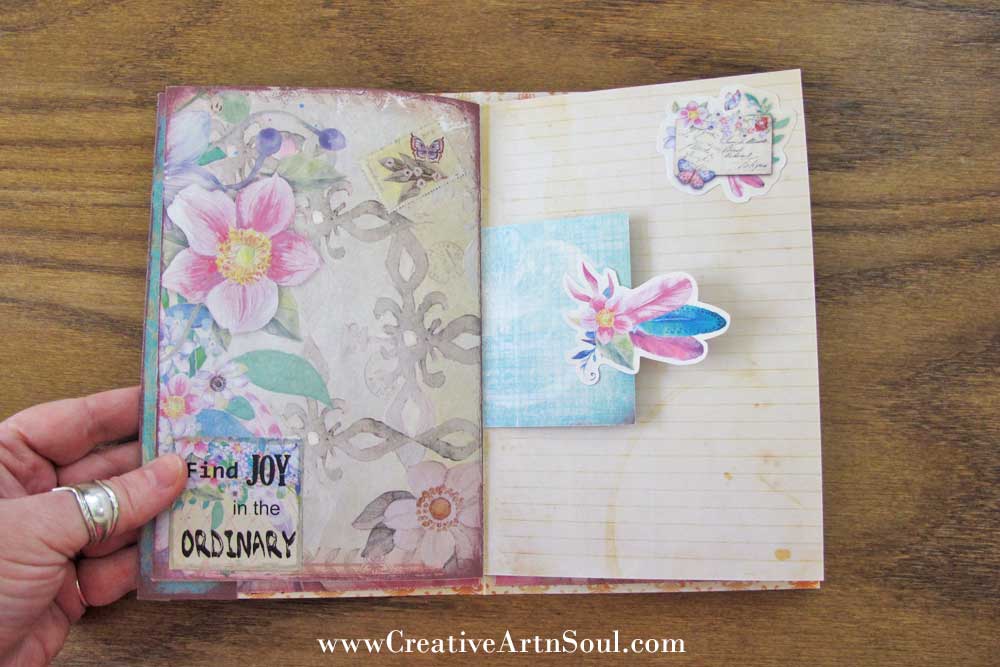
The other side of the small page with another cut-out embellishment glued to the edge.
A pocket glued to the inside of the back cover to hold tags, envelopes and journal cards.
There are of course, lots more ways to embellish a printable junk journal. Let your imagination run wild – there is no right or wrong way to do things! If an idea doesn’t work out, throw it away, print a new page, and start again.
Shop for Creative Journaling Printables

Save this pin to your favorite Pinterest board!
