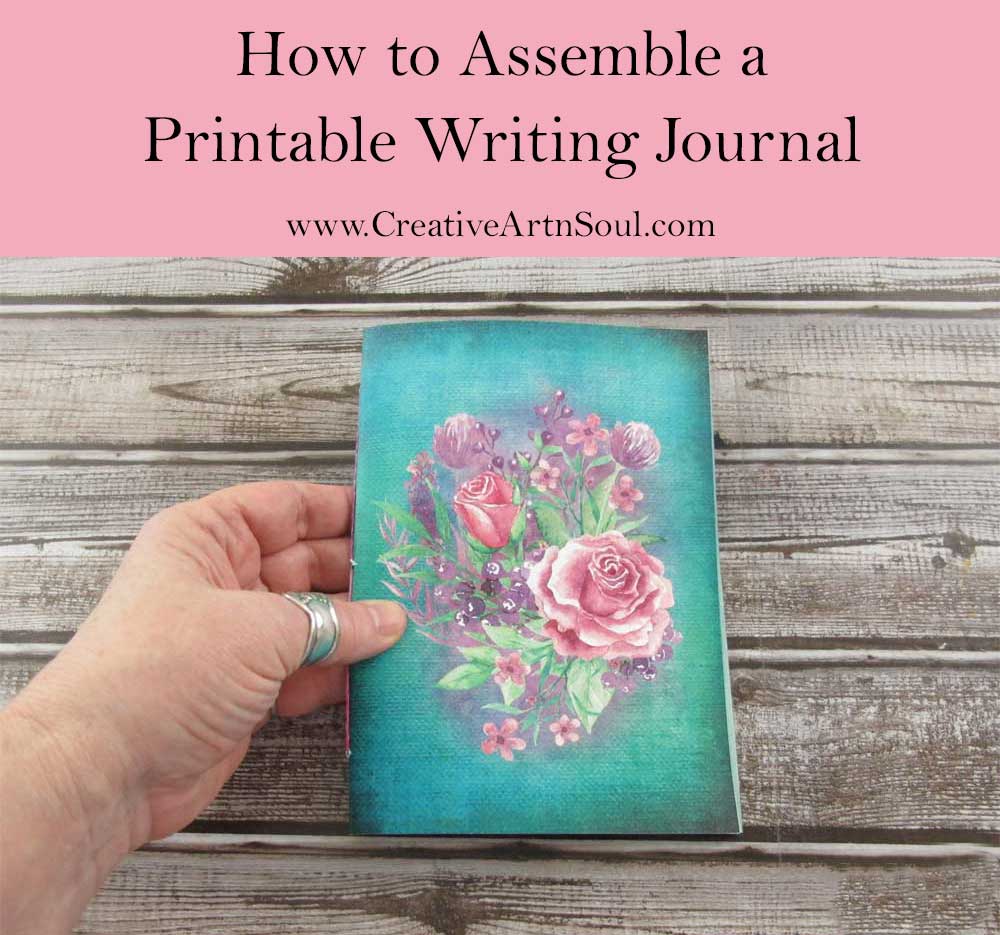
Writing in a journal has many benefits, and can improve your life immensely as you become more self-aware and gain clarity about your life and the problems or challenges you face.
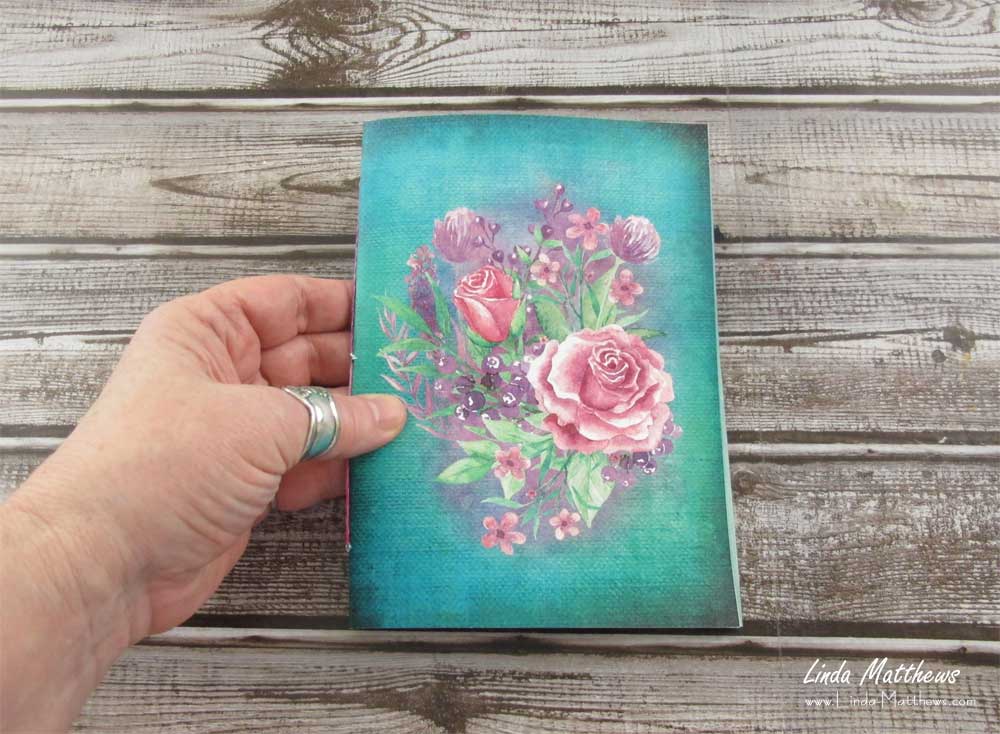
In this tutorial I’m showing you how to make a basic writing journal using my Watercolor Garden Printable Writing Journal Kit which you can find here in my online store. Alternatively you can make a handmade writing journal using any type of writing paper for the inside, and a cover made from plain cardstock or any type of thick paper such as scrapbook paper.
Supplies & Resources
- Printable Journals
- 110lb Cardstock
- 24lb Copy Paper
- Wooden Handle Awl
- Long Reach Stapler
- Hand Embroidery Thread
- Hand Embroidery Needles
Recommended Papers
Use 110lb cardstock for the cover, and 24lb copy paper or similar weight, for the pages. This weight is perfect for writing and won’t bleed through to the other side.
How to Assemble a Printable Writing Journal
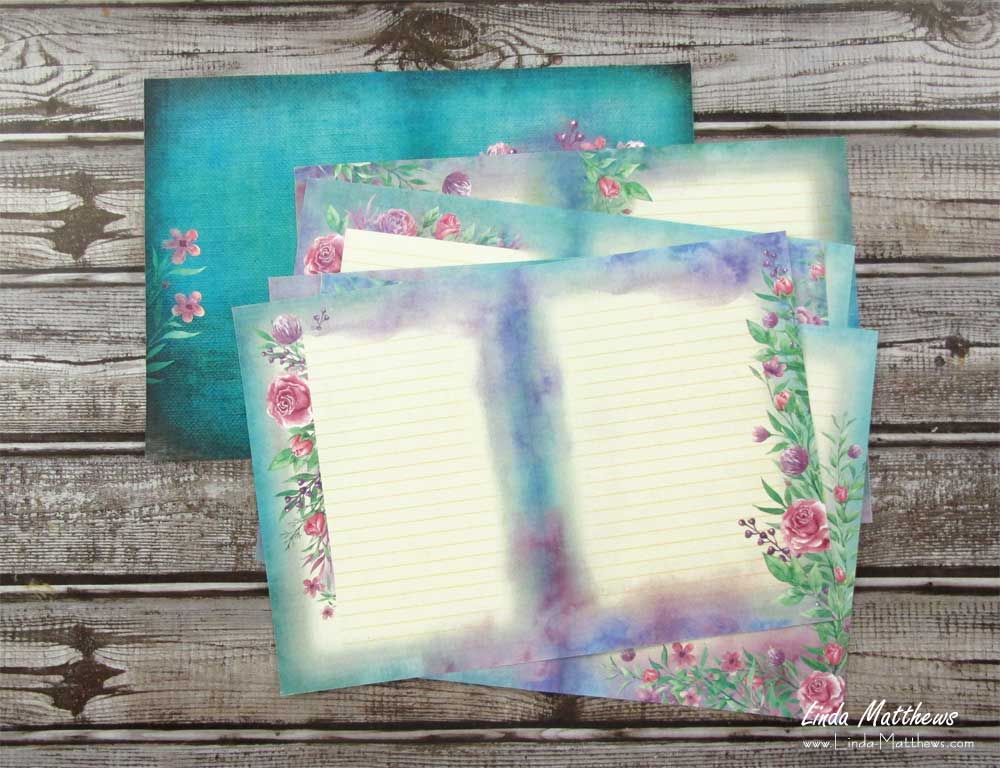
Print the cover onto cardstock, and print the pages onto copy paper with the full size page printed onto the back.

Cut to size.
Option 1: Stapled
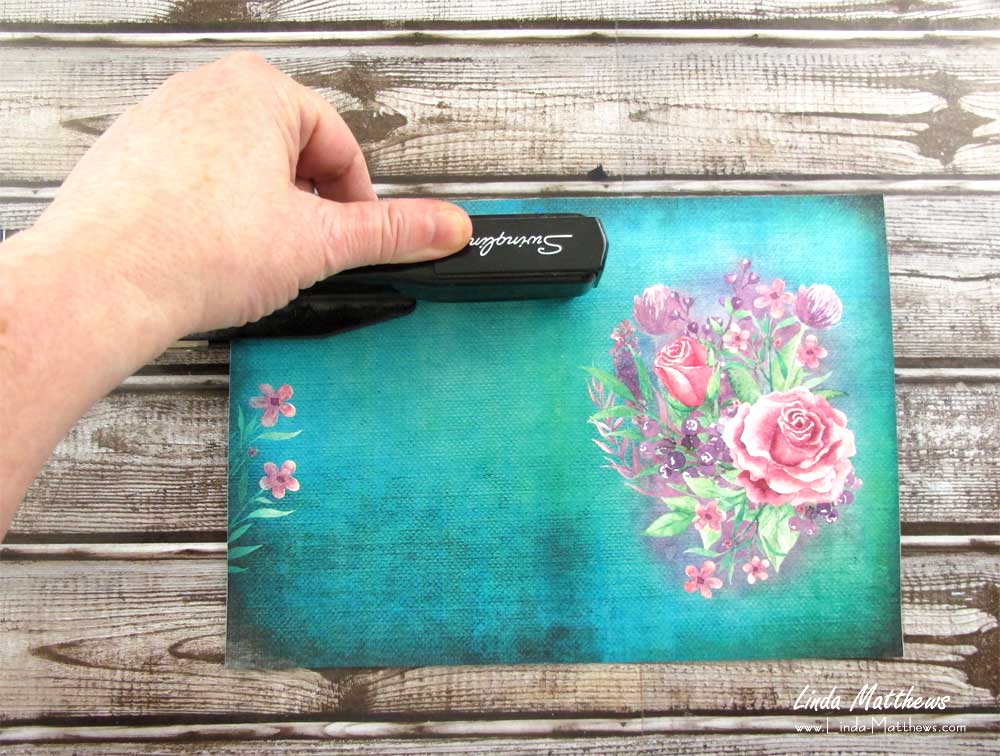
Stack the pages with the cover on the outside and staple the pages together using a long reach stapler.
Option 2: Stitched
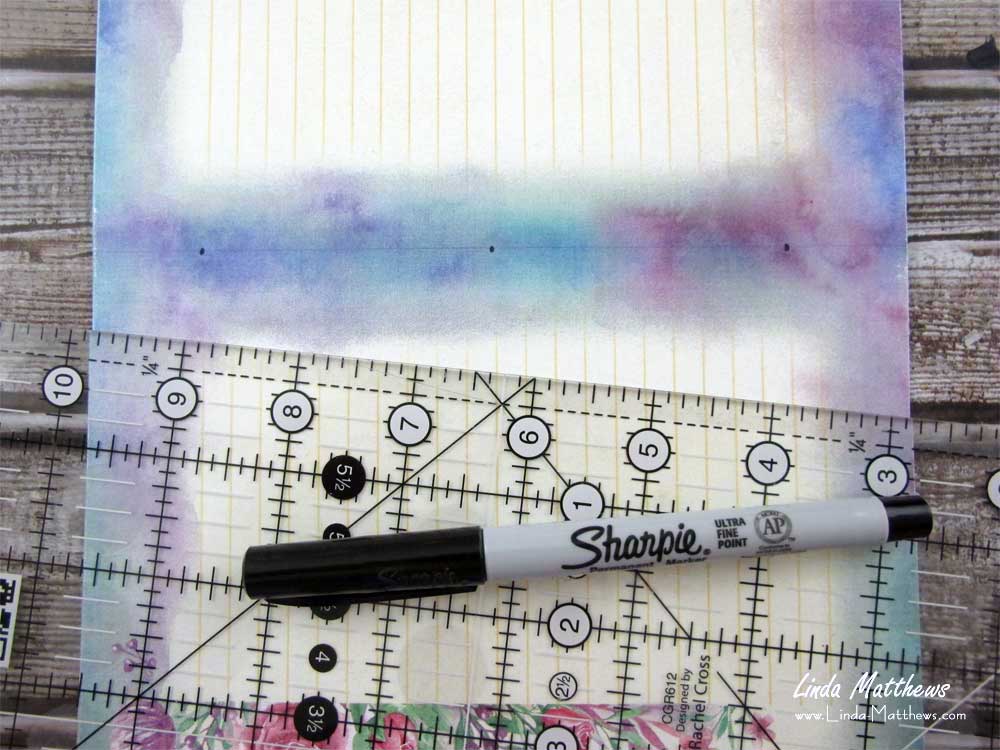
Make 3 equally distant dots along the center of the pages using a sharpie.
Using an awl, punch the holes.
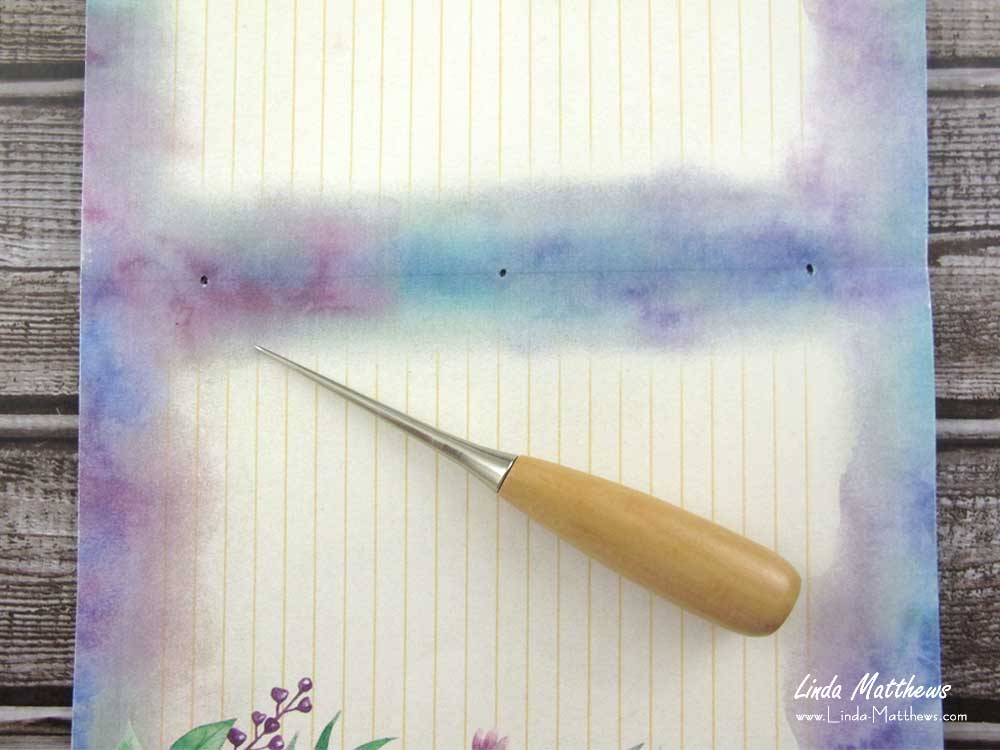
Cut a piece of strong hand embroidery thread about twice the length of the pages and thread through an embroidery needle. Make the first stitch through the center hole from the inside through to the outside. Then back again to inside through the top hole.
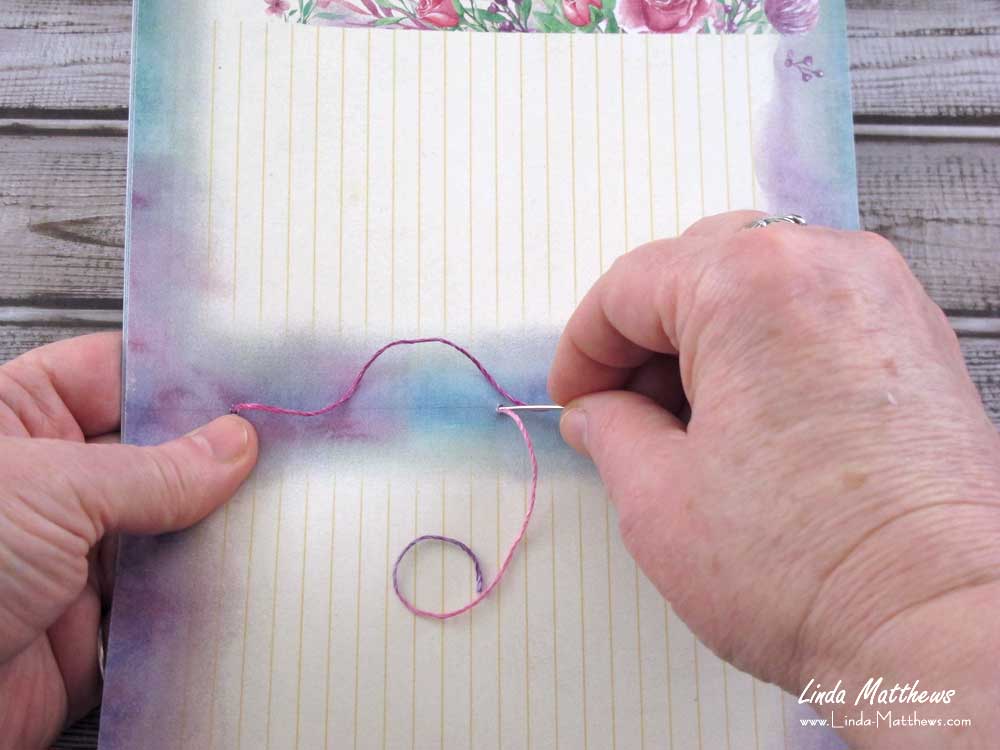
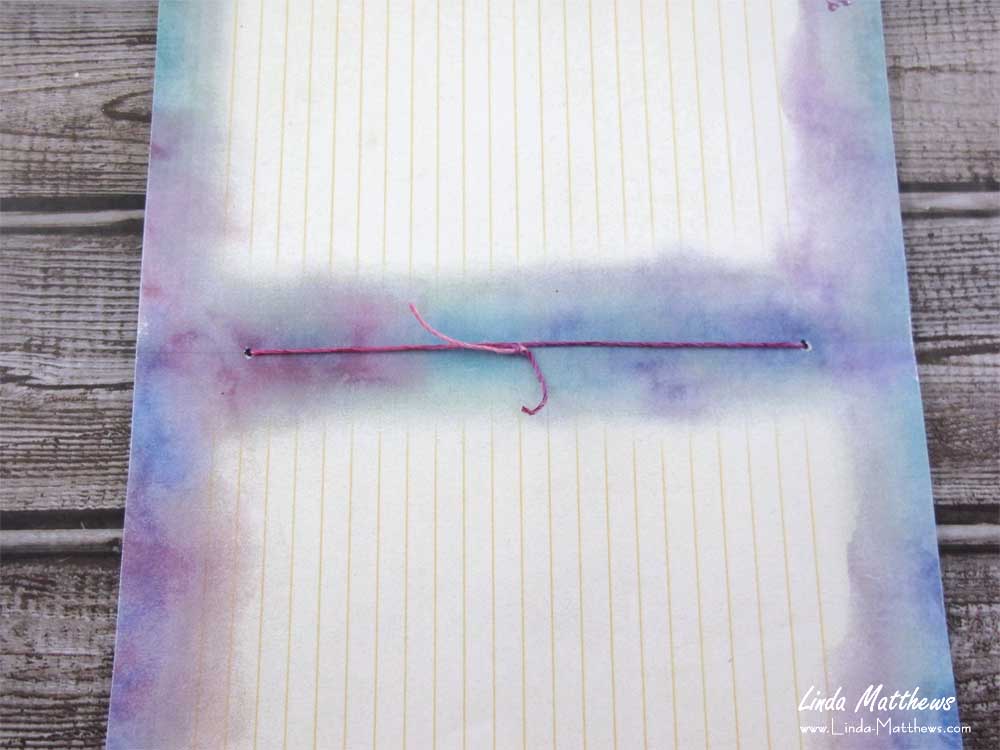
Stitch back through to the outside through the center hole, and then back to the inside through the bottom hole. Tie the thread in a knot.
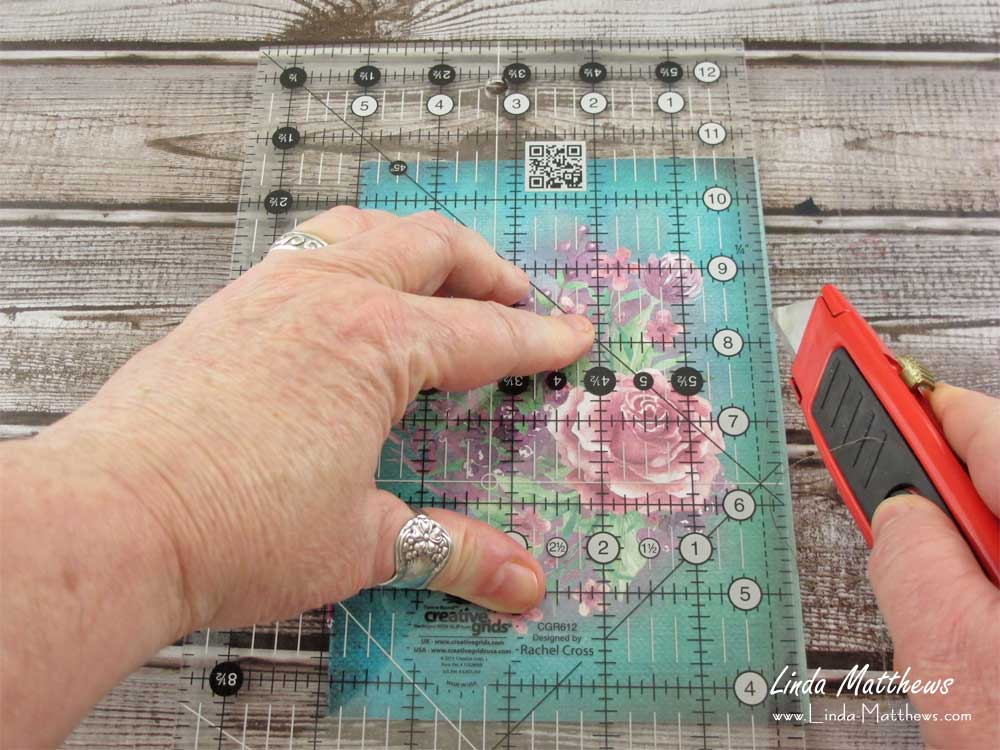
Fold the journal in half and trim the pages even using a ruler and an xacto knife.
Your done!
Save this pin to your favorite Pinterest board!

