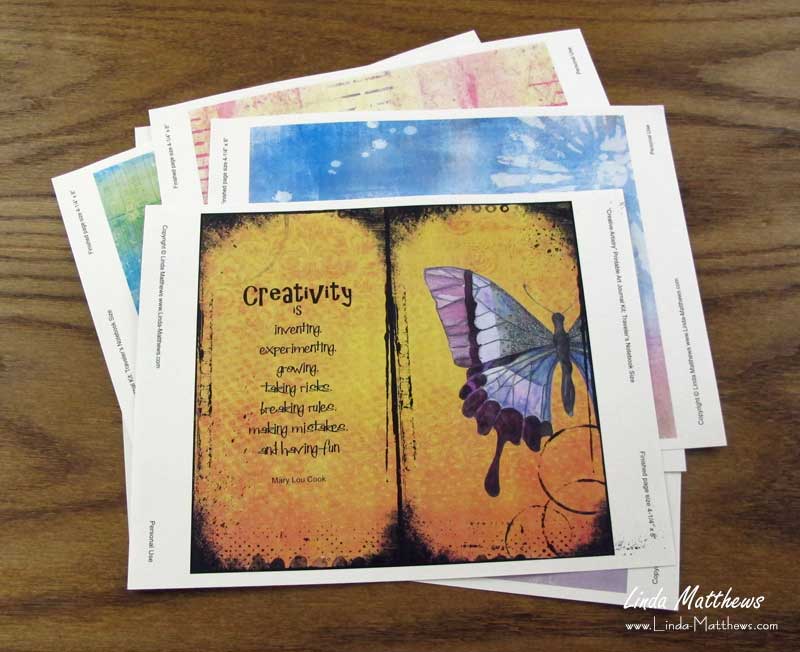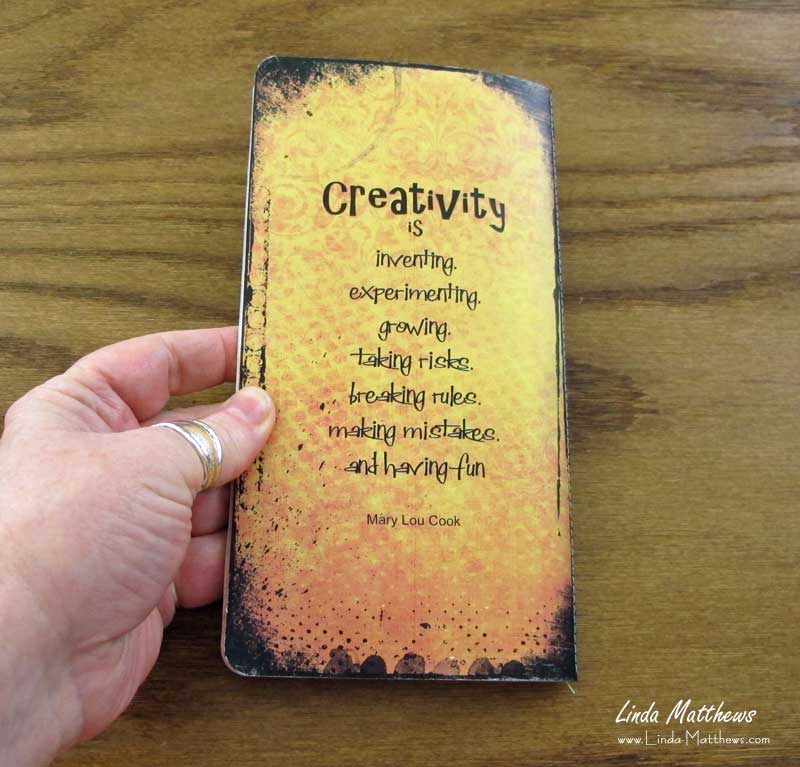
This traveler’s notebook size art journal can be combined with other printables from the Creative Artistry Traveler’s Notebook series to make a complete “Creative Artistry” traveler’s journal that can be used for all your creative art journaling, writing and note-taking. You can find a full range of Creative Artistry printables here in my online store. You can also find a free tutorial showing you how to make a traveler’s notebook cover here.
How to Assemble the Printable Traveler’s Notebook Art Journal
The Creative Artistry Traveler’s Notebook Art Journal is made using this printable journal kit, however you could also make it using hand-painted papers.
A Note About Printer Ink
If you intend to add paint or stamps to your art journal, make sure to print the pages so that they are water-resistant. This can be done using a laser printer or an inkjet printer that has water-resistant inks. If you’re not sure what type of inks your printer uses, check your user manual. Alternatively, send the files to your local print shop and have them make copies for you on their laser printer.
Print the Pages
To begin, print the insert cover onto a good quality cardstock with the cover design on one side and the backing design on the other side. Print all the pages double sided. The page designs are slightly oversized in width so that if the print on the reverse side doesn’t align correctly, you’ll still be able to trim the page back to size.
The best type of paper to use is a good quality cardstock, although you could also consider using mixed media paper which is thick and designed for mixed media applications. My favorite is Strathmore Mixed Media Paper size 9″ x 12″ and which comes in books of 60 sheets. Simply cut the sheets to copy paper size and use as you would for any other type of copy paper.

Trim the cover to size at 8-1/2″ wide x 8″ high, and the pages to size at 9″ wide by 8″ high.

Assemble the Pages
Using a creasing tool, make a crease down the center of the cover and each page so that when folded the cover measures 4-1/4″ wide x 8″ high, and the pages measure 4-1/2″ wide by 8″ high.

Stack the pages together with the cover on the outside and fold into a booklet. Press along the folded edge to make sure all the pages are well creased.

Open the pages and stack them with the center folds aligned. Attach them with some binder clips or large paper clips.

Sew the Journal
Using a sewing machine and a straight stitch, sew the pages together down the center fold.

Once sewn, draw the threads to the inside and tie off in a knot at the top and bottom.

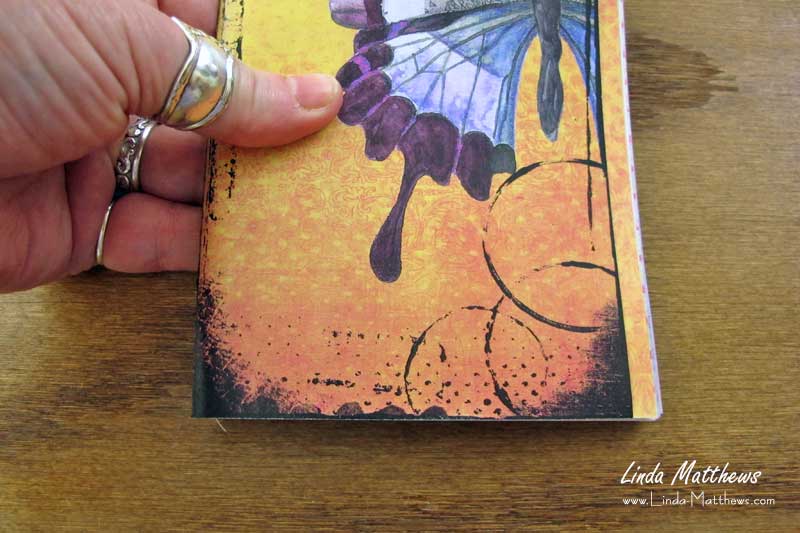
Using a bone folder, press firmly down the folded edge to flatten.

Trim the Pages
Once the journal is assembled, you’ll notice that the edges of the pages will extend and be uneven down the long side.

To trim the pages so that they are even, align a quilting ruler, or other type of ruler that won’t slip, along the edge of the cover. Using an x-acto knife or rotary cutter, trim the edges even. Take your time and cut lightly but firmly until all the pages are trimmed.

For a professional finish, round the corners of the pages using a rounded edge cutter.

Glue the pockets to the inside of the front and back cover.


Supplies & Resources
Save this pin to your favorite Pinterest board!

