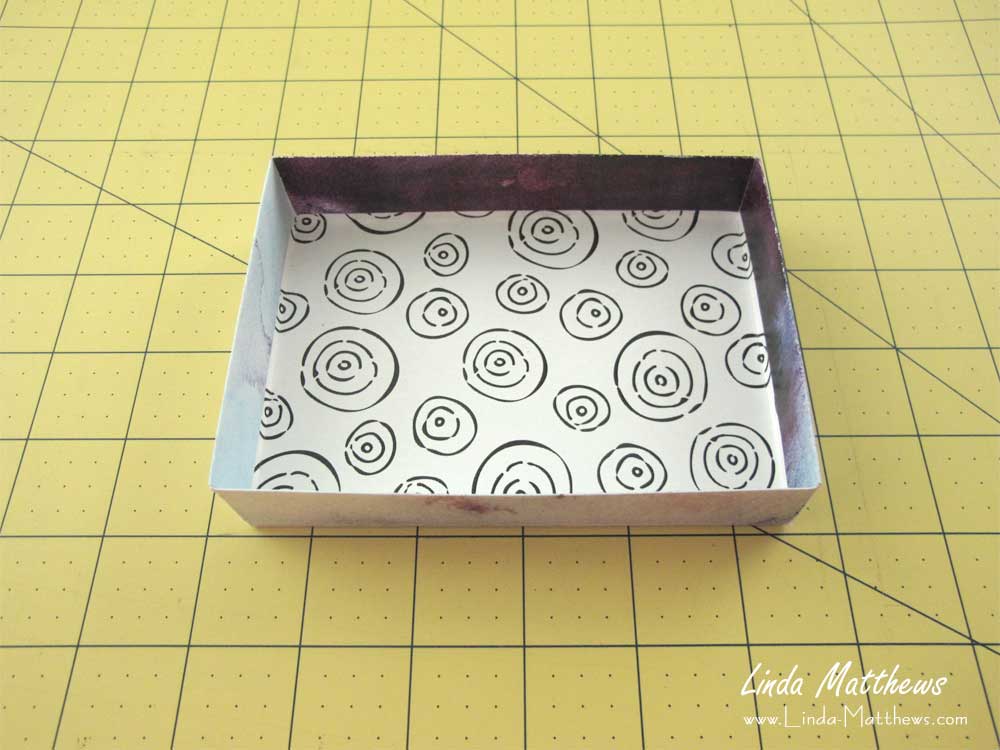
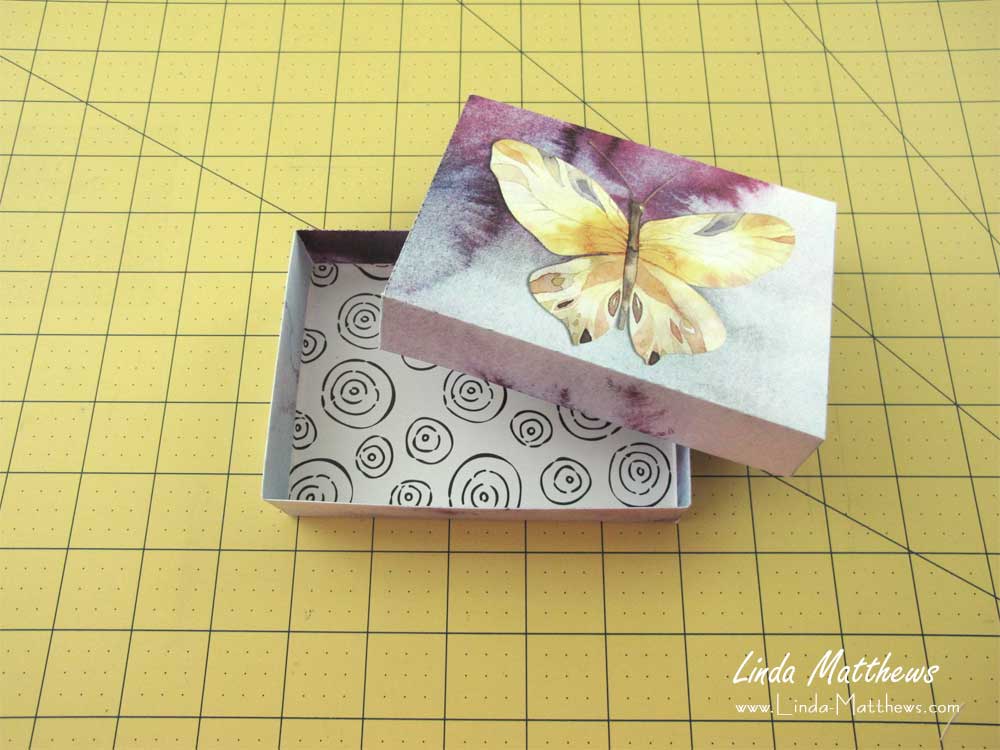
This tutorial shows you how to assemble the box for the Positive Vibes Affirmation Card Deck, however the instructions are the same for boxes for other products. The box is designed so that the edges fold over and to the inside, ensuring that the sides of the box are sturdy so you will be able to use it again and again without it ripping.
Supplies & Resources
- Bone Folder and Paper Creasing Tool Kit
- Non-slip Quilting Ruler
- Craft Strength Glue Sticks
- Scor-Tape
To Get Started
Print the top and bottom sections of the box onto cardstock. You can also print the backing sheet design onto the other side of the pages, or you can leave them blank.
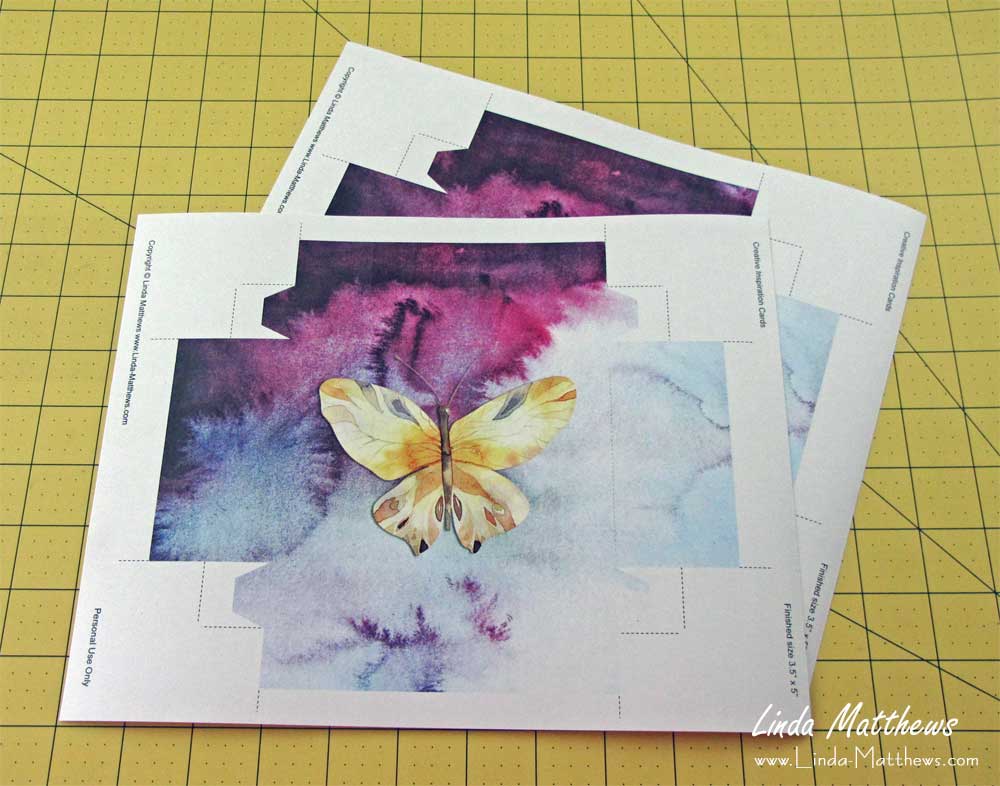
Using a creasing tool, make creases along each of the folds using the broken lines as a guide.
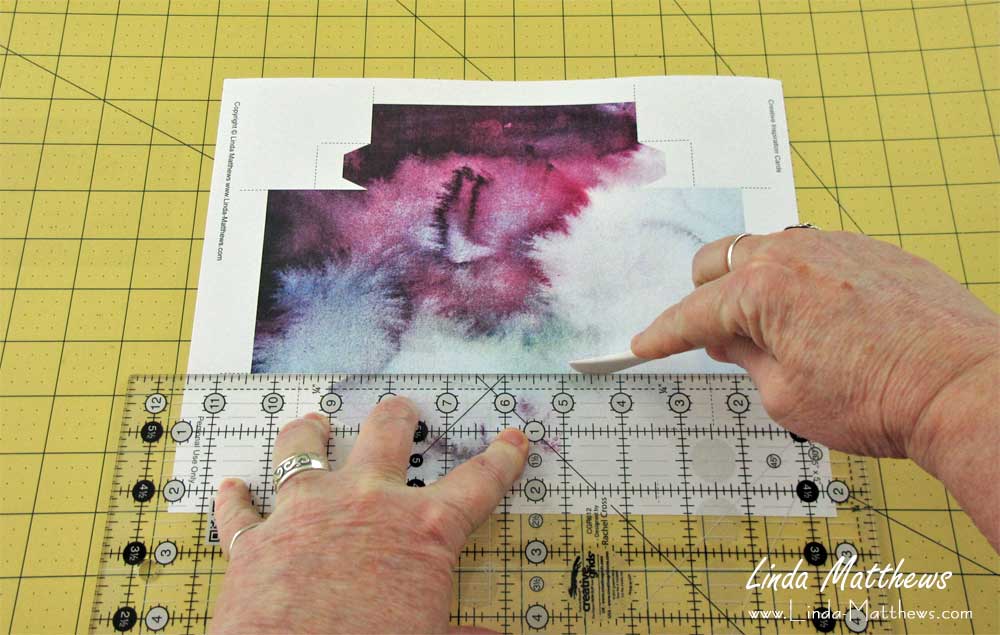
Cut out each of the pieces.
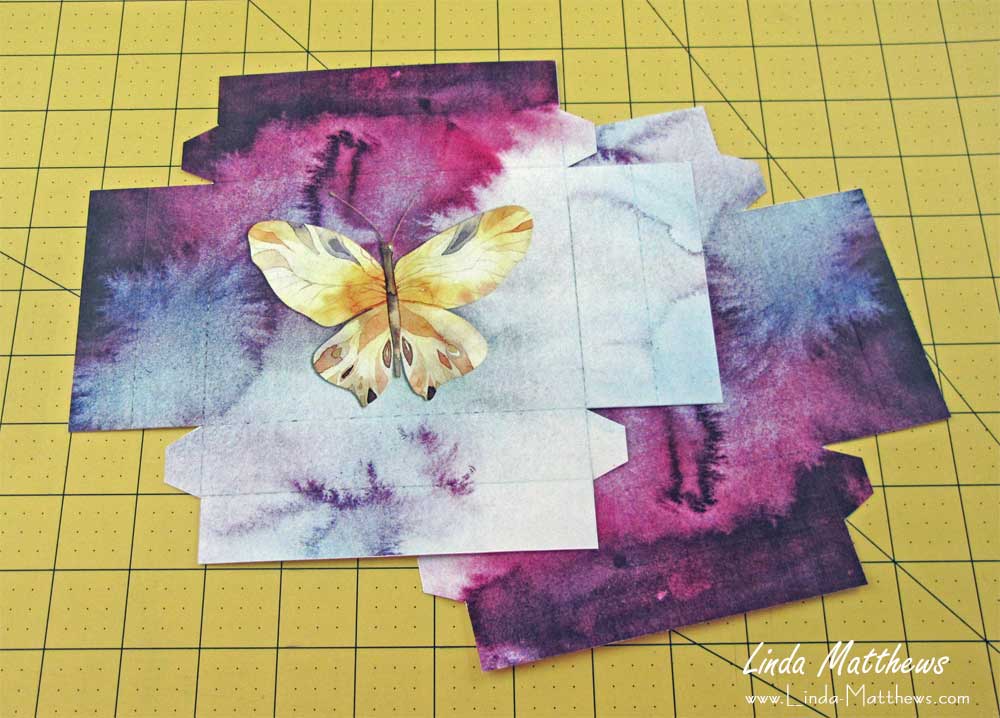
Using a bone folder, press each of the creases toward the inside of the box.

Starting with the long sides, on the inside, glue the outer fold section and press over. You can use either a strong craft glue, or scor-tape.
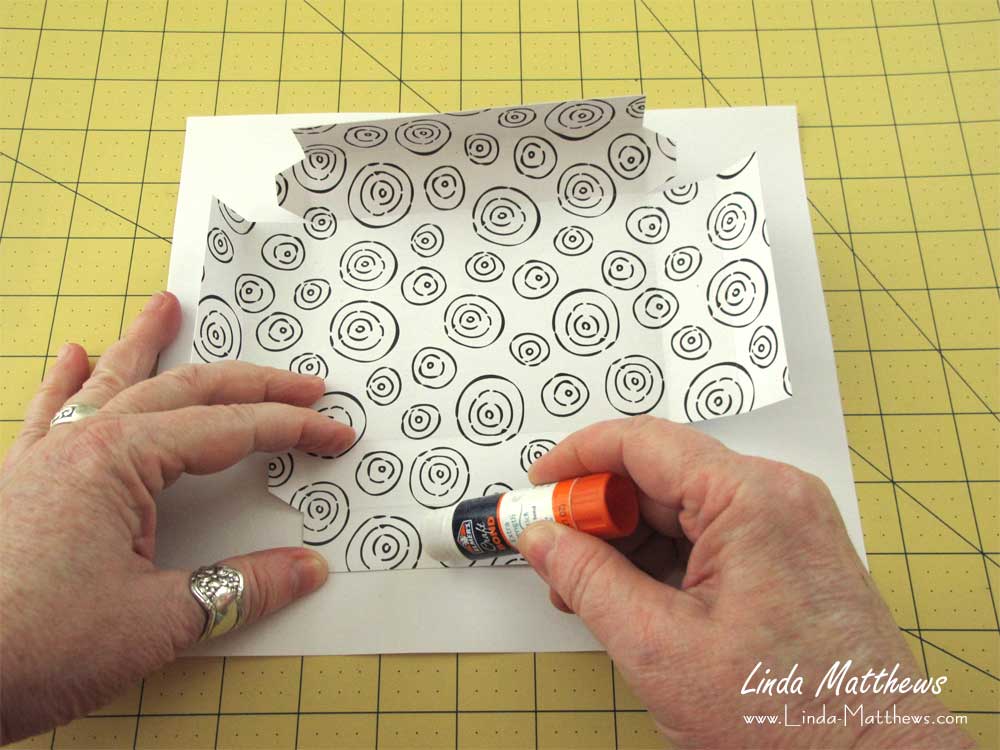

Do one short side at a time. Glue the outside of each of the tabs …

… then glue the inside fold section.
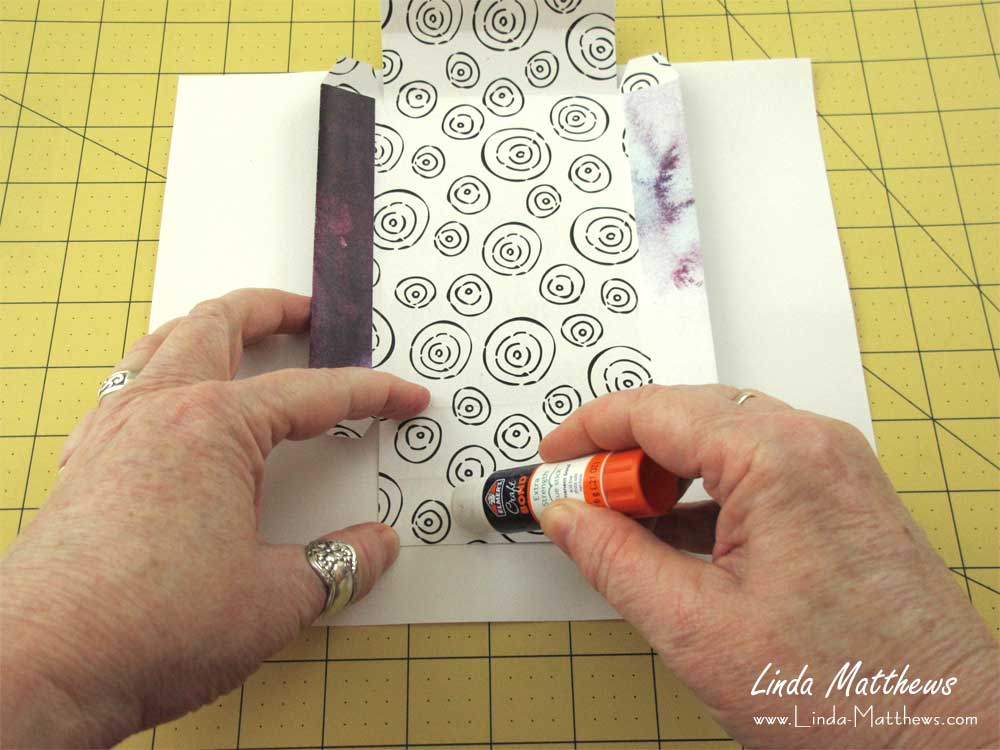
Press the fold over, tucking the tabs inside. Press firmly to make sure the glue holds the pieces together.
