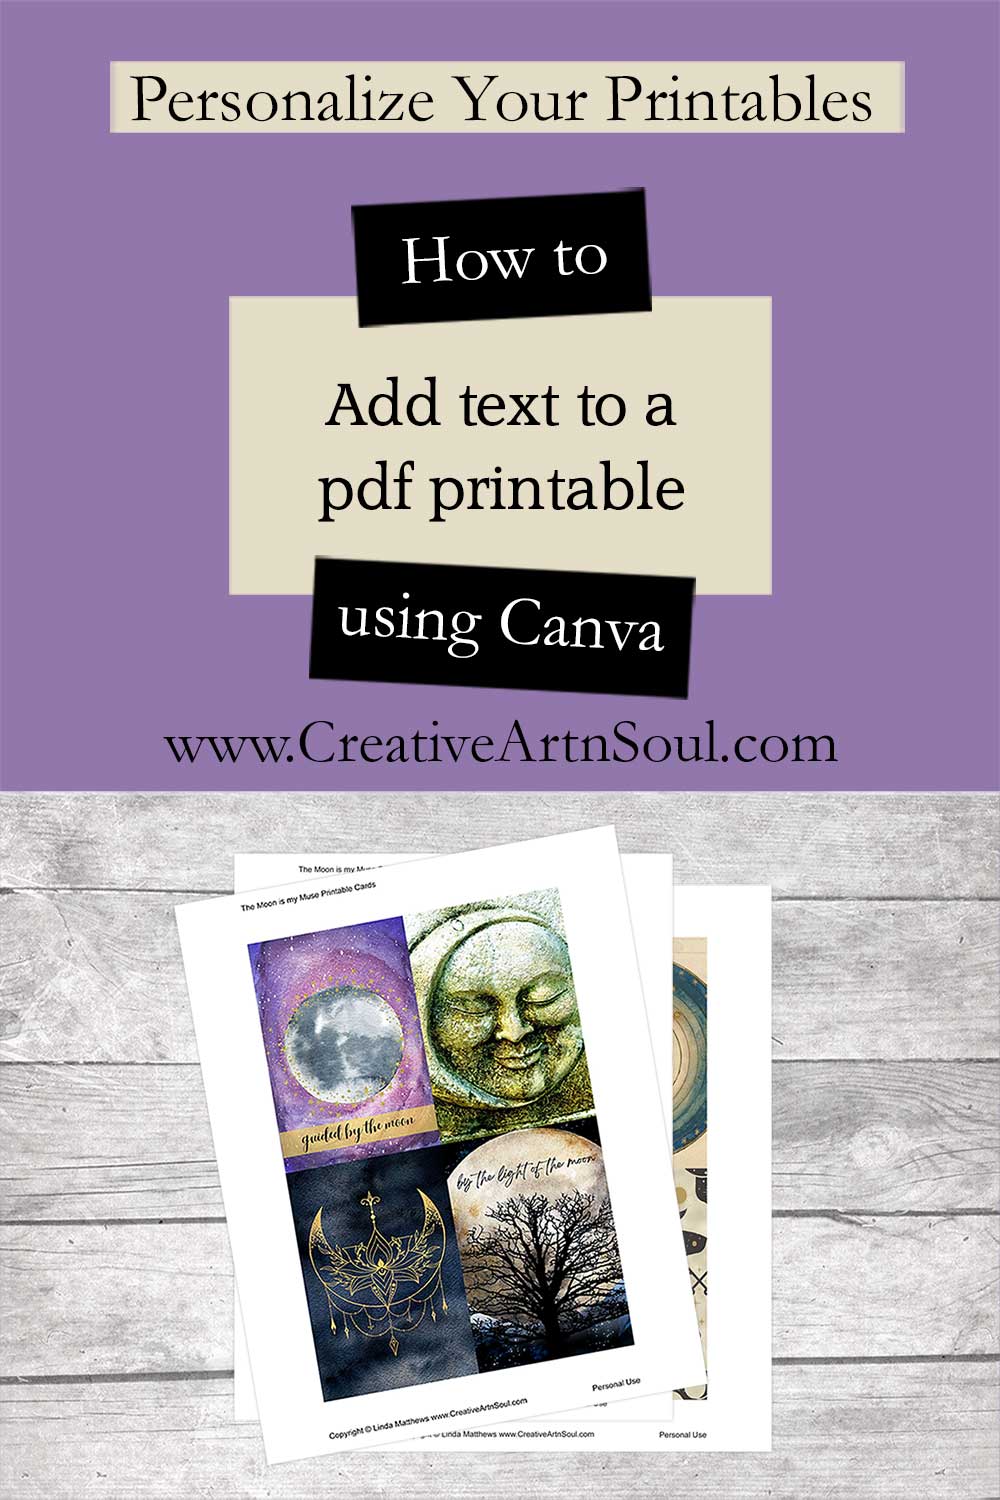
Discover just how easy it is to add text to a PDF printable before you print it out.
If you’ve ever wanted to add text to a pdf printable such as a journal card, tag or even printable label as a way to personalize your printable, it’s not as difficult as you think. And you don’t need any fancy software; just a free account with Canva.
Canva is an online graphic design platform where you can create social media graphics, presentations, posters and other visual content. Canva has a free version which includes lots of content that you can use, and it also has a paid version that has additional features.
To add simple text modifications to your printables like the ones I’m going to show you, all you need is the free version.
How to Add Text to a PDF Printable
Log into Canva
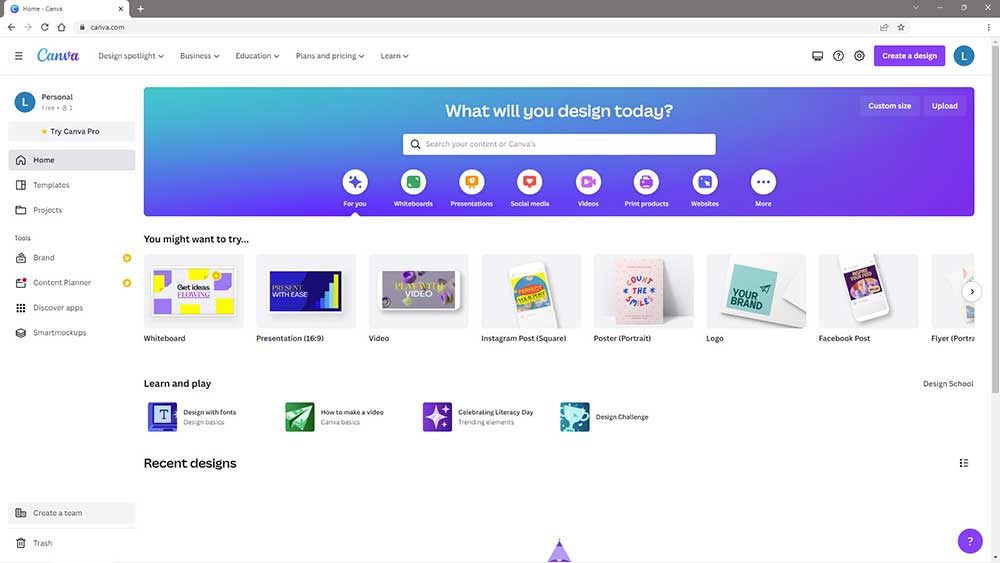
To get started first log into Canva. If you don’t already have an account you will need to make one. After you log in you’ll land on the home page.
Import your PDF file
Next, you need to import the printable pdf file that you want to add text to.
Canva allows you to import a wide variety of file formats for images, videos and documents. For this demonstration I’ll be using a pdf file.
To upload the file, click the “Upload” button on the top right of the page, then drop the file onto the upload section.
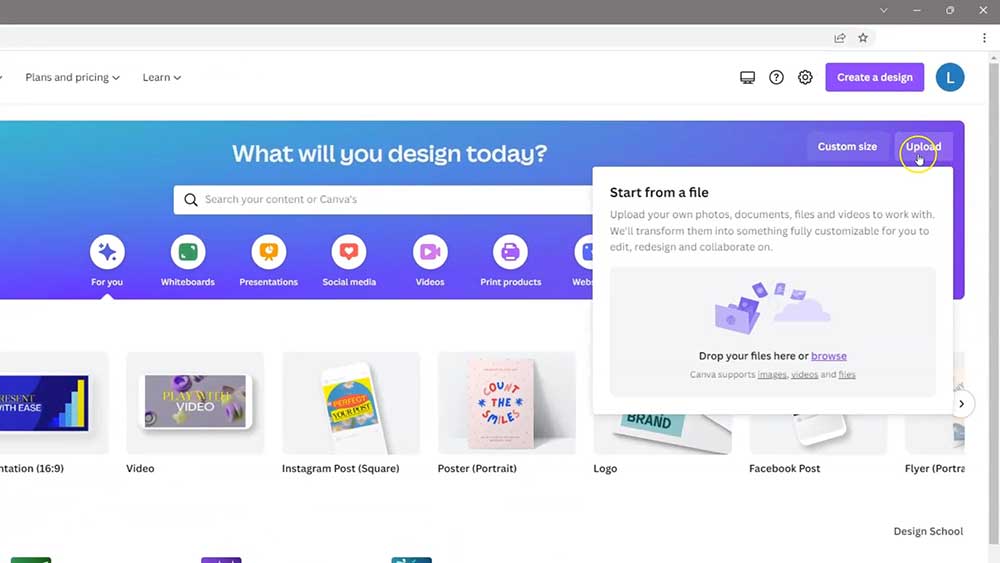
When uploading a multi-page pdf file to Canva, you don’t need to split the file first because canva will automatically do that for you. This means that if you only want to personalize one or two pages, after you upload you can then select the pages that you want to use and delete the rest.
Access the editor
After the file has uploaded, click on the file thumbnail …
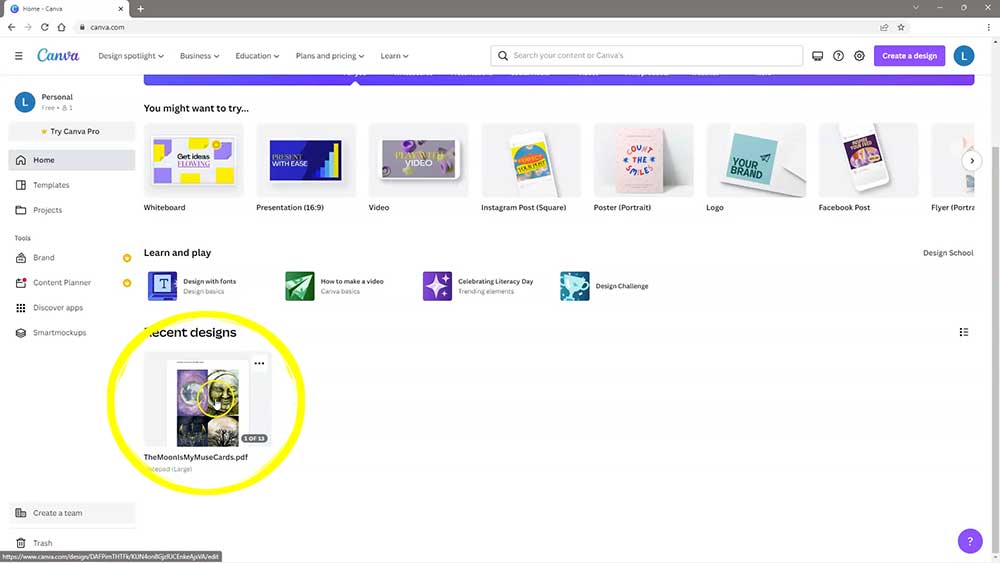
… and you’ll be taken to the Canva editor.
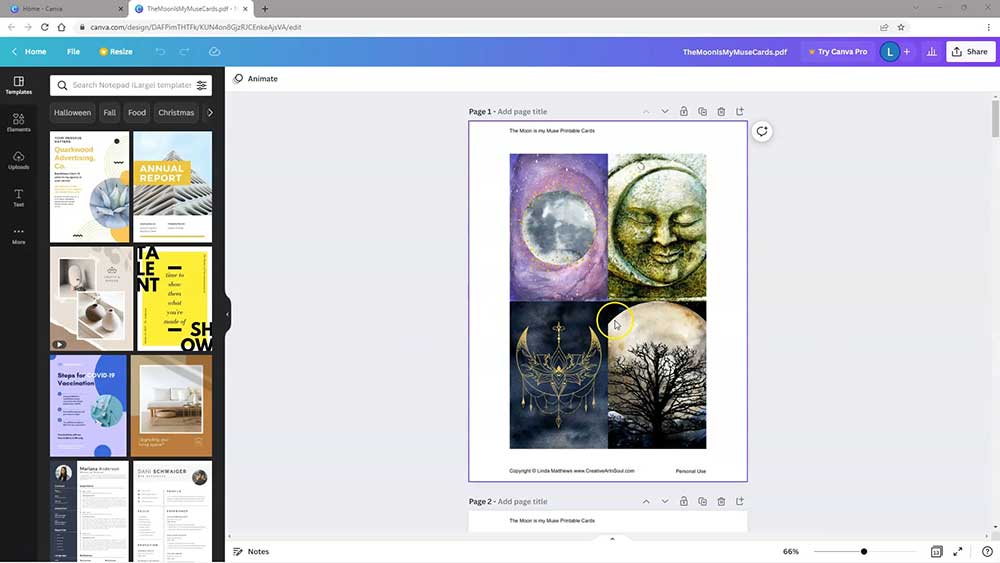
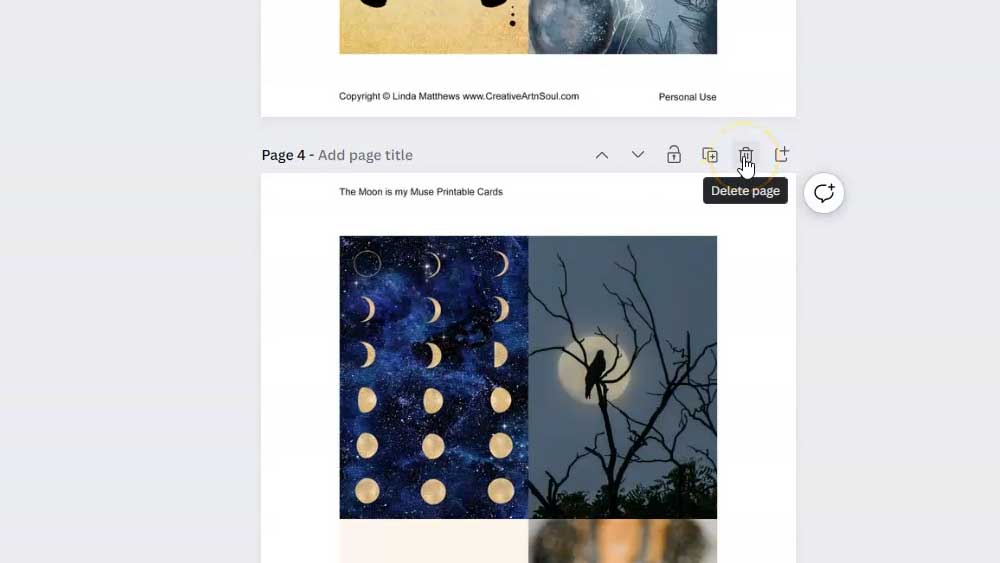
Once in the editor you can see that all the pages have been imported. If you don’t want to use all the pages simply click the trash can on the pages that you don’t want and delete them.
Alternatively you can just leave them all in case you want to come back and personalize other pages at another time.
Add text to a pdf printable
I’m going to add some text to a couple of these cards that I’ve uploaded. The cards that I’m using are The Moon is My Muse Printable moon-themed cards. They can be used as journaling cards and I sometimes use them as bookmarks.
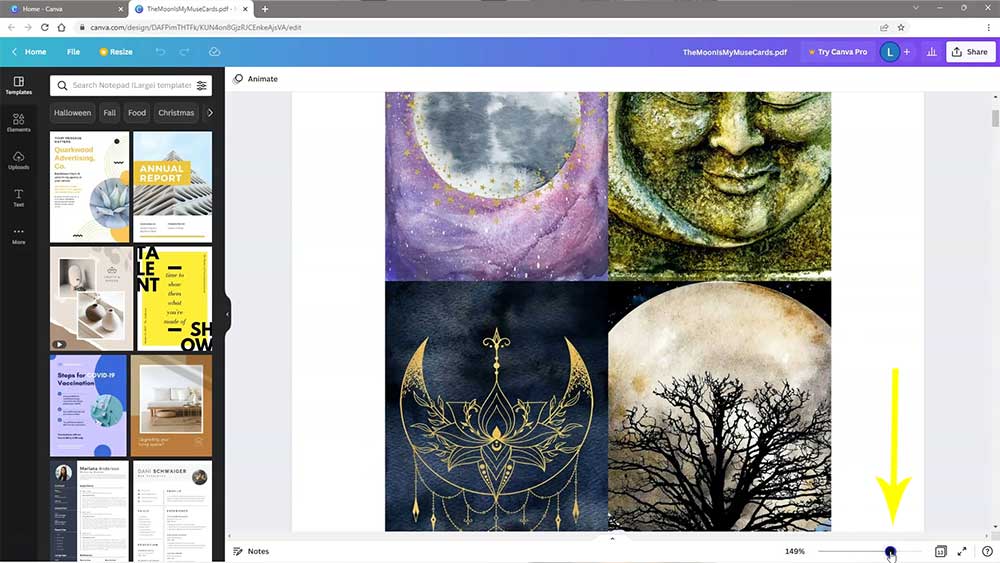
To better to see what you’re doing, you can zoom in using the zoom tool located at the bottom of the screen.
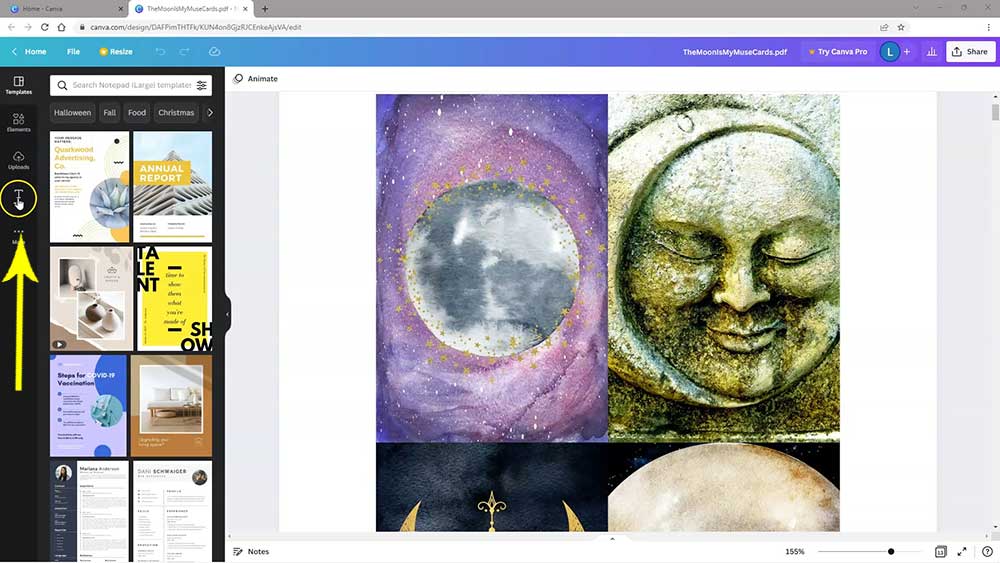
To add text to a pdf printable, select the text tab on the left menu. You have several preset sizes that you can use or you can just select the “Add a text box”.
Select all the default text in the text box then type in your own words.
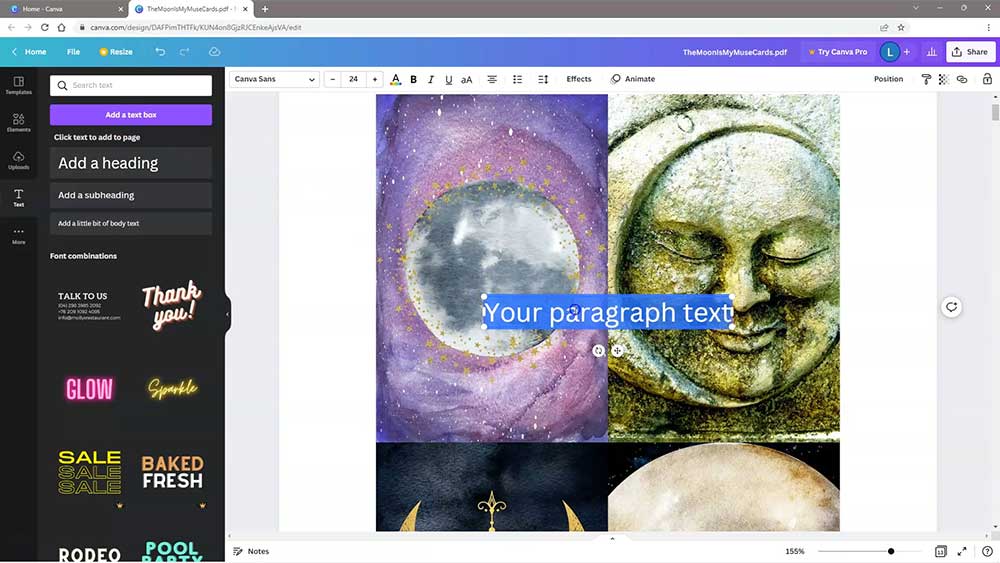
You can move and reposition the text box by clicking on the little move icon underneath and position it where you want.
To resize the text you can grab a corner of the text box and pull it in, or you can use the size drop down box at the top of the screen
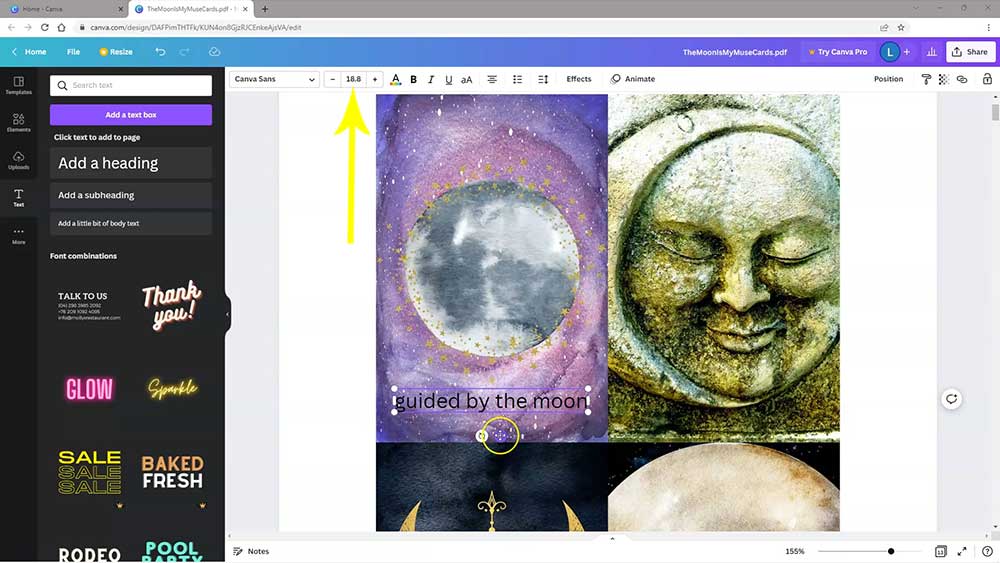
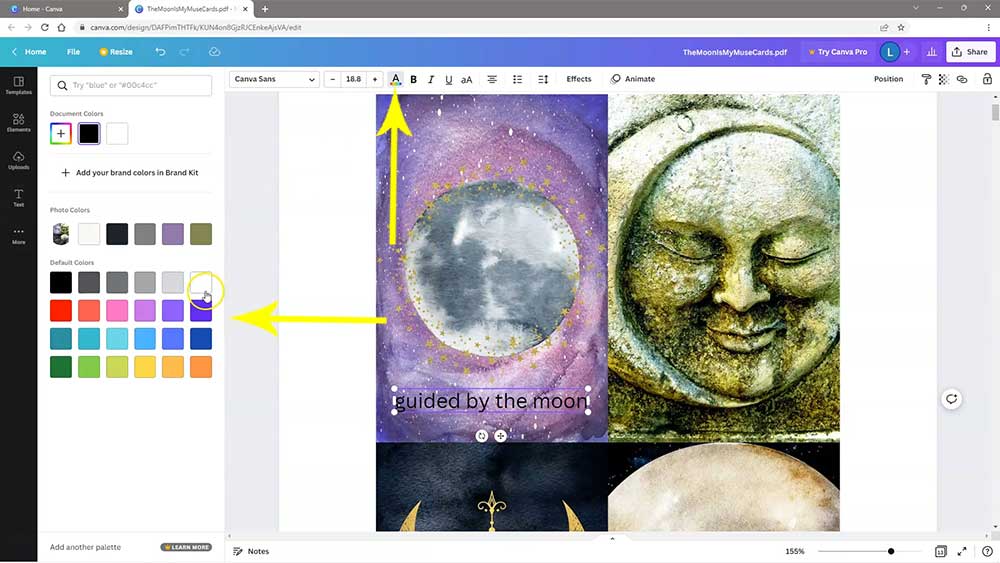
Change color of text and font type
To change the color, click the text color button on the top menu then select the color that looks best from the palette on the left.
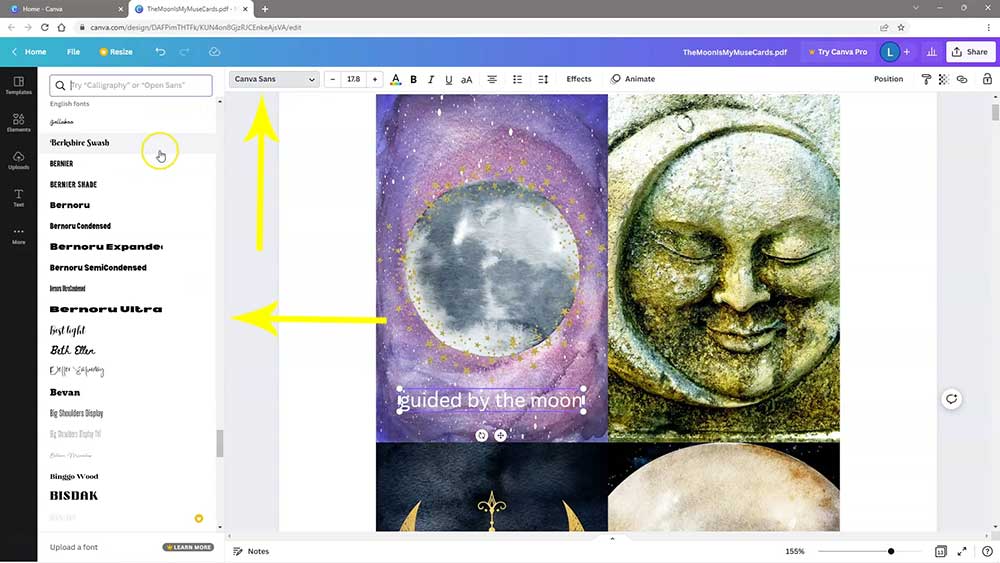
To change the font, click the font drop down box on the top menu and you can see that you’ve got a lot of fonts to choose from on the left.
You can preview a font just by clicking on it which makes it easy to find one that you’re happy with because there’s a lot of fonts to choose from.
Add a background to the text
To make the text stand out a bit more you can also add a background.
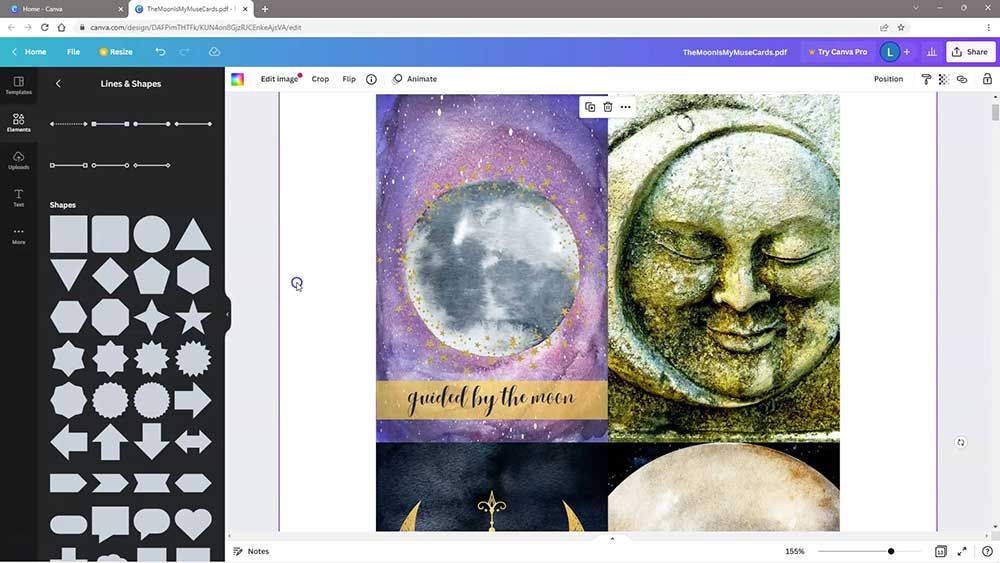
To do this, select the elements tab on the left menu. From here you can select a frame or a background shape.

I want to make a rectangular shape so I’m selecting the square shape which I can resize.
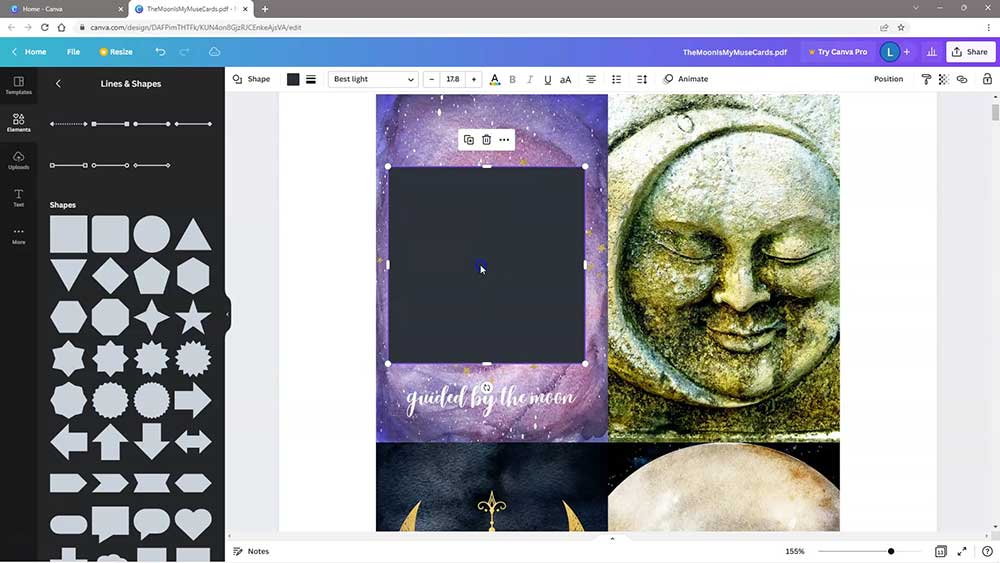
To resize, just grab the edge and pull it up and out to reshape it. Canva doesn’t have a ruler so it’s difficult to position elements precisely but if you need to you can zoom in close to see what you’re doing.
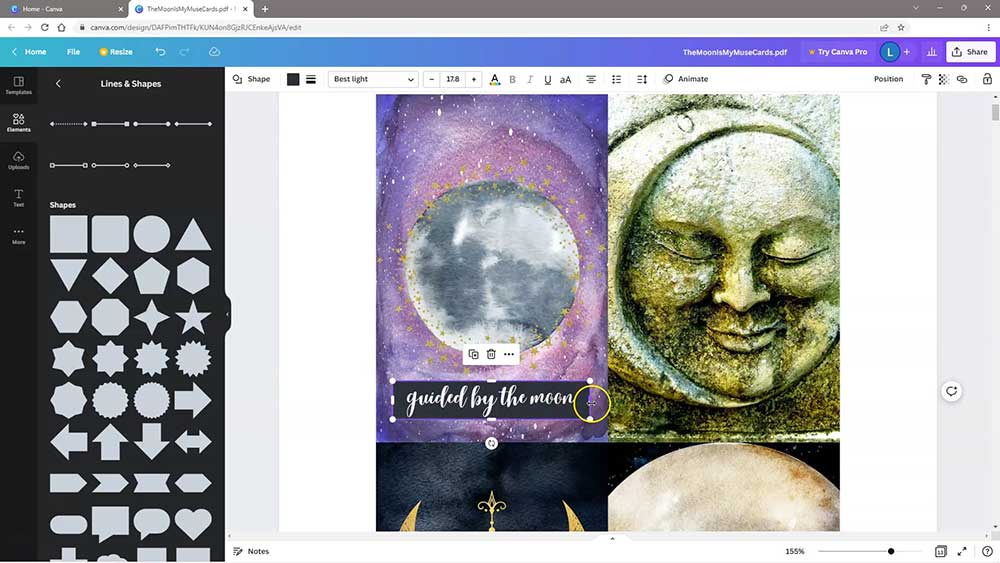
Change background color
To change the color, click the color tool on the top menu and select the color from the color palette on the left.
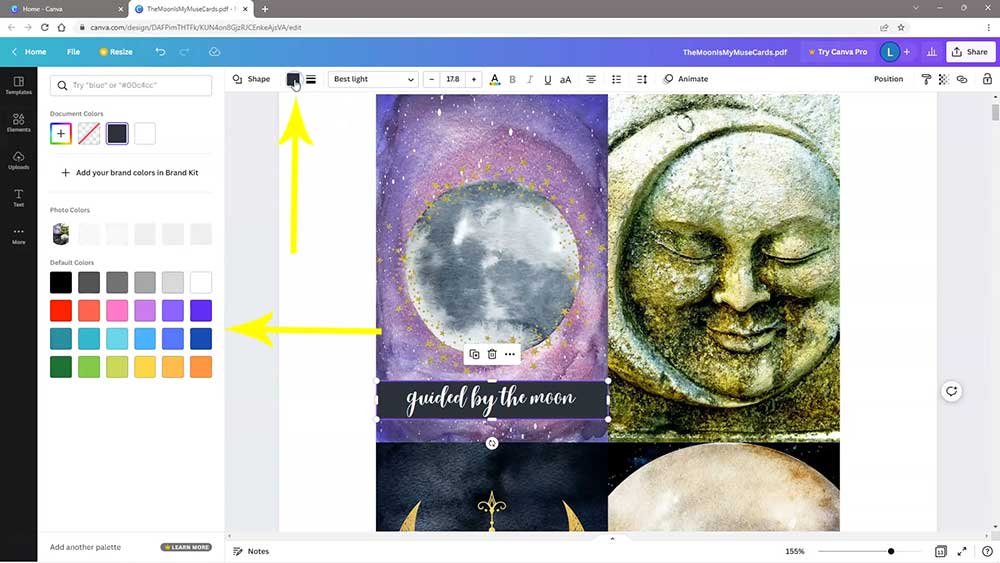
I’ve selected a gold color and I’m going to make the background slightly transparent.
To create a transparent background, click on the shape, select the transparency tool on the top right of the screen and then use the slider to adjust it.
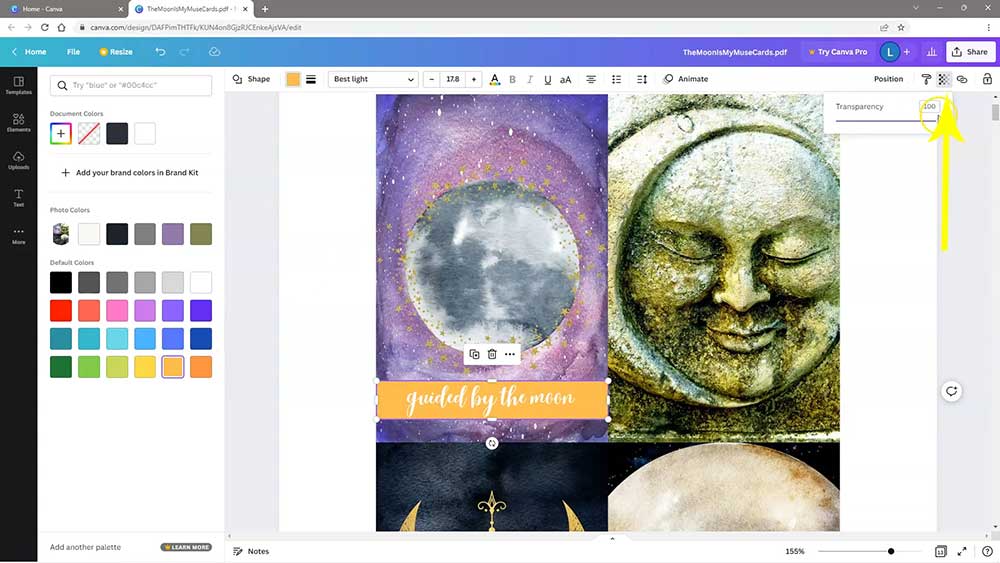
With the elements in position, you can play around with the settings until you’re happy with the way things look.
When making changes simply click on the element and select from the options on the menu above and the one that pops up on the left.
Download and Print
Once you’re happy with the changes that you’ve made, now it’s time to download.
If you’ve uploaded a multi-page pdf document, it’s not necessary to delete any of the pages after you upload them. This is because you have the option to download each of the pages individually.
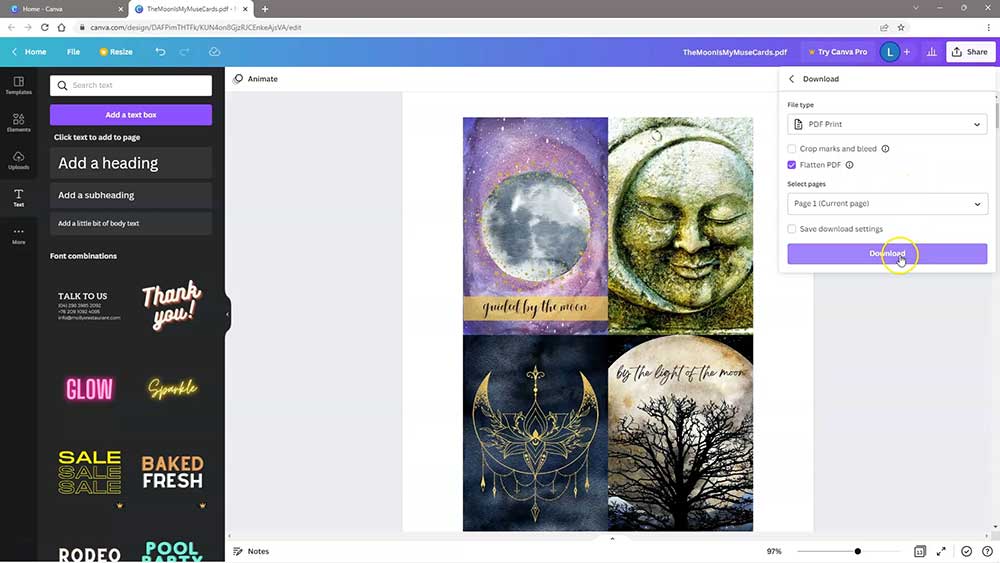
To download, click the share button on the top right of the screen, then download.
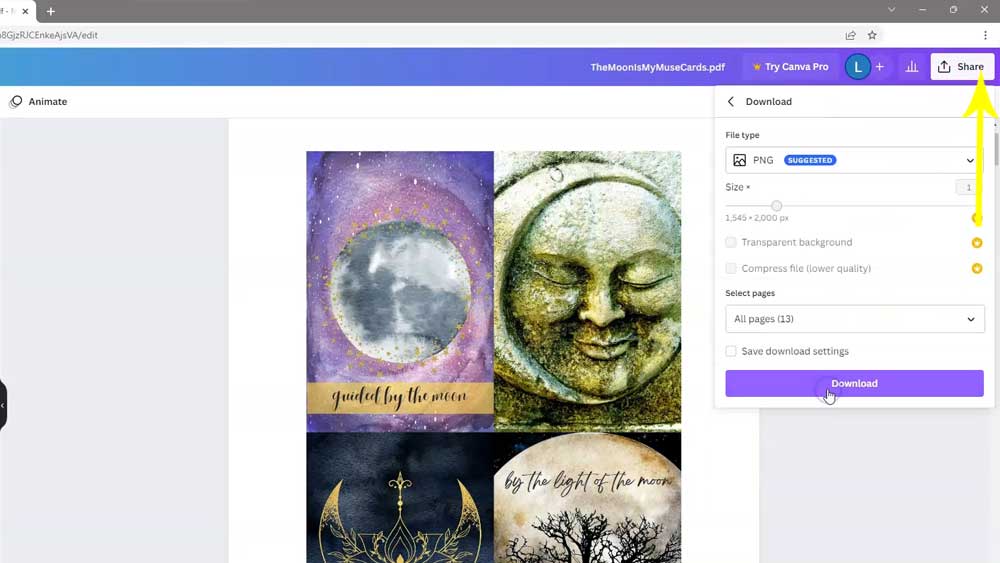
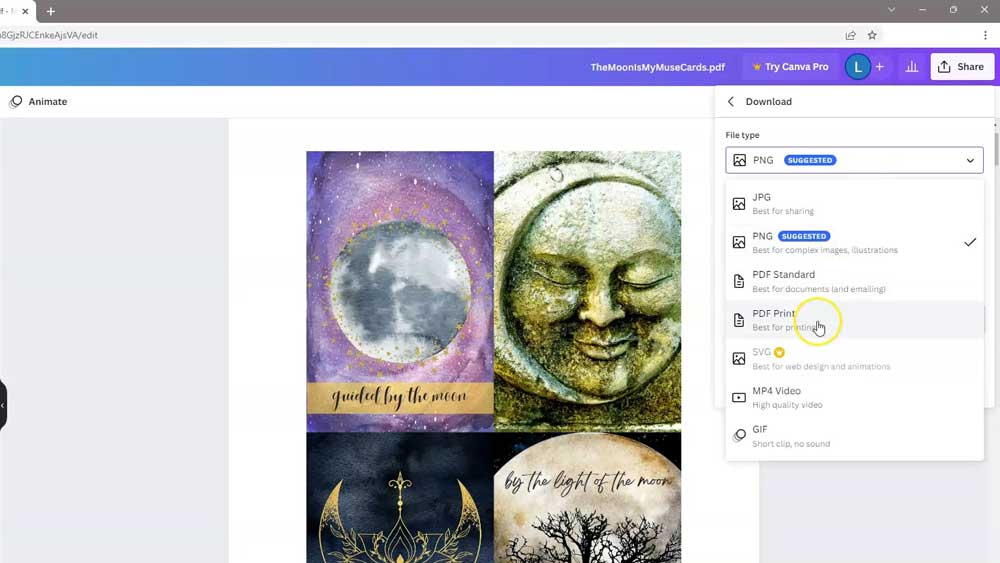
Select “pdf print” which is the best option for printing.
In the “select pages” options, you can select all of the pages or you can select any of the individual pages.
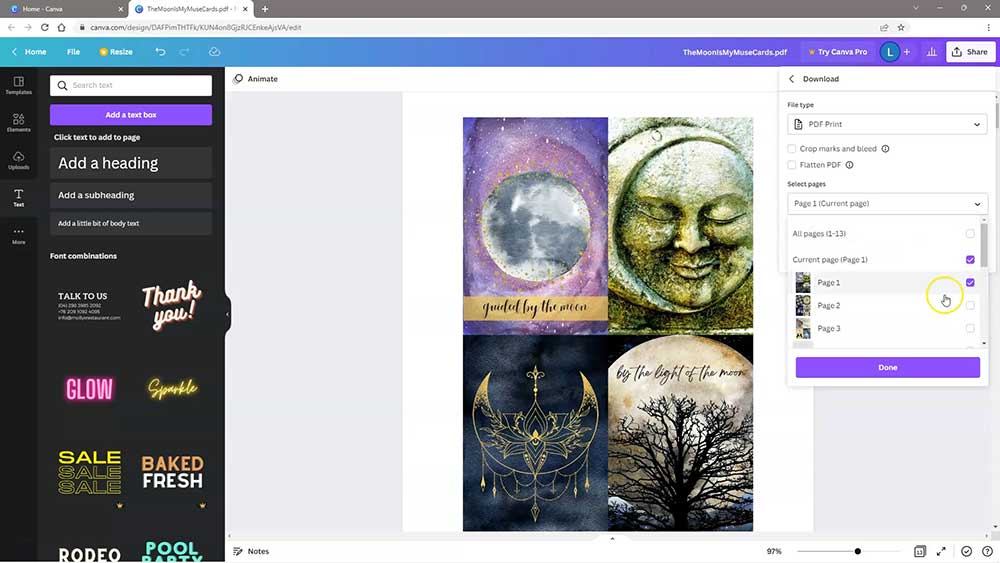
I’ve selected page 1 which is the only page I modified. When selecting the pdf print option, also be sure to check the “flatten pdf” option as well, as this will ensure that the words and the background image are properly integrated and the page will print without any issues.
When you’re ready, click “download” and the file will download to your downloads folder.
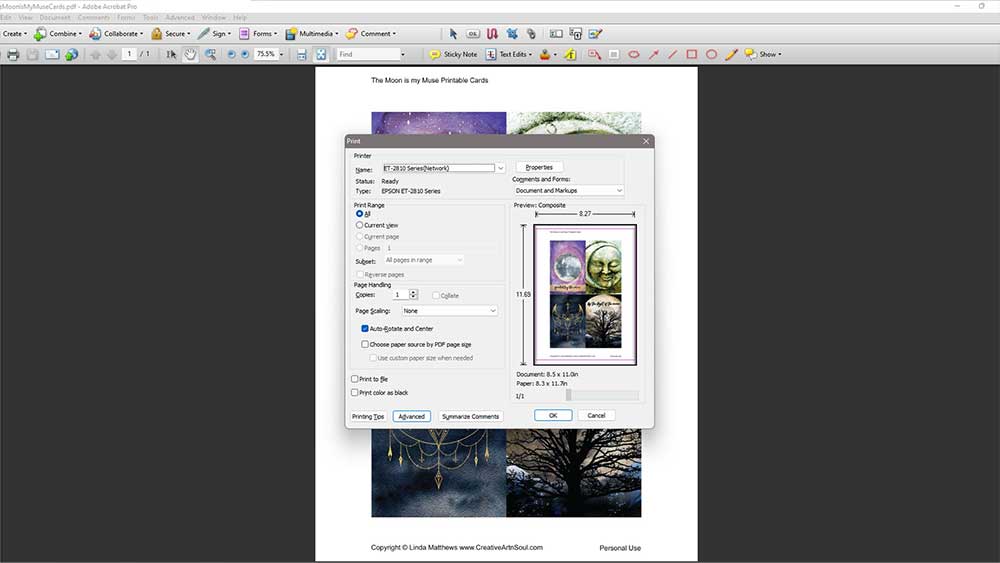
Once the files has downloaded, then all you have to do is open the file in a pdf reader and print it out.
Finally
I hope you found this tutorial helpful and discovered just how easy it is to add text to a pdf printable using Canva. You can use these steps to personalize any sort of digital file. If the step-by-step seems a bit long-winded, you can follow along with the video below.
Resources
Save this pin to your favorite Pinterest board!

