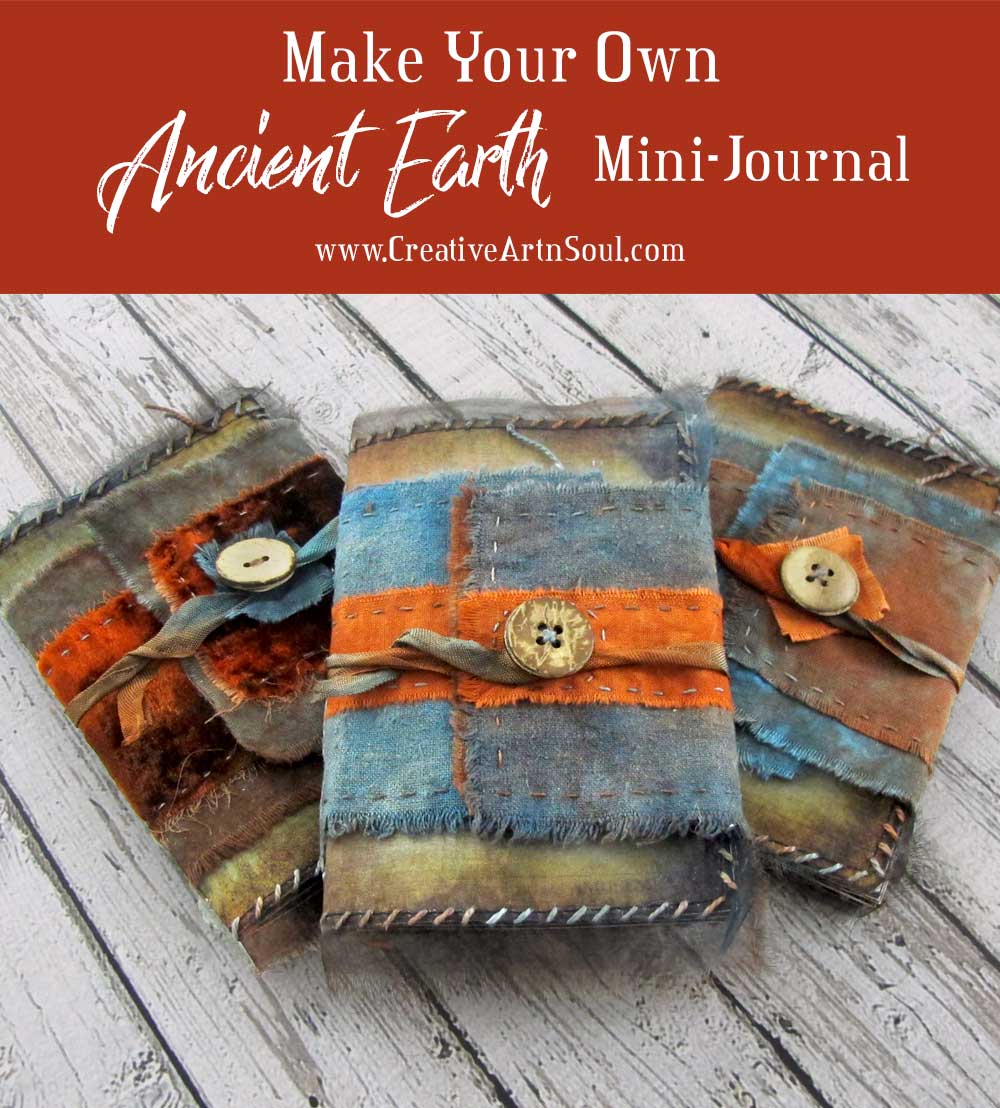
Learn how quick and easy it is to make a creative mini journal that looks old and aged using printable journal pages.
Mini journals are quick and easy to make and are the perfect project when you don’t have a lot of time to spare. Using only a few small pages you can quickly create a lovely little journal.
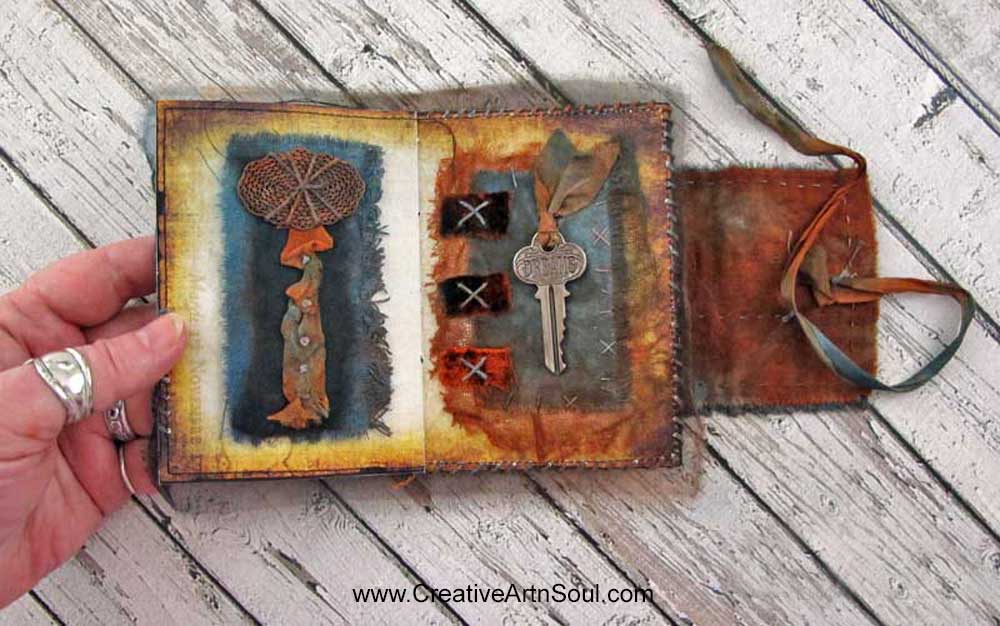
You can get quite creative with mini journals. I made this Ancient Earth mini journal using these printable pages so it was a really quick project to put together.
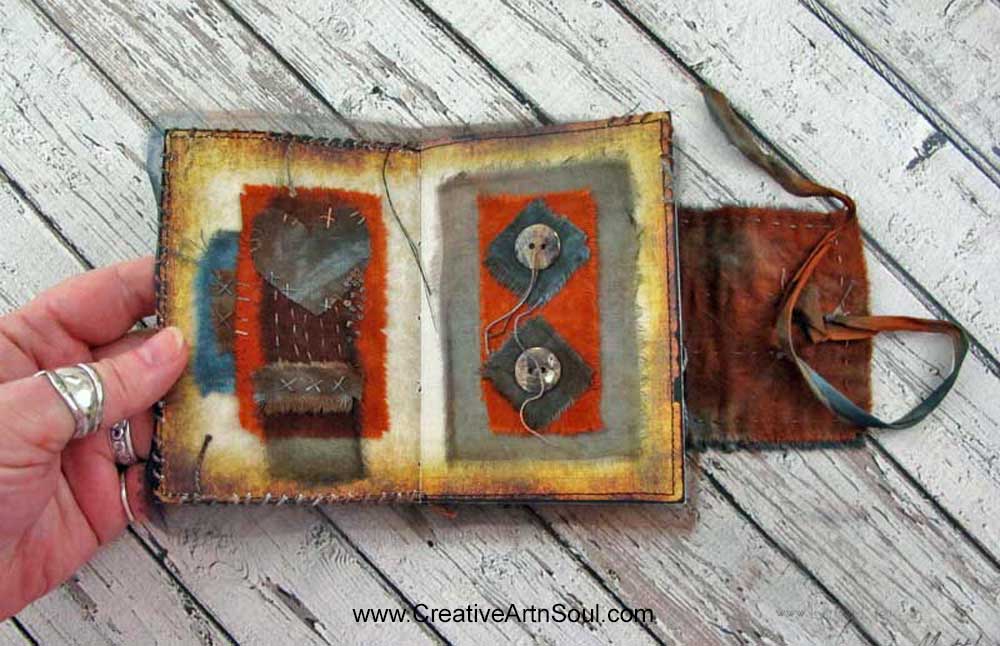
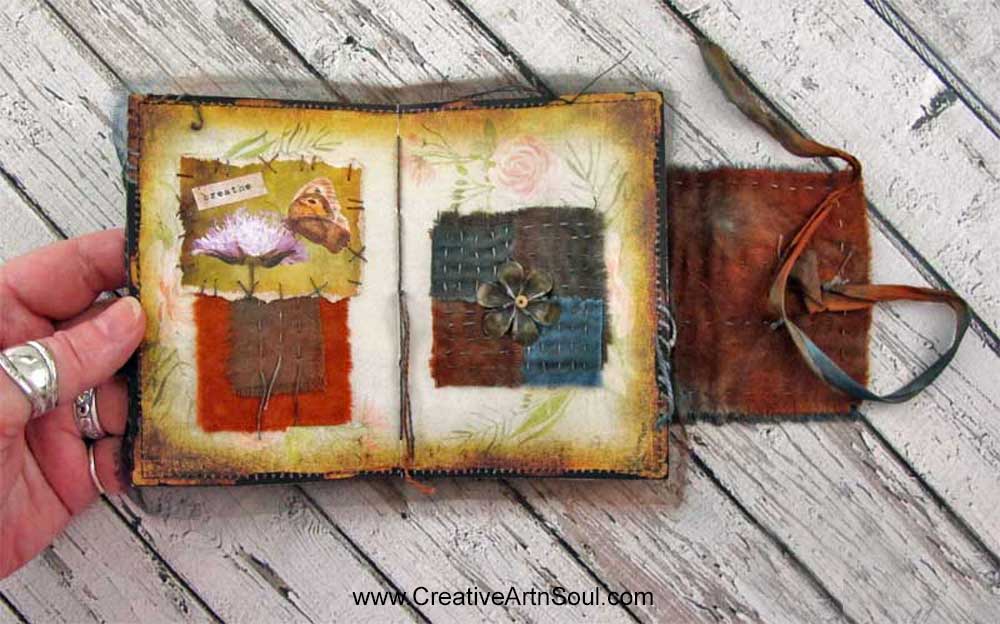
I designed the pages to display a collection of small fabric collages that have the appearance of being be old and rusted. I also used small metal objects that I made to look a bit rusty. And I also used some hand-dyed fabrics in earth colors.
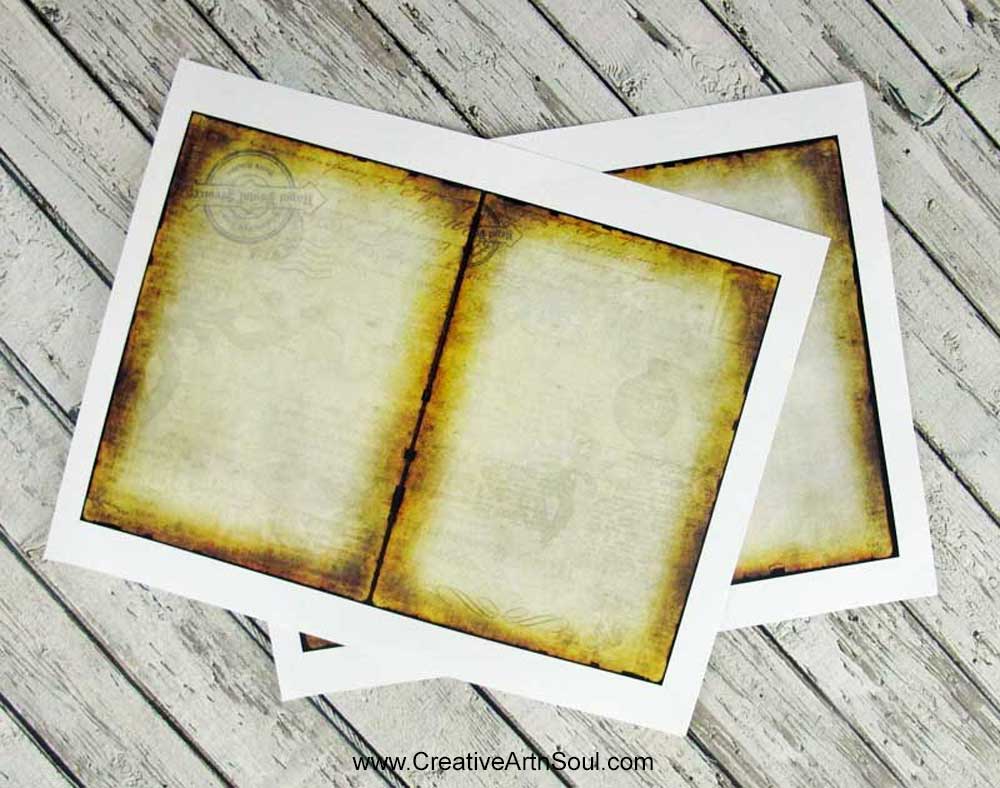
I was inspired to make this mini journal after designing these Faded and Tattered Printable Journal Pages.
The pages of the mini journal are the perfect background for the small stitched collages. These printable pages are designed with rusted and tattered looking edges, and faded and stained patterns on the pages.
Using printable journal pages makes the journals go together even more quickly.
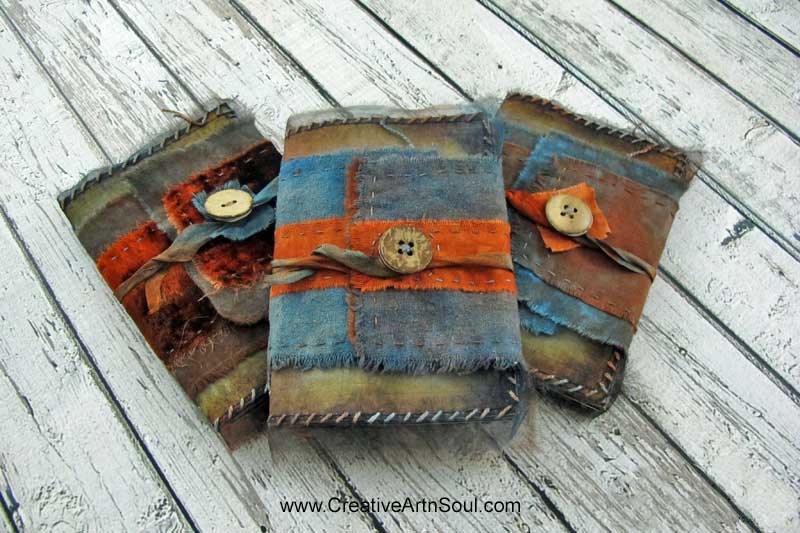
Making a mini journal doesn’t get any easier than this and I had a lot of fun making it. Because it’s so easy to put together, I hope you’re inspired to make your own!
How to Make Your Own Ancient Earth Mini Journal
Make the Mini Journal Pages
I made made the pages using these Faded and Tattered Printable Journal Pages although you could use a similar type of printable page. Print each page onto cardstock. When finished, the page size is about 3.5″ wide x 5″ high.

Once you’ve printed the pages, trim away the edges of the paper. Then cut the pages in half to measure about 5″ x 7″.
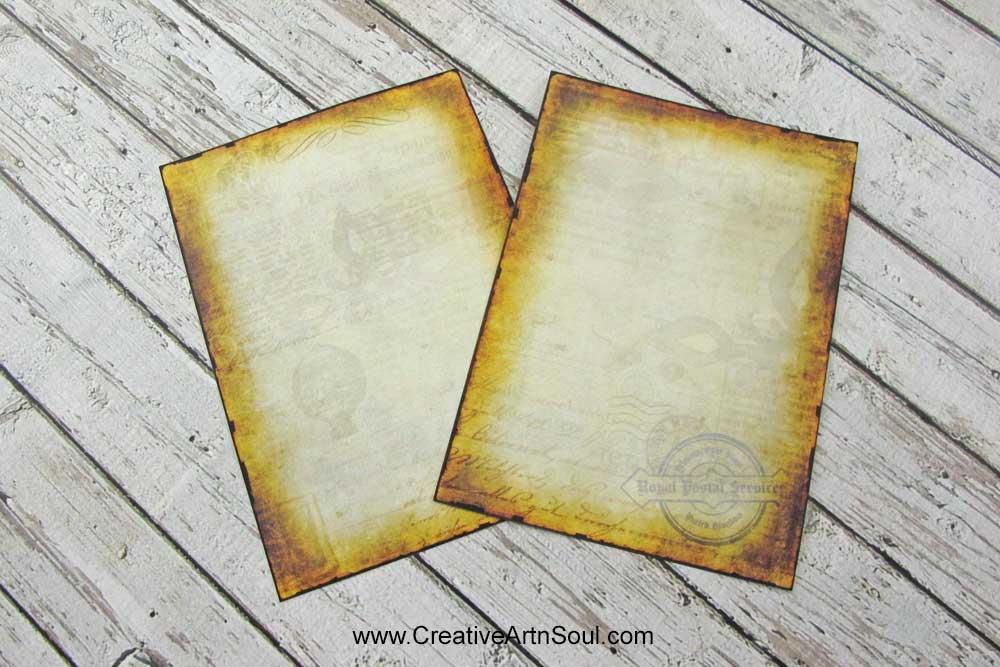
Position two pages back to back then machine sew them together close around the edges. For this small mini journal you’ll need only two or three double-sided pages.
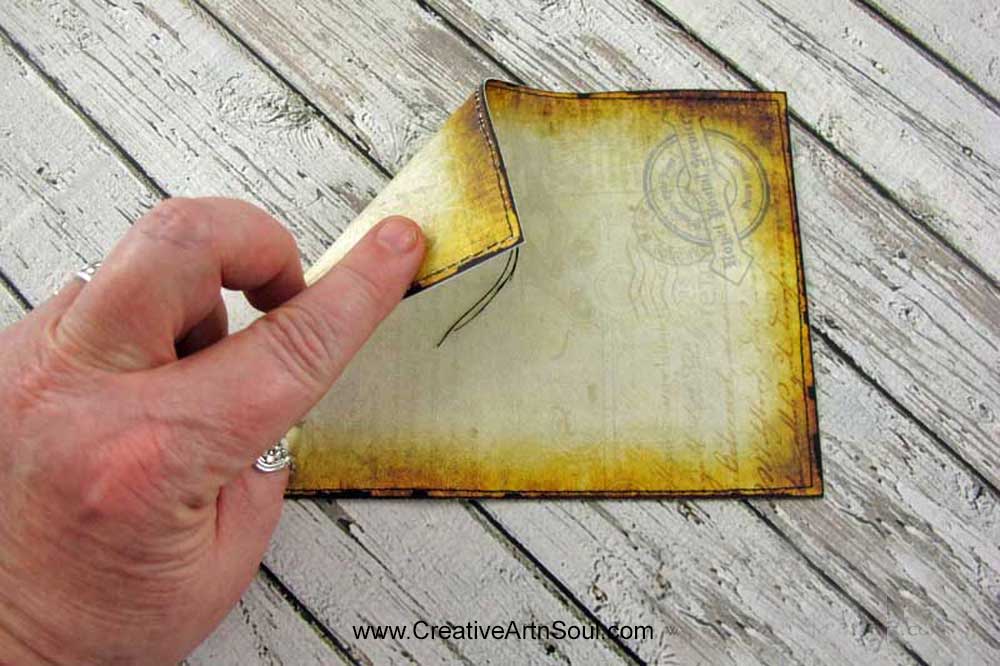
Make the Mini Journal Cover
This mini journal has a simple wrap-around cover. Cut one piece of fabric about 10″ long by 4″ high, and one piece about 10″ long by 3″ high. Place the small piece on top of the larger piece and hand stitch them together. For the closure, sew a button on the top at one end with a length of ribbon underneath.
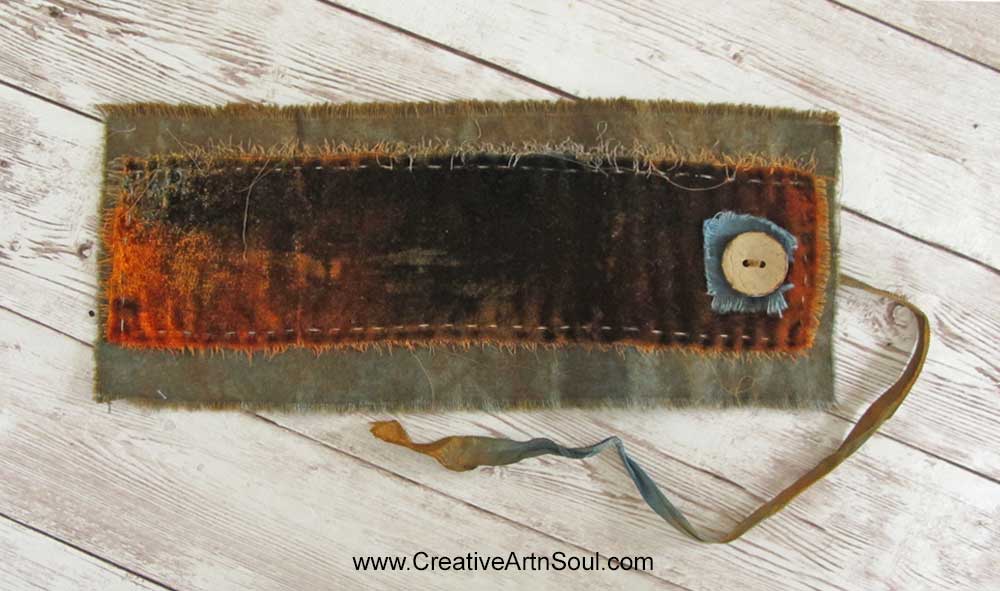
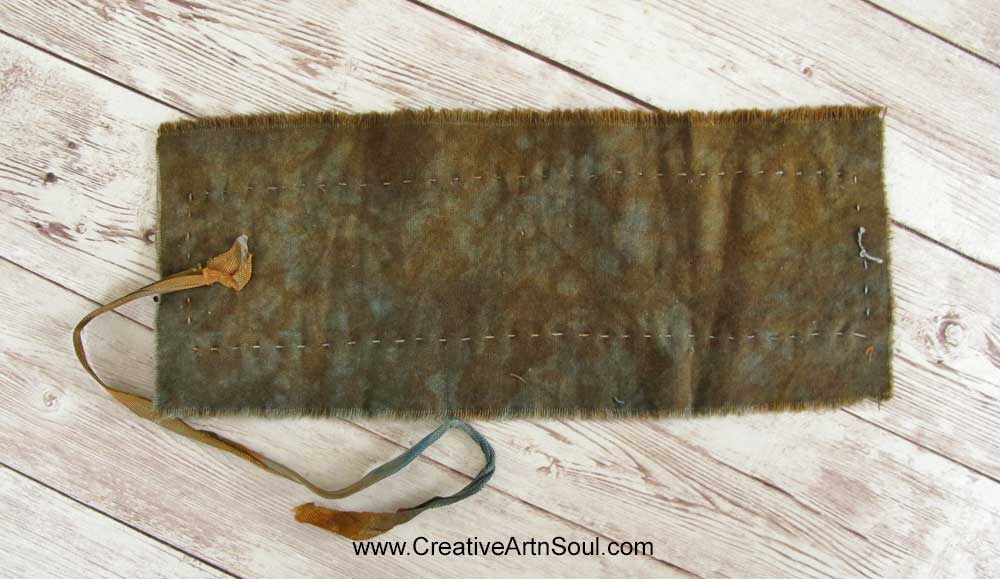
To add some additional visual texture, hand stitch a piece of sheer organza to the outside page around the edges.
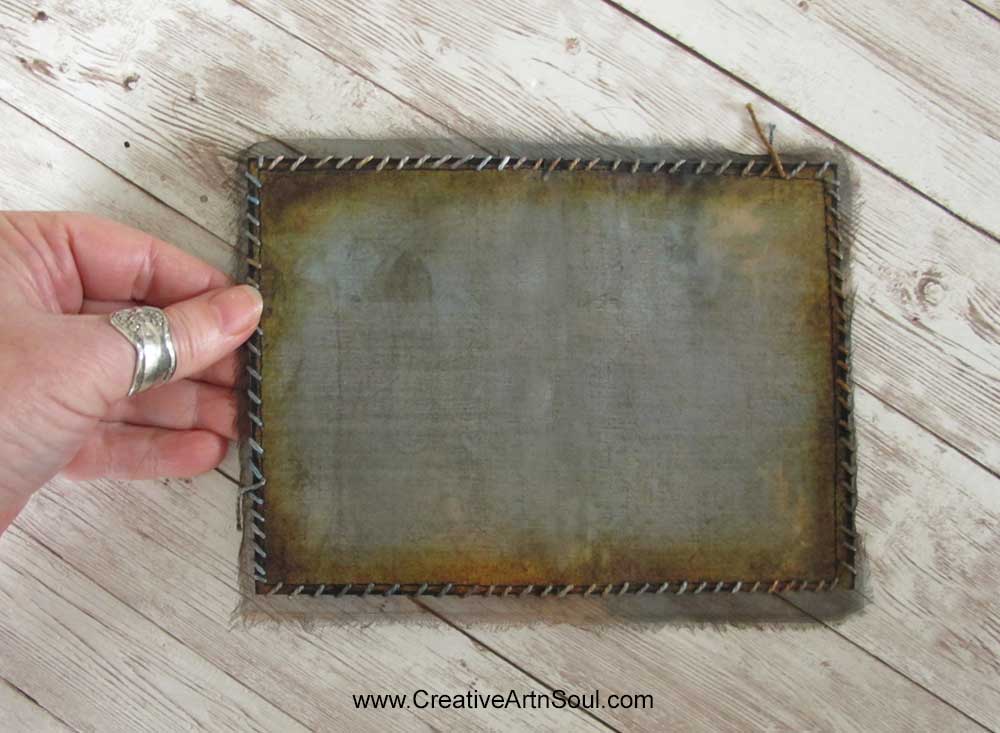
Assemble the Mini Journal
Assemble the mini journal by folding the pages in half and stacking them on top of each other with the wrap-around cover underneath.
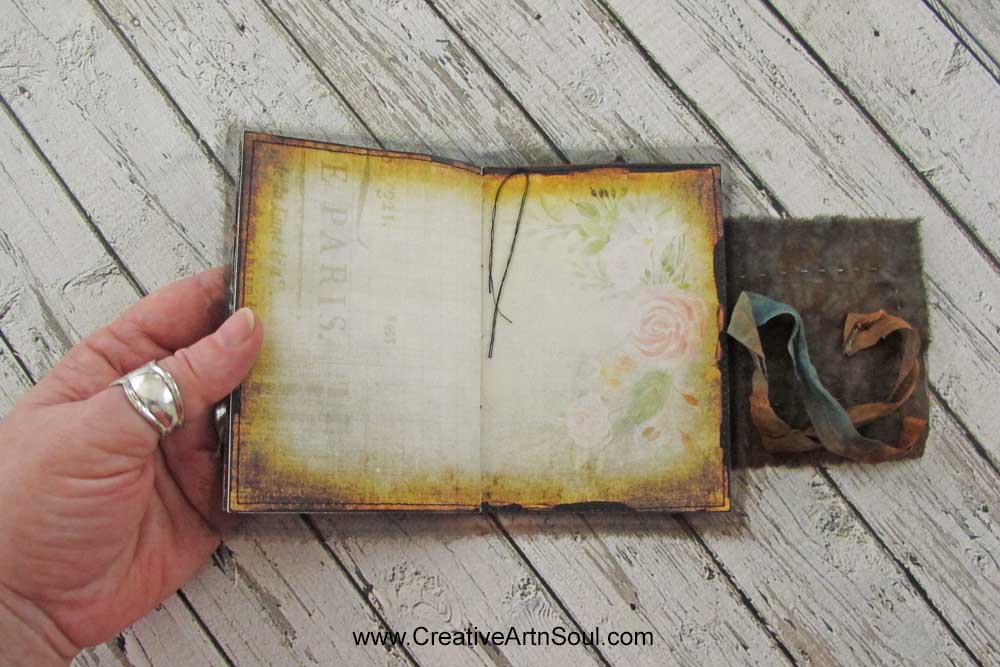
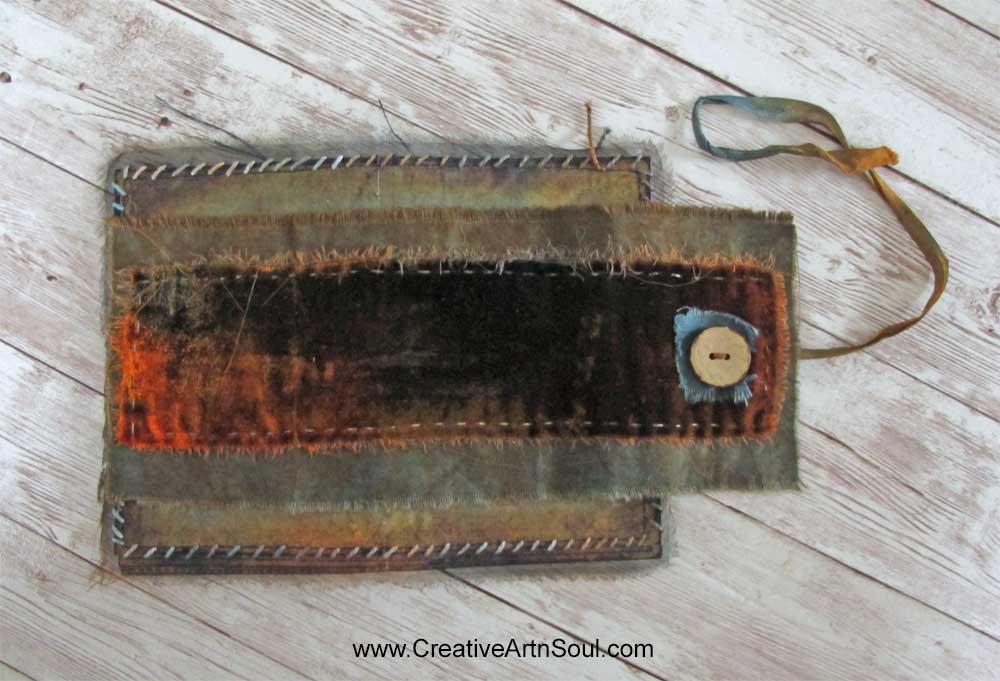
Once the pages and the cover are assembled, stitch them together down the center using a pamphlet stitch. I accidentally cut the fabric pieces too short lengthwise so I adjusted the position before I sewed the journal together.
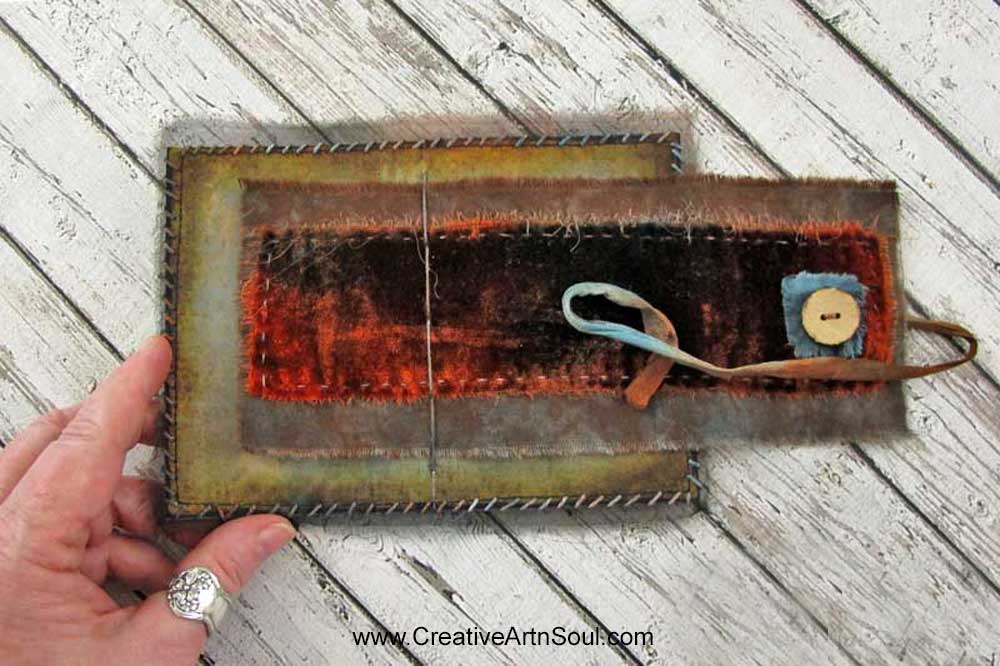
To finish, wrap the cover around and wind the ribbon around the button to keep it closed.
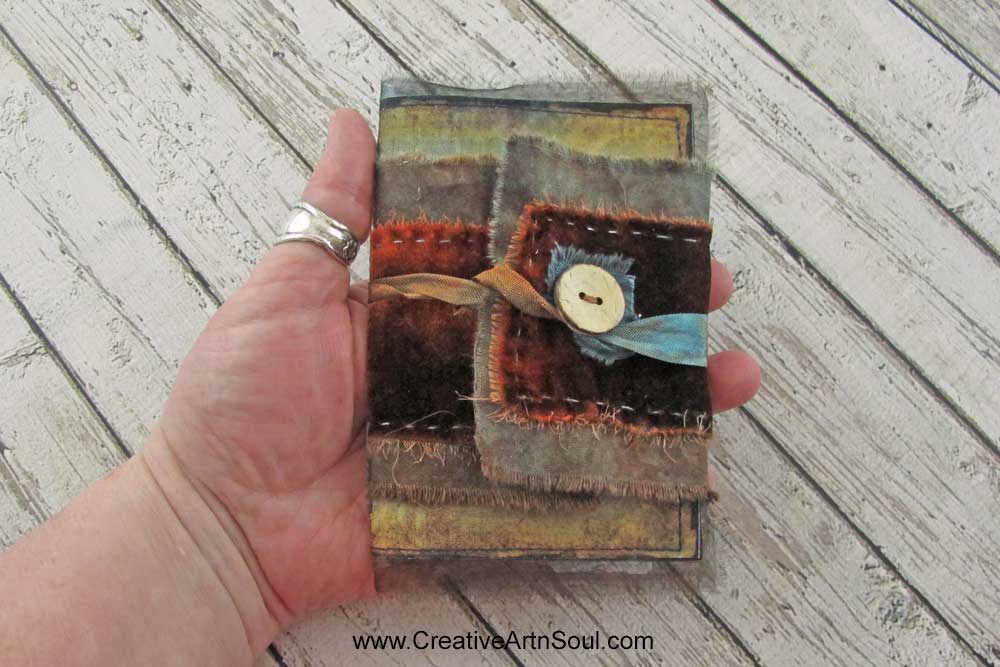
Once the journal is sewn together you can embellish the pages. I’ve used small fabric collages which I glued onto the pages.
If you didn’t want to use collages, you could use images or photos, or even some favorite quotations. I used hand-dyed fabrics that looked aged and old together with other types of embellishments such as small rusty objects, buttons and images. Adding rusted objects really adds to the aged feel of the journal.

Save this pin to your favorite Pinterest board!
